Required Permissions and Settings
Ensure your Salesforce user has the required permissions for Unify.
Overview
The permissions that Unify requires fall into two categories:
- System Permissions: These are permissions that apply to the entire Salesforce instance and are required for Unify to function properly.
- Object Permissions: These are permissions that apply to specific objects (e.g., Account, Contact, etc.) and are required for Unify to read and write data.
The exact permissions that Unify needs are detailed below along with instructions on assigning these permissions to your integration user.
Required Permissions
Access can be restricted as desired for sensitive records or fields that you do not want Unify to access. However, Unify needs access to any records or fields that you want to use for exclusions.
For example, to prevent Unify from engaging with current customers, Unify will require access to the records that indicate current customers to evaluate the exclusion rule.
Permission | Reason |
---|---|
API Enabled | Allows Unify to communicate with Salesforce via the API |
View All Users | Enables Unify to link Salesforce users to Unify users |
View Setup and Configuration | Enables Unify to provide details about missing permissions |
Permission | Reason |
---|---|
API Enabled | Allows Unify to communicate with Salesforce via the API |
View All Users | Enables Unify to link Salesforce users to Unify users |
View Setup and Configuration | Enables Unify to provide details about missing permissions |
Object | Permissions | Reason |
---|---|---|
Account | Read, Create, Edit | Enables Unify to sync companies bidirectionally |
Contact | Read, Create, Edit | Enables Unify to sync people bidirectionally |
Lead | Read, Create, Edit | Enables Unify to sync companies and people bidirectionally |
Opportunity | Read | Enables Unify to use and filter based on opportunities |
Email Message | Read, Create, Edit | Enables Unify to write outbound emails and replies |
Setup
Assign required permissions
Depending on whether you are using profiles or permission sets, the steps to assign the required permissions will differ slightly. Follow the instructions below based on your setup.
If you’re using a Profile to manage permissions, follow these steps:
-
Navigate to the Setup page in Salesforce by clicking the gear icon in the top-right corner.
-
Go to Users > Profiles.
-
Choose the Profile assigned to your integration user.
-
Click Edit.
-
In the Administrative Permissions section, enable the following options:
- API Enabled
- View All Users
- View Setup and Configuration
-
In the General User Permissions section, enable the following options:
- Access Activities
-
In the Standard Object Permissions section, enable the following options for each object:
- Account: Read, Create, Edit
- Contact: Read, Create, Edit
- Lead: Read, Create, Edit
- Opportunity: Read
- Email Message: Read, Create, Edit
-
Click Save.
If you’re using a Permission Set to manage permissions, follow these steps:
-
Navigate to Setup > Permission Sets.
-
Create a new permission set (or modify an existing one).
-
Assign the permission set to your integration user.
-
Under System Permissions, enable the following options:
- API Enabled
- View All Users
- View Setup and Configuration
-
Under App Permissions, enable the following options:
- Access Activities
-
Under Object Settings, select each object and enable the following options:
- Account: Read, Create, Edit
- Contact: Read, Create, Edit
- Lead: Read, Create, Edit
- Opportunity: Read
- Email Message: Read, Create, Edit
-
Click Save.
-
If you created a new permission set, assign it to your integration user.
Once you’ve assigned these permissions, you can verify they are correctly set up by checking the Permissions widget in Unify. Navigate to Settings -> Integrations -> Salesforce and look for the Permissions widget.
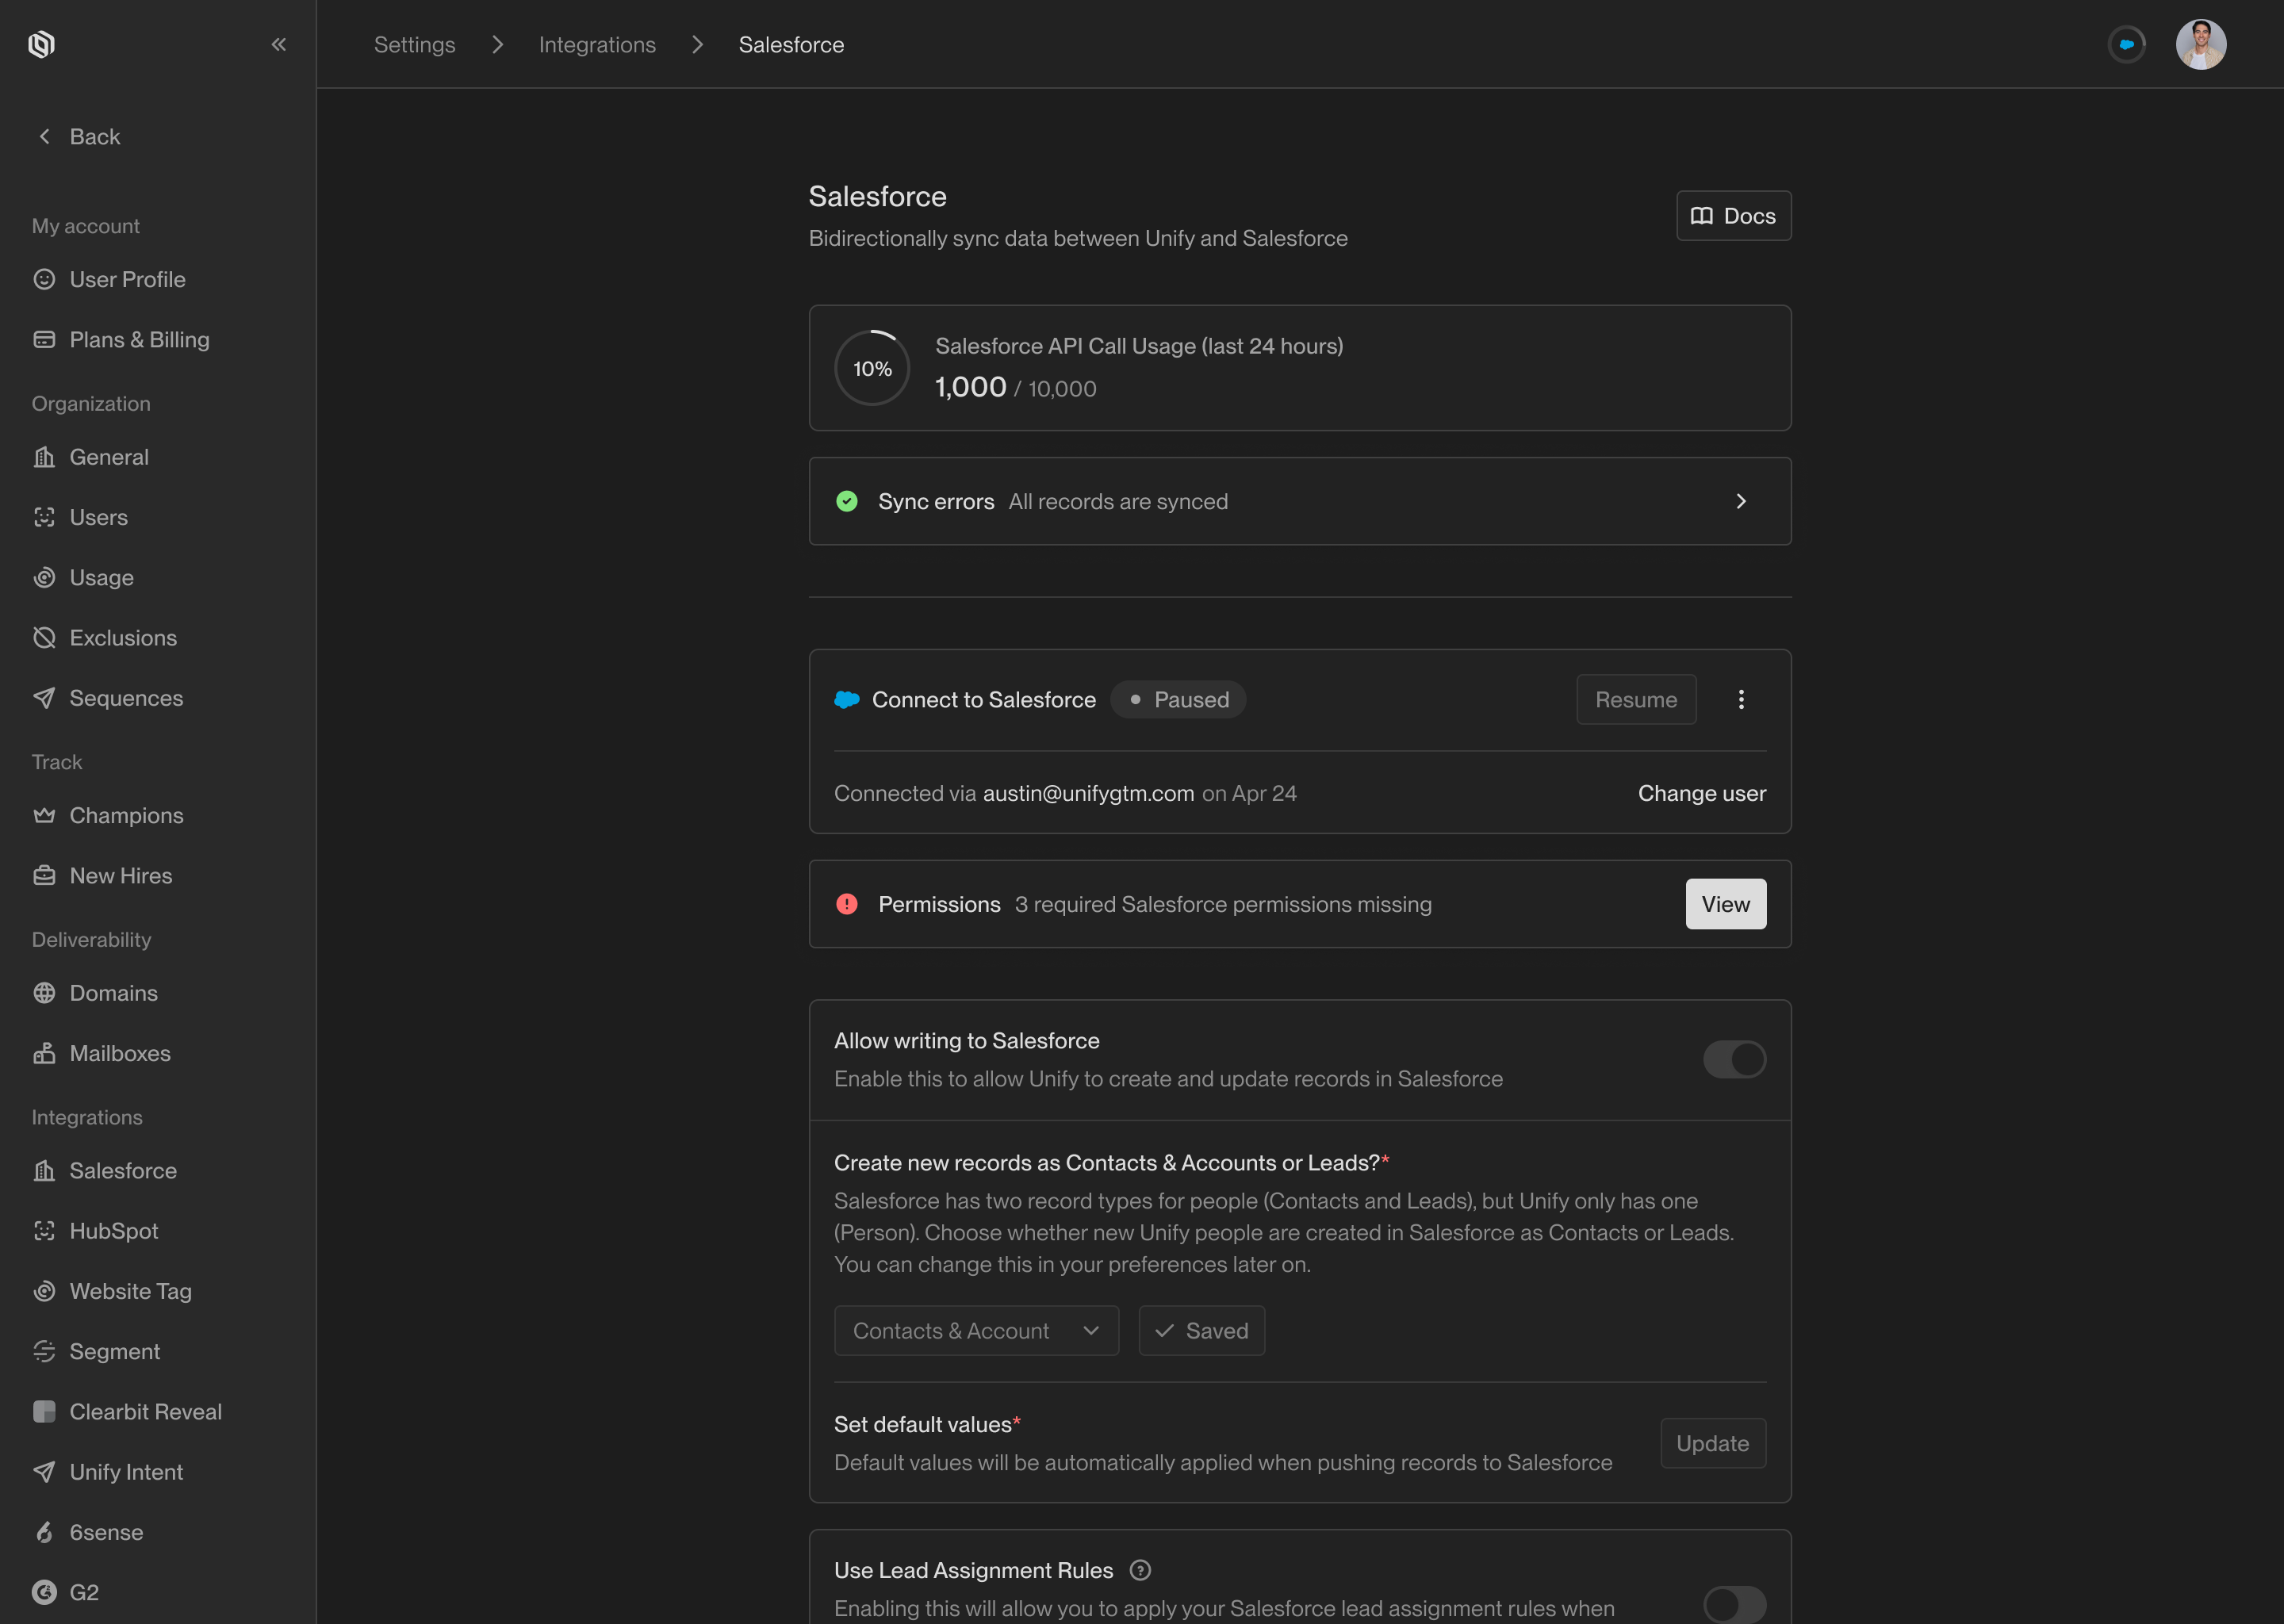
The permissions widget will indicate if permissions are missing.
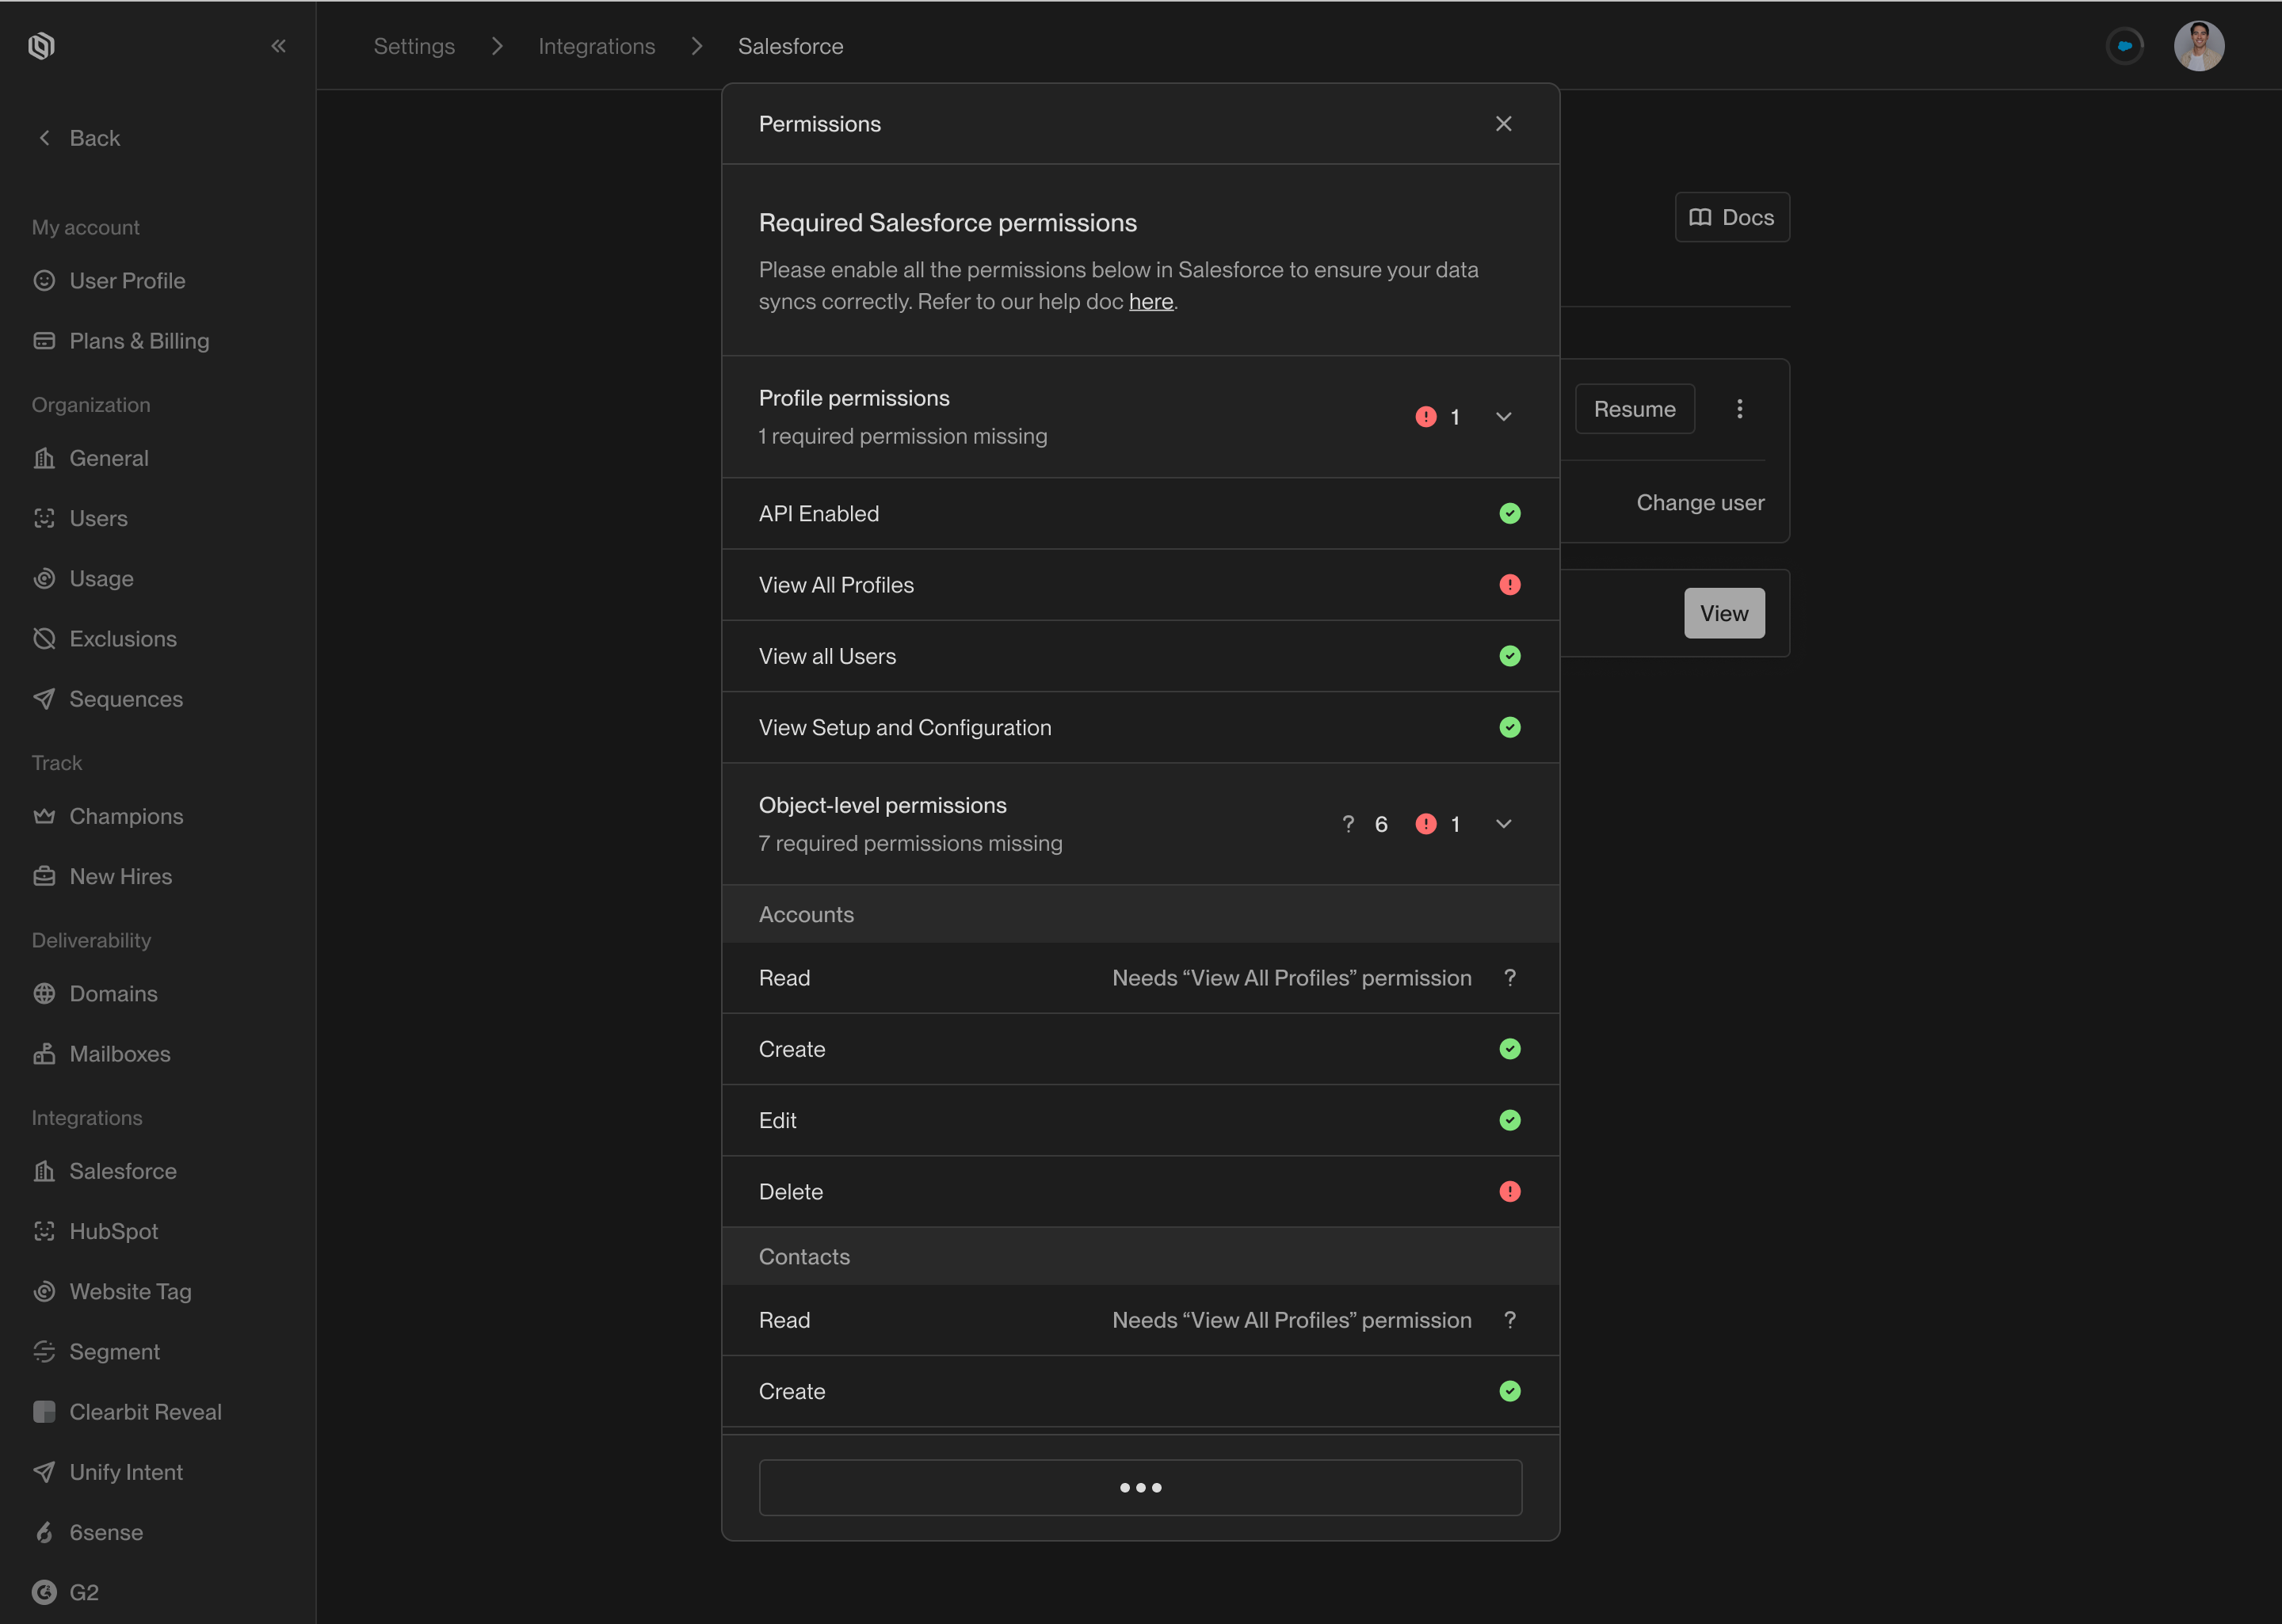
The specific missing permissions are displayed in the details view.
Enable Enhanced Emails
To ensure Unify can write emails to Salesforce, the Enhanced Email feature must be enabled. This allows Unify to write sent emails using the Email Message object.
In most orgs, Enhanced Email is enabled by default. If you don’t see the Email Message object, review the following guide to enable it.
Set Up Enhanced Email
Salesforce support article explaining how to enable Enhanced Email.
For more information: