This tutorial walks through the process of sending records from a Clay sheet
into Unify. To do this, we’ll set up a webhook in Clay that sends records to the
Data API.
This guide uses a sheet of companies as an example, but the same approach can
be used for any object type, such as person or a custom object.
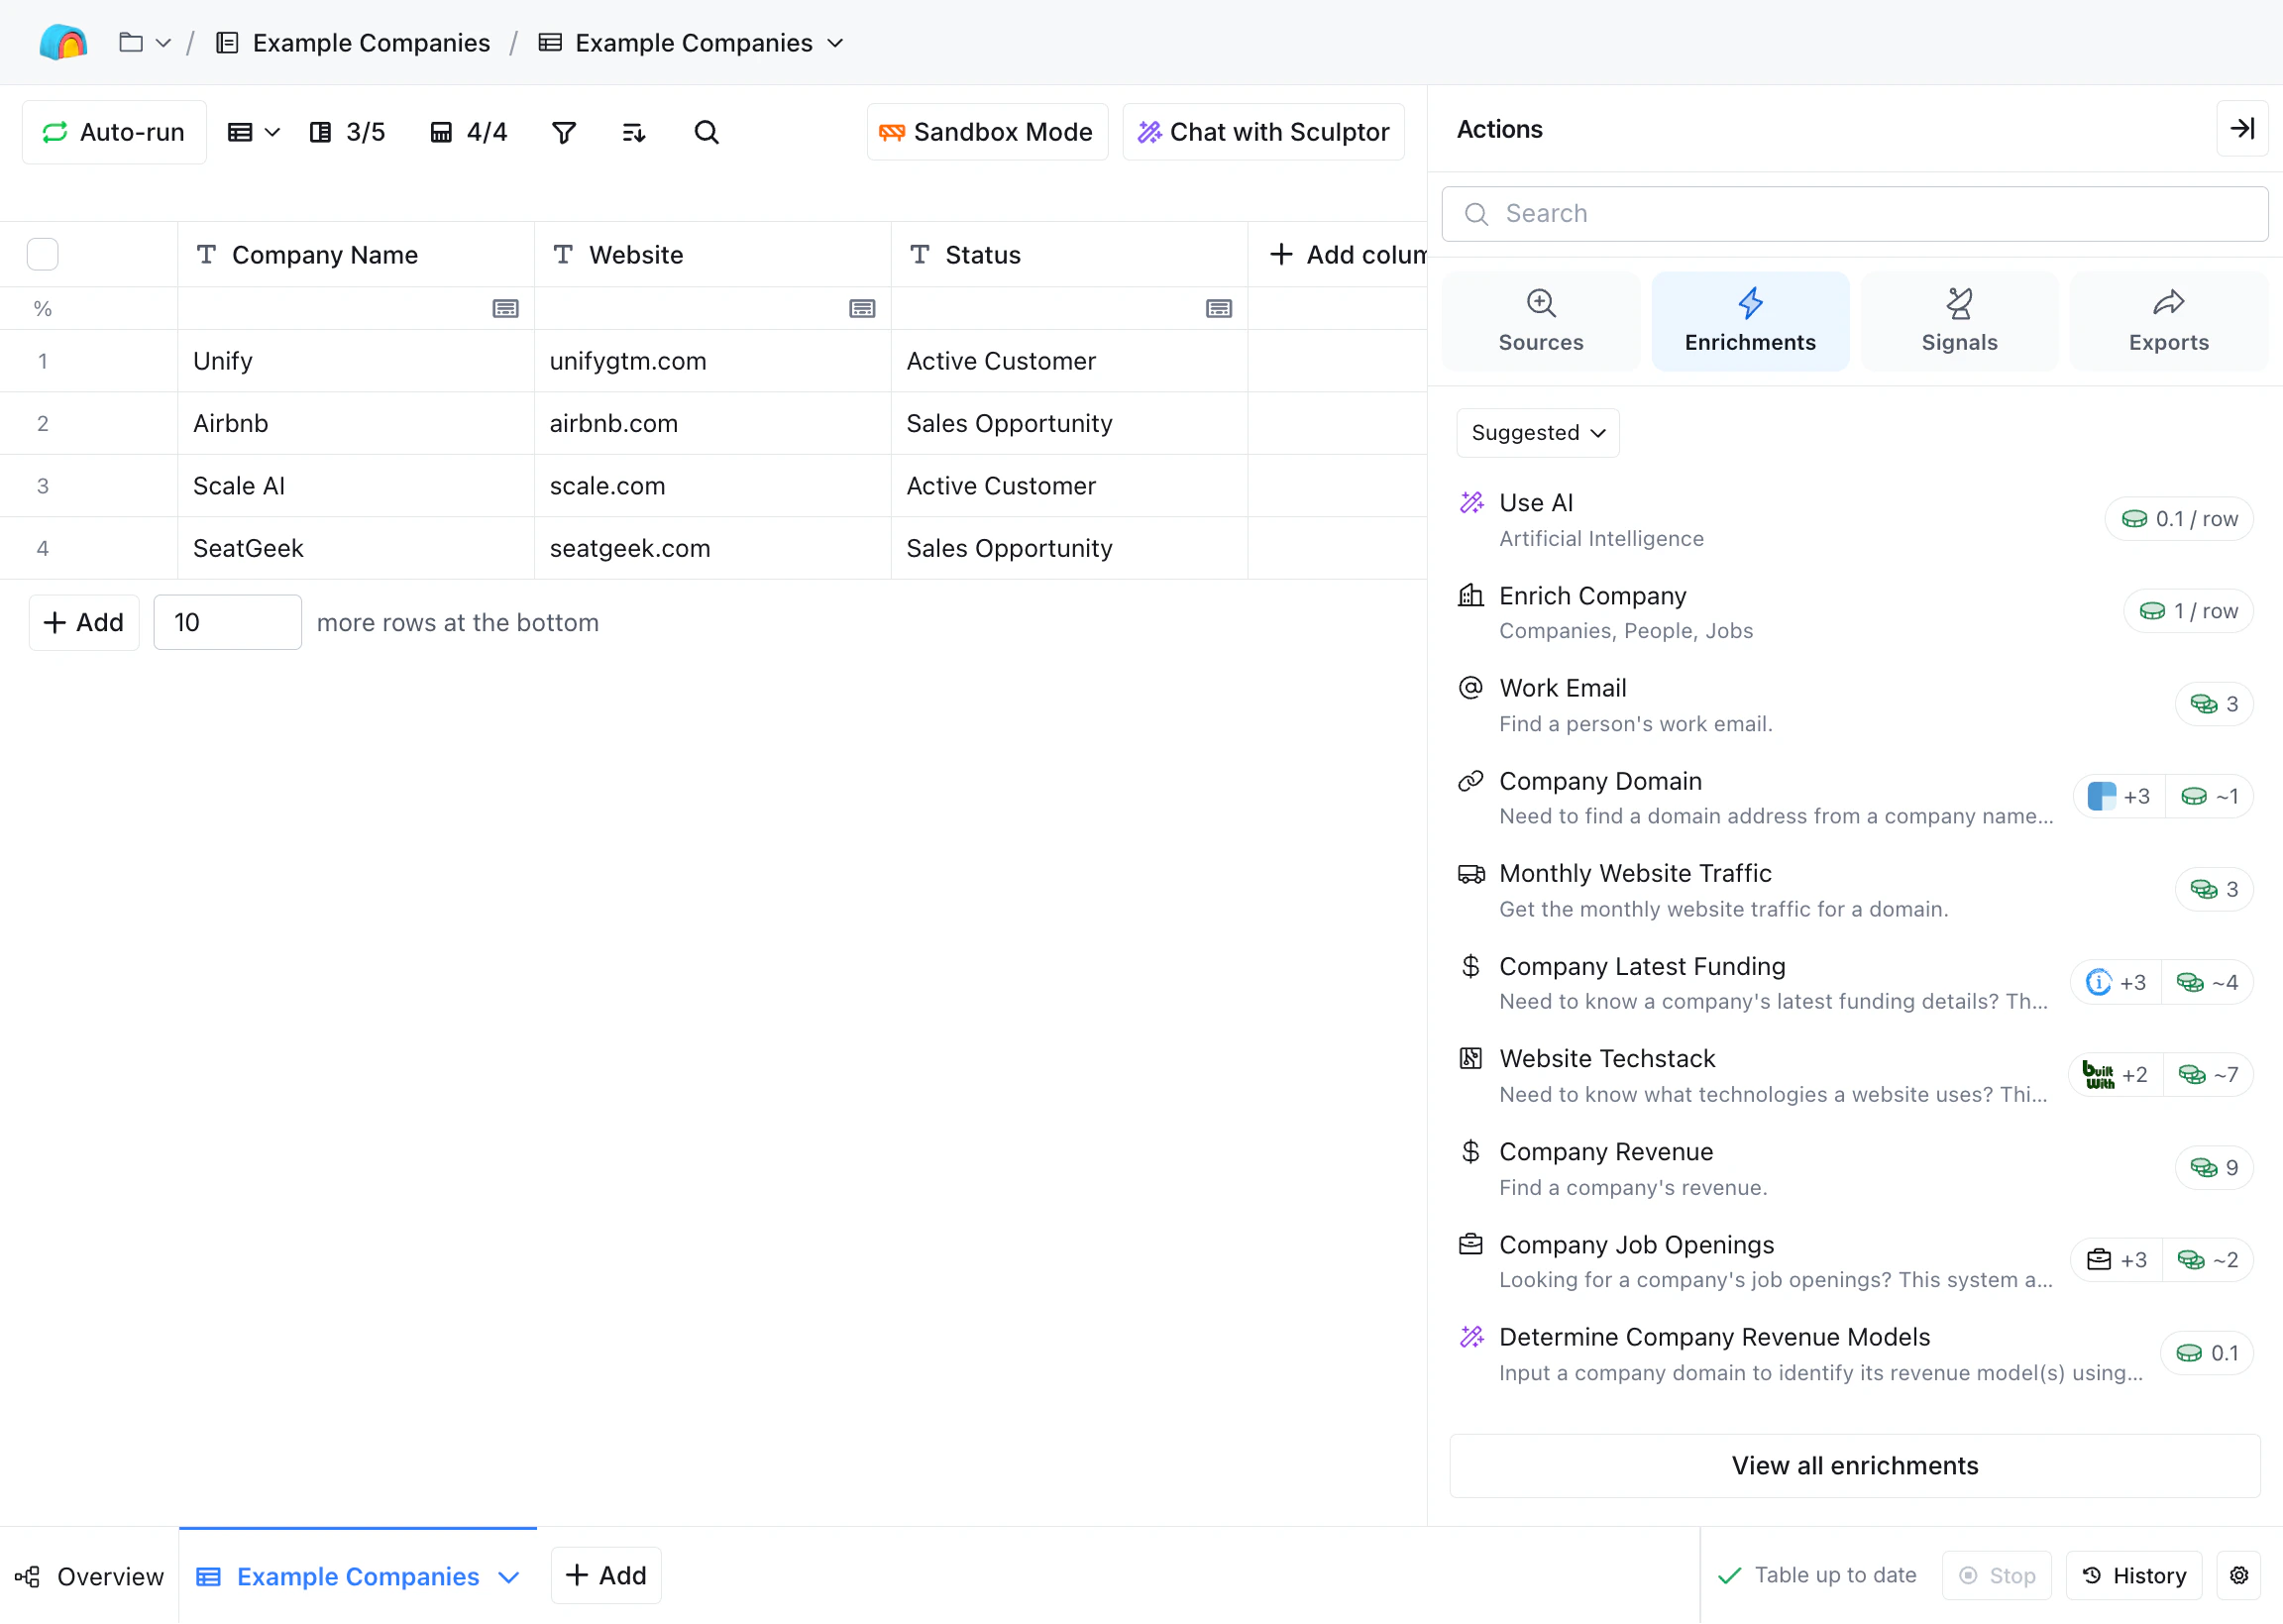
Navigate to your Clay sheet and open the Actions pane.
The webhook action appears under Enrichments in the Actions pane.
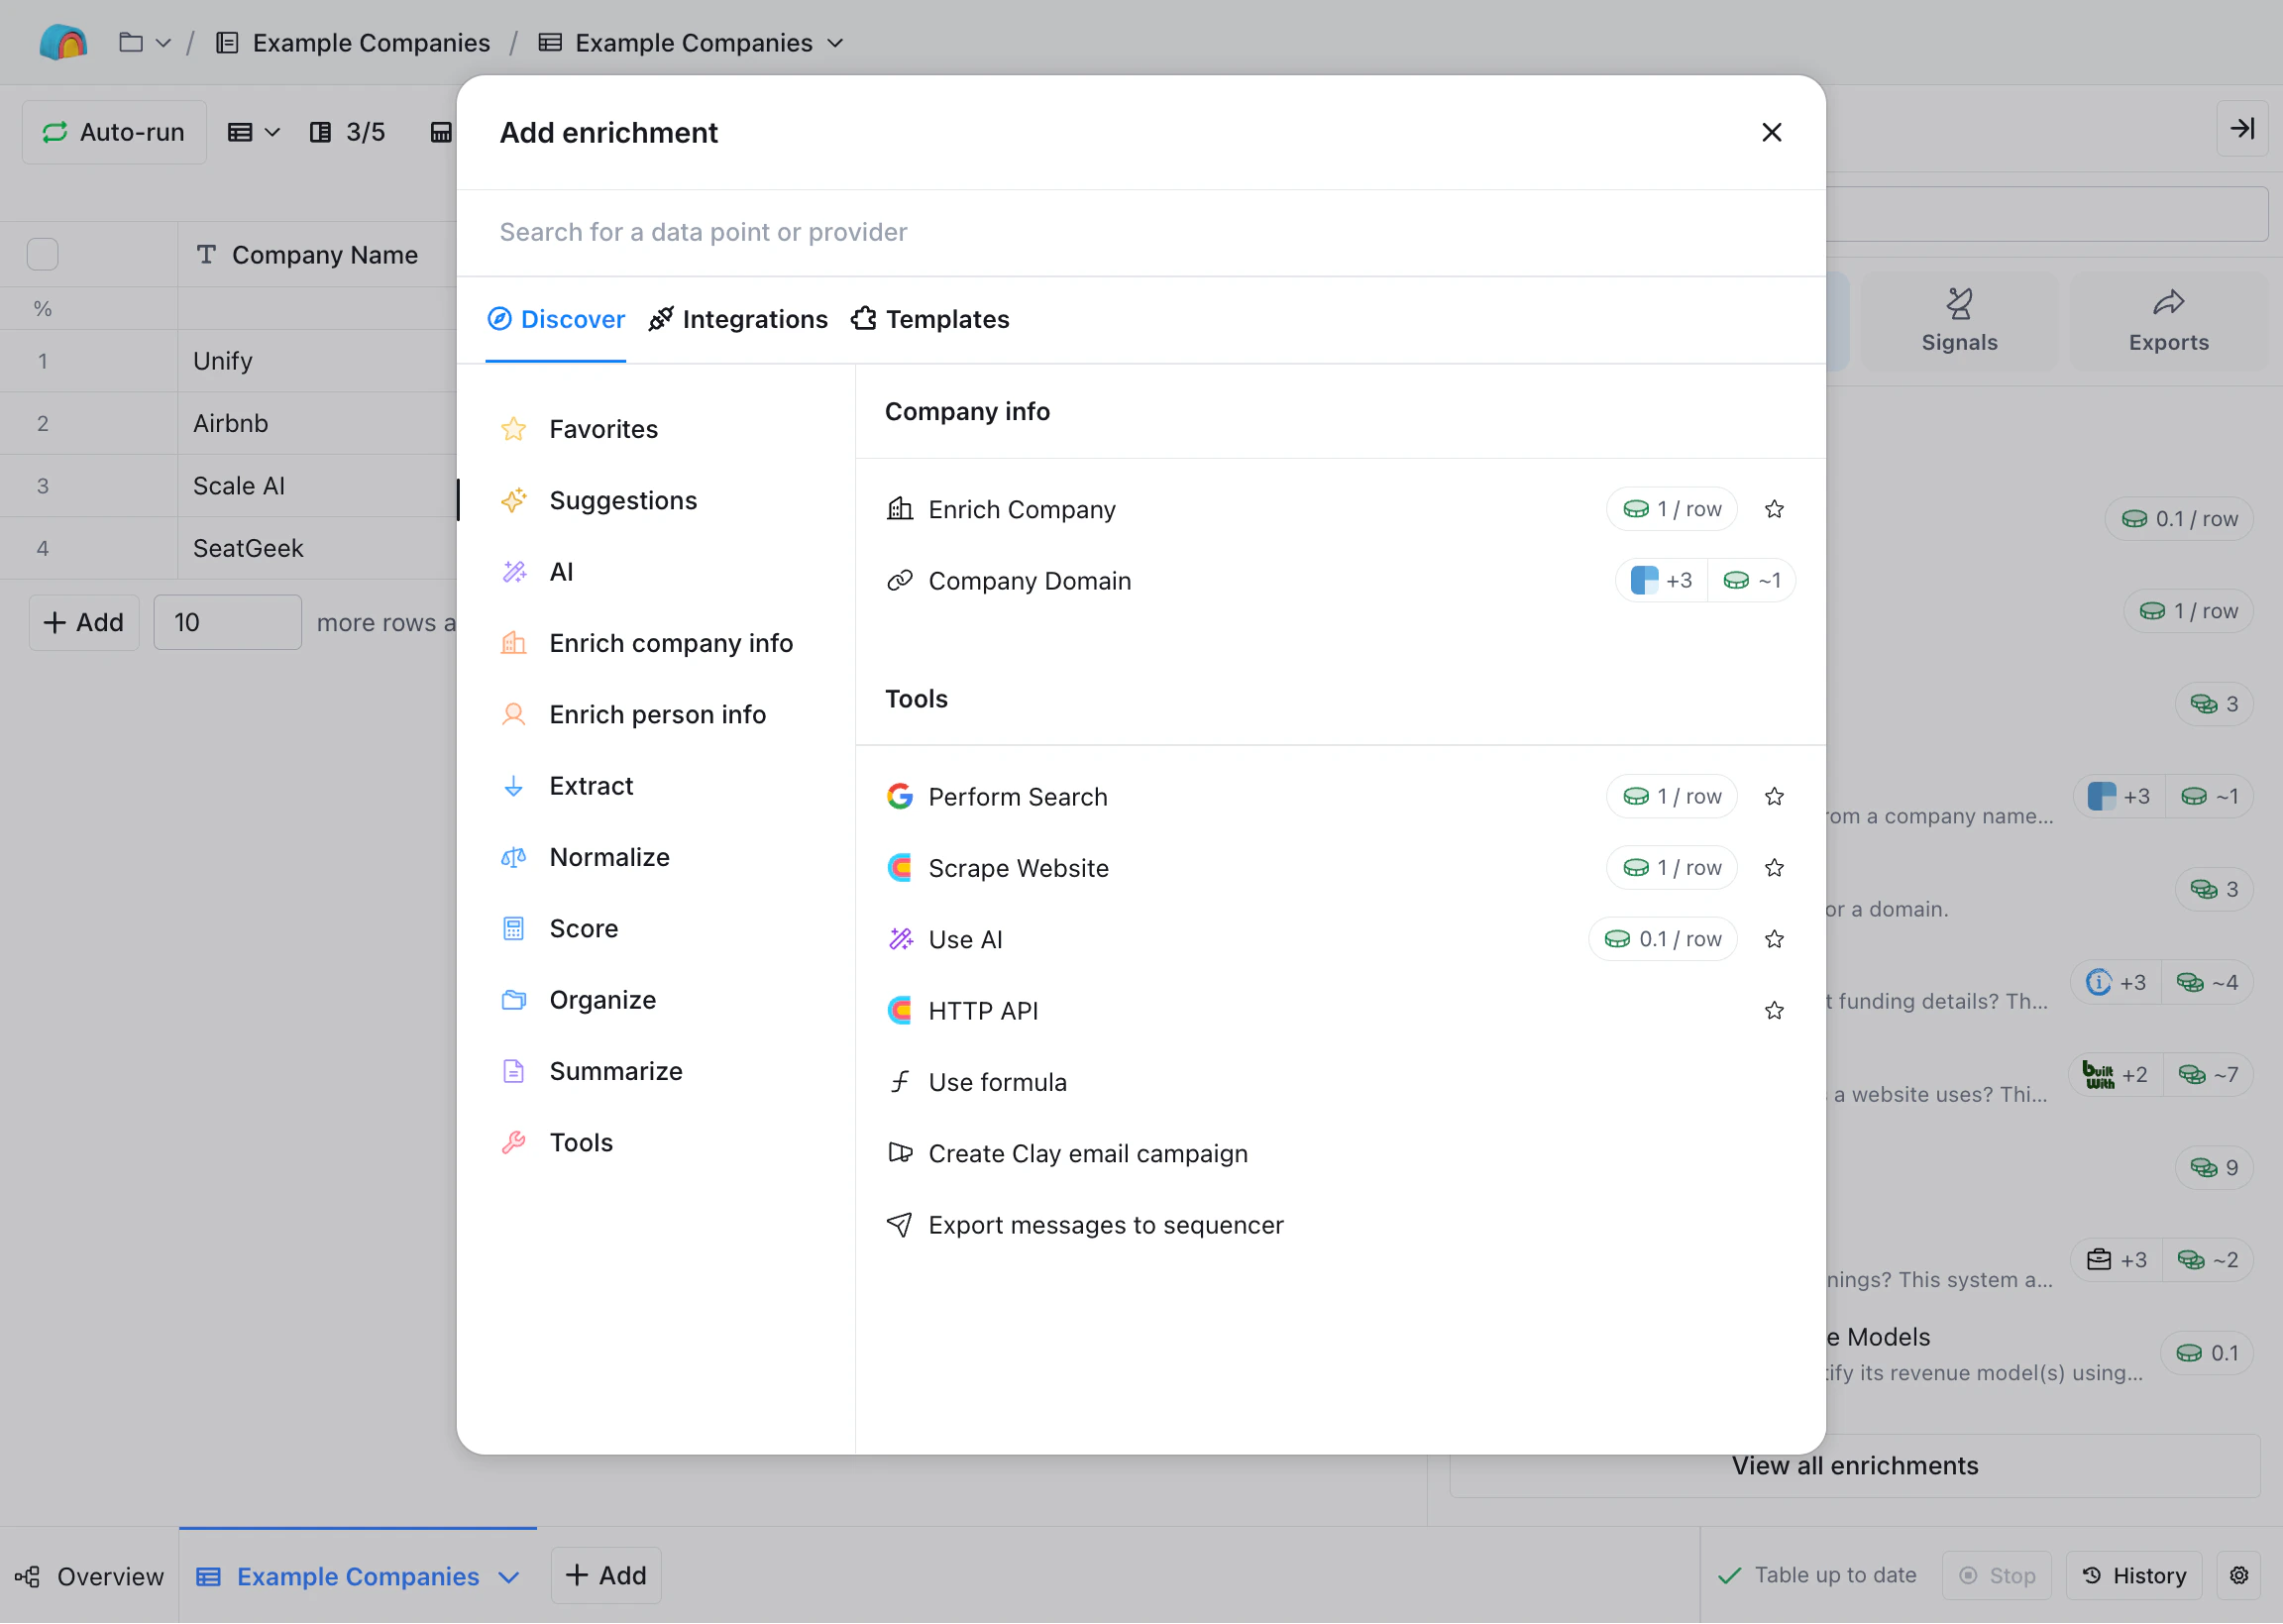
Under Enrichments, select View all enrichments and then choose HTTP API.
Select the HTTP API action from the menu.
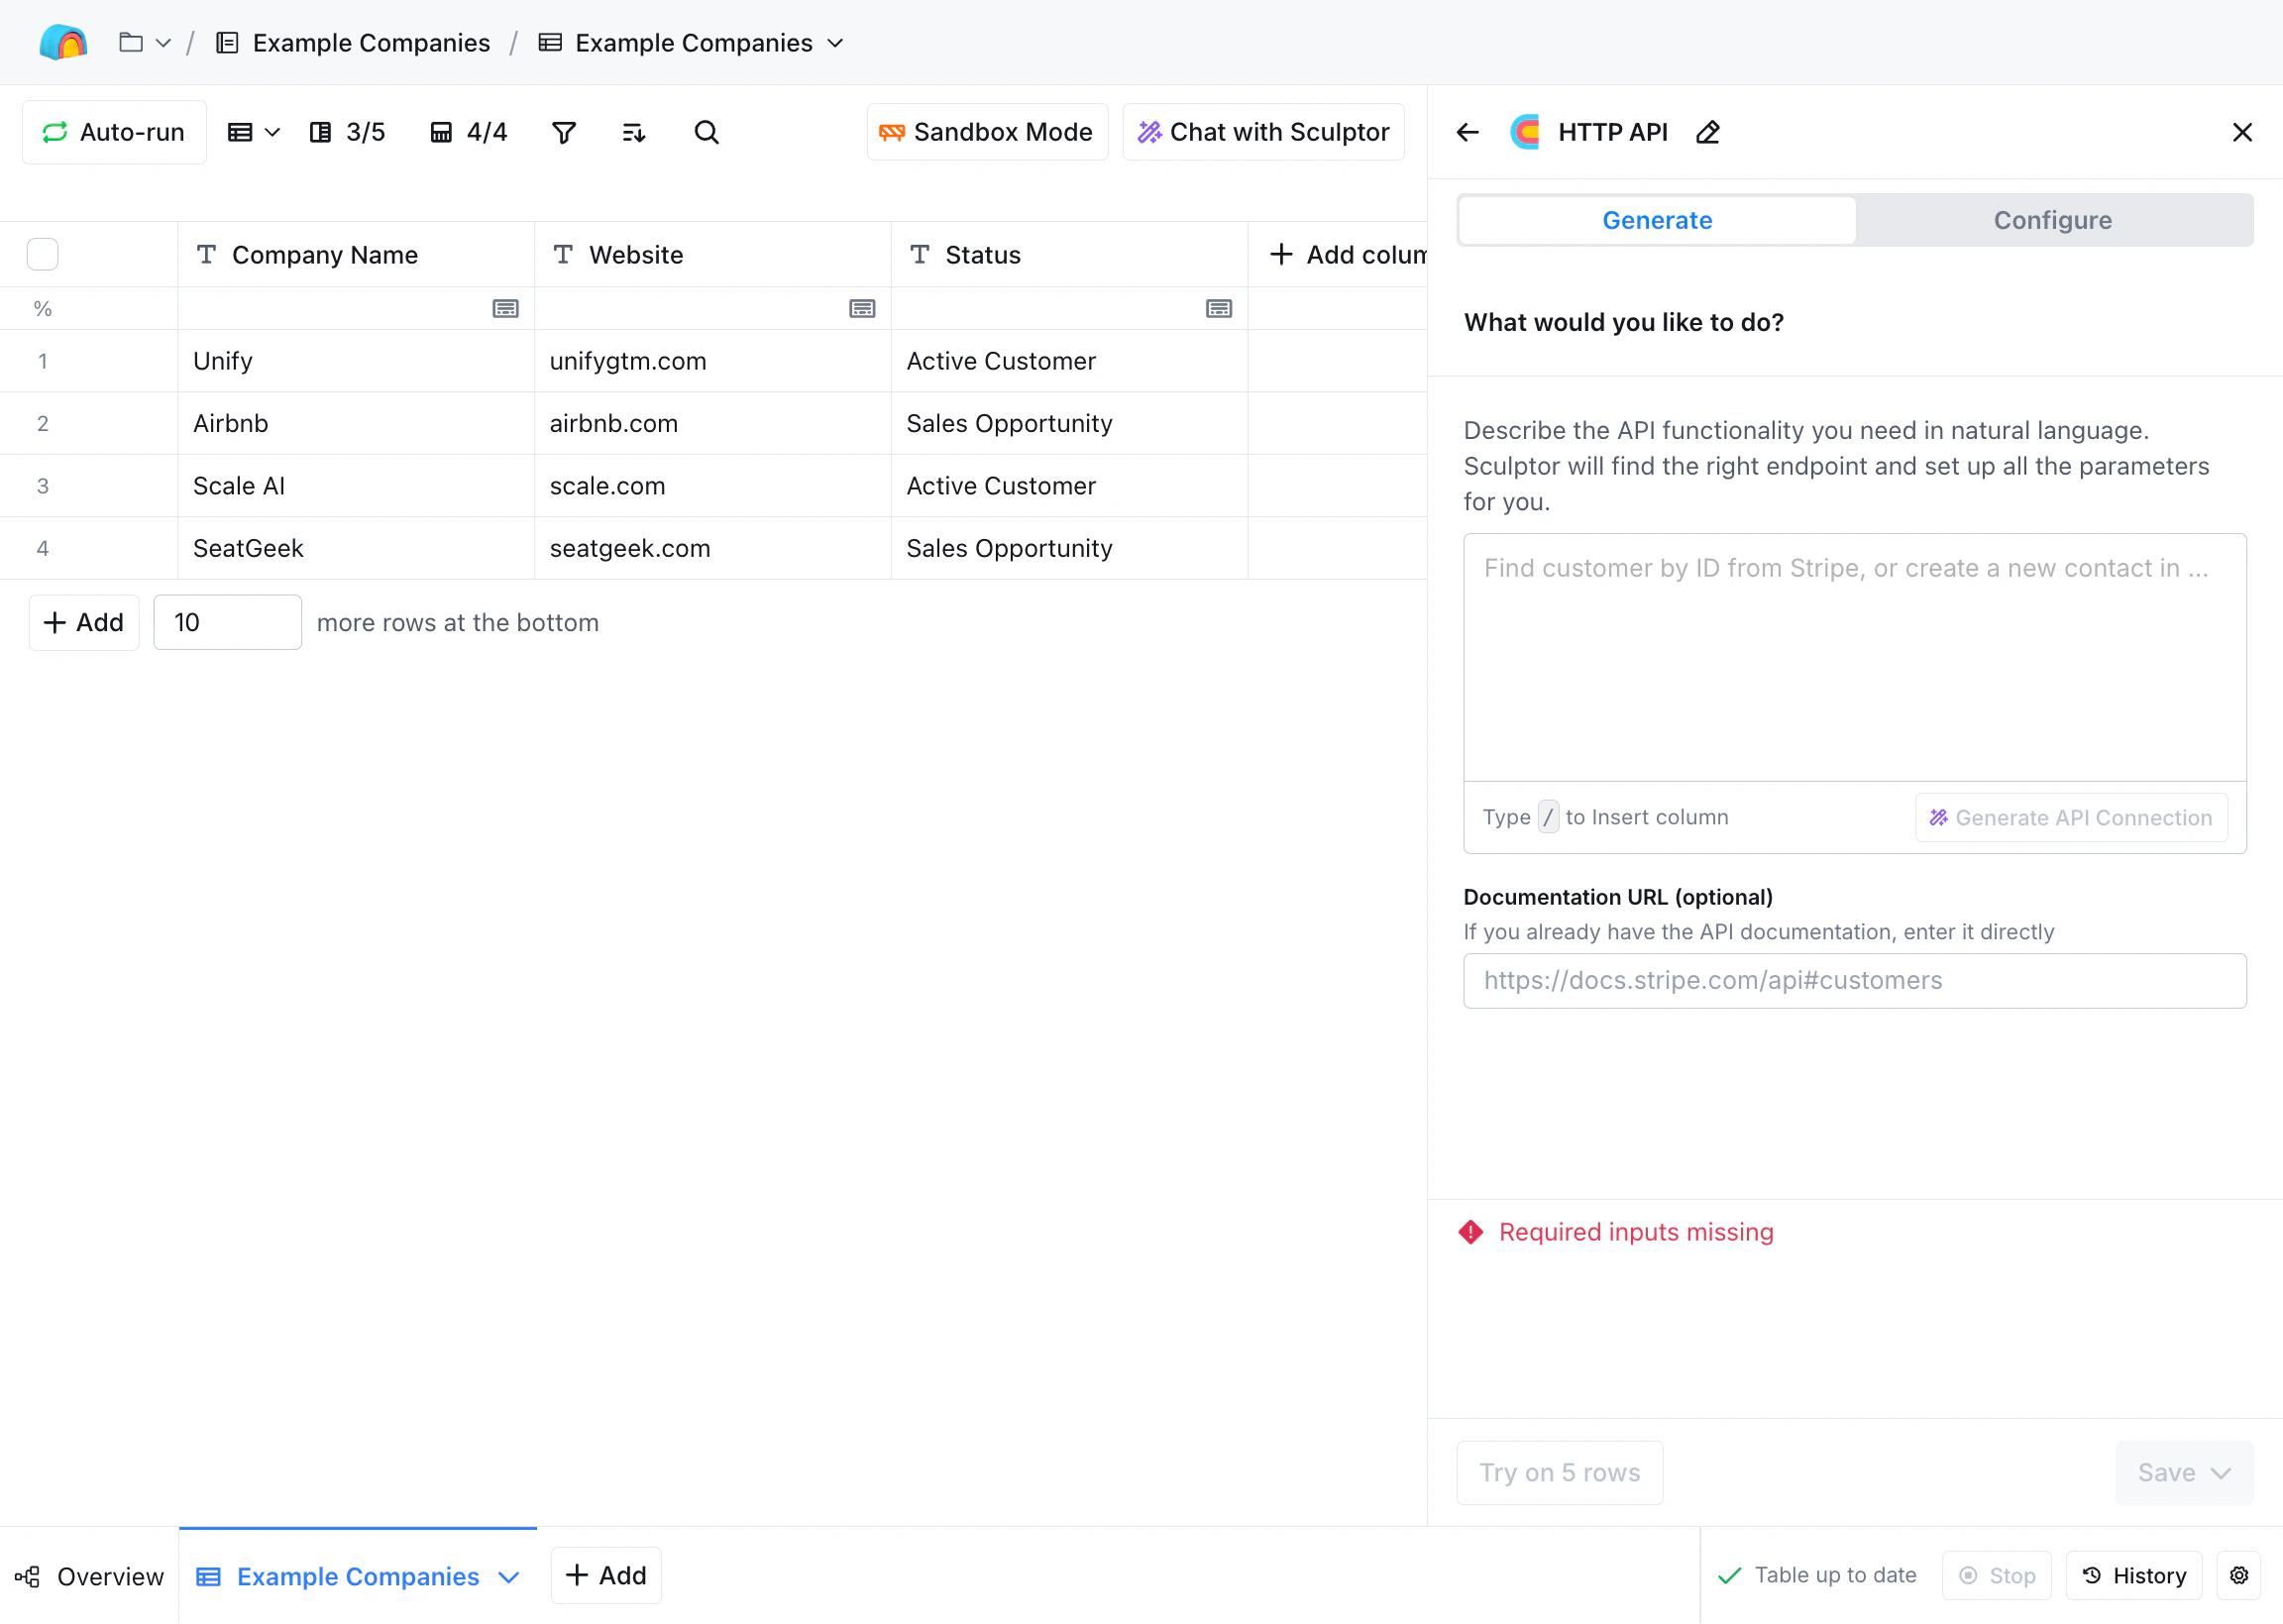
After selecting the HTTP API action, the configuration panel should appear.
2
Add credentials
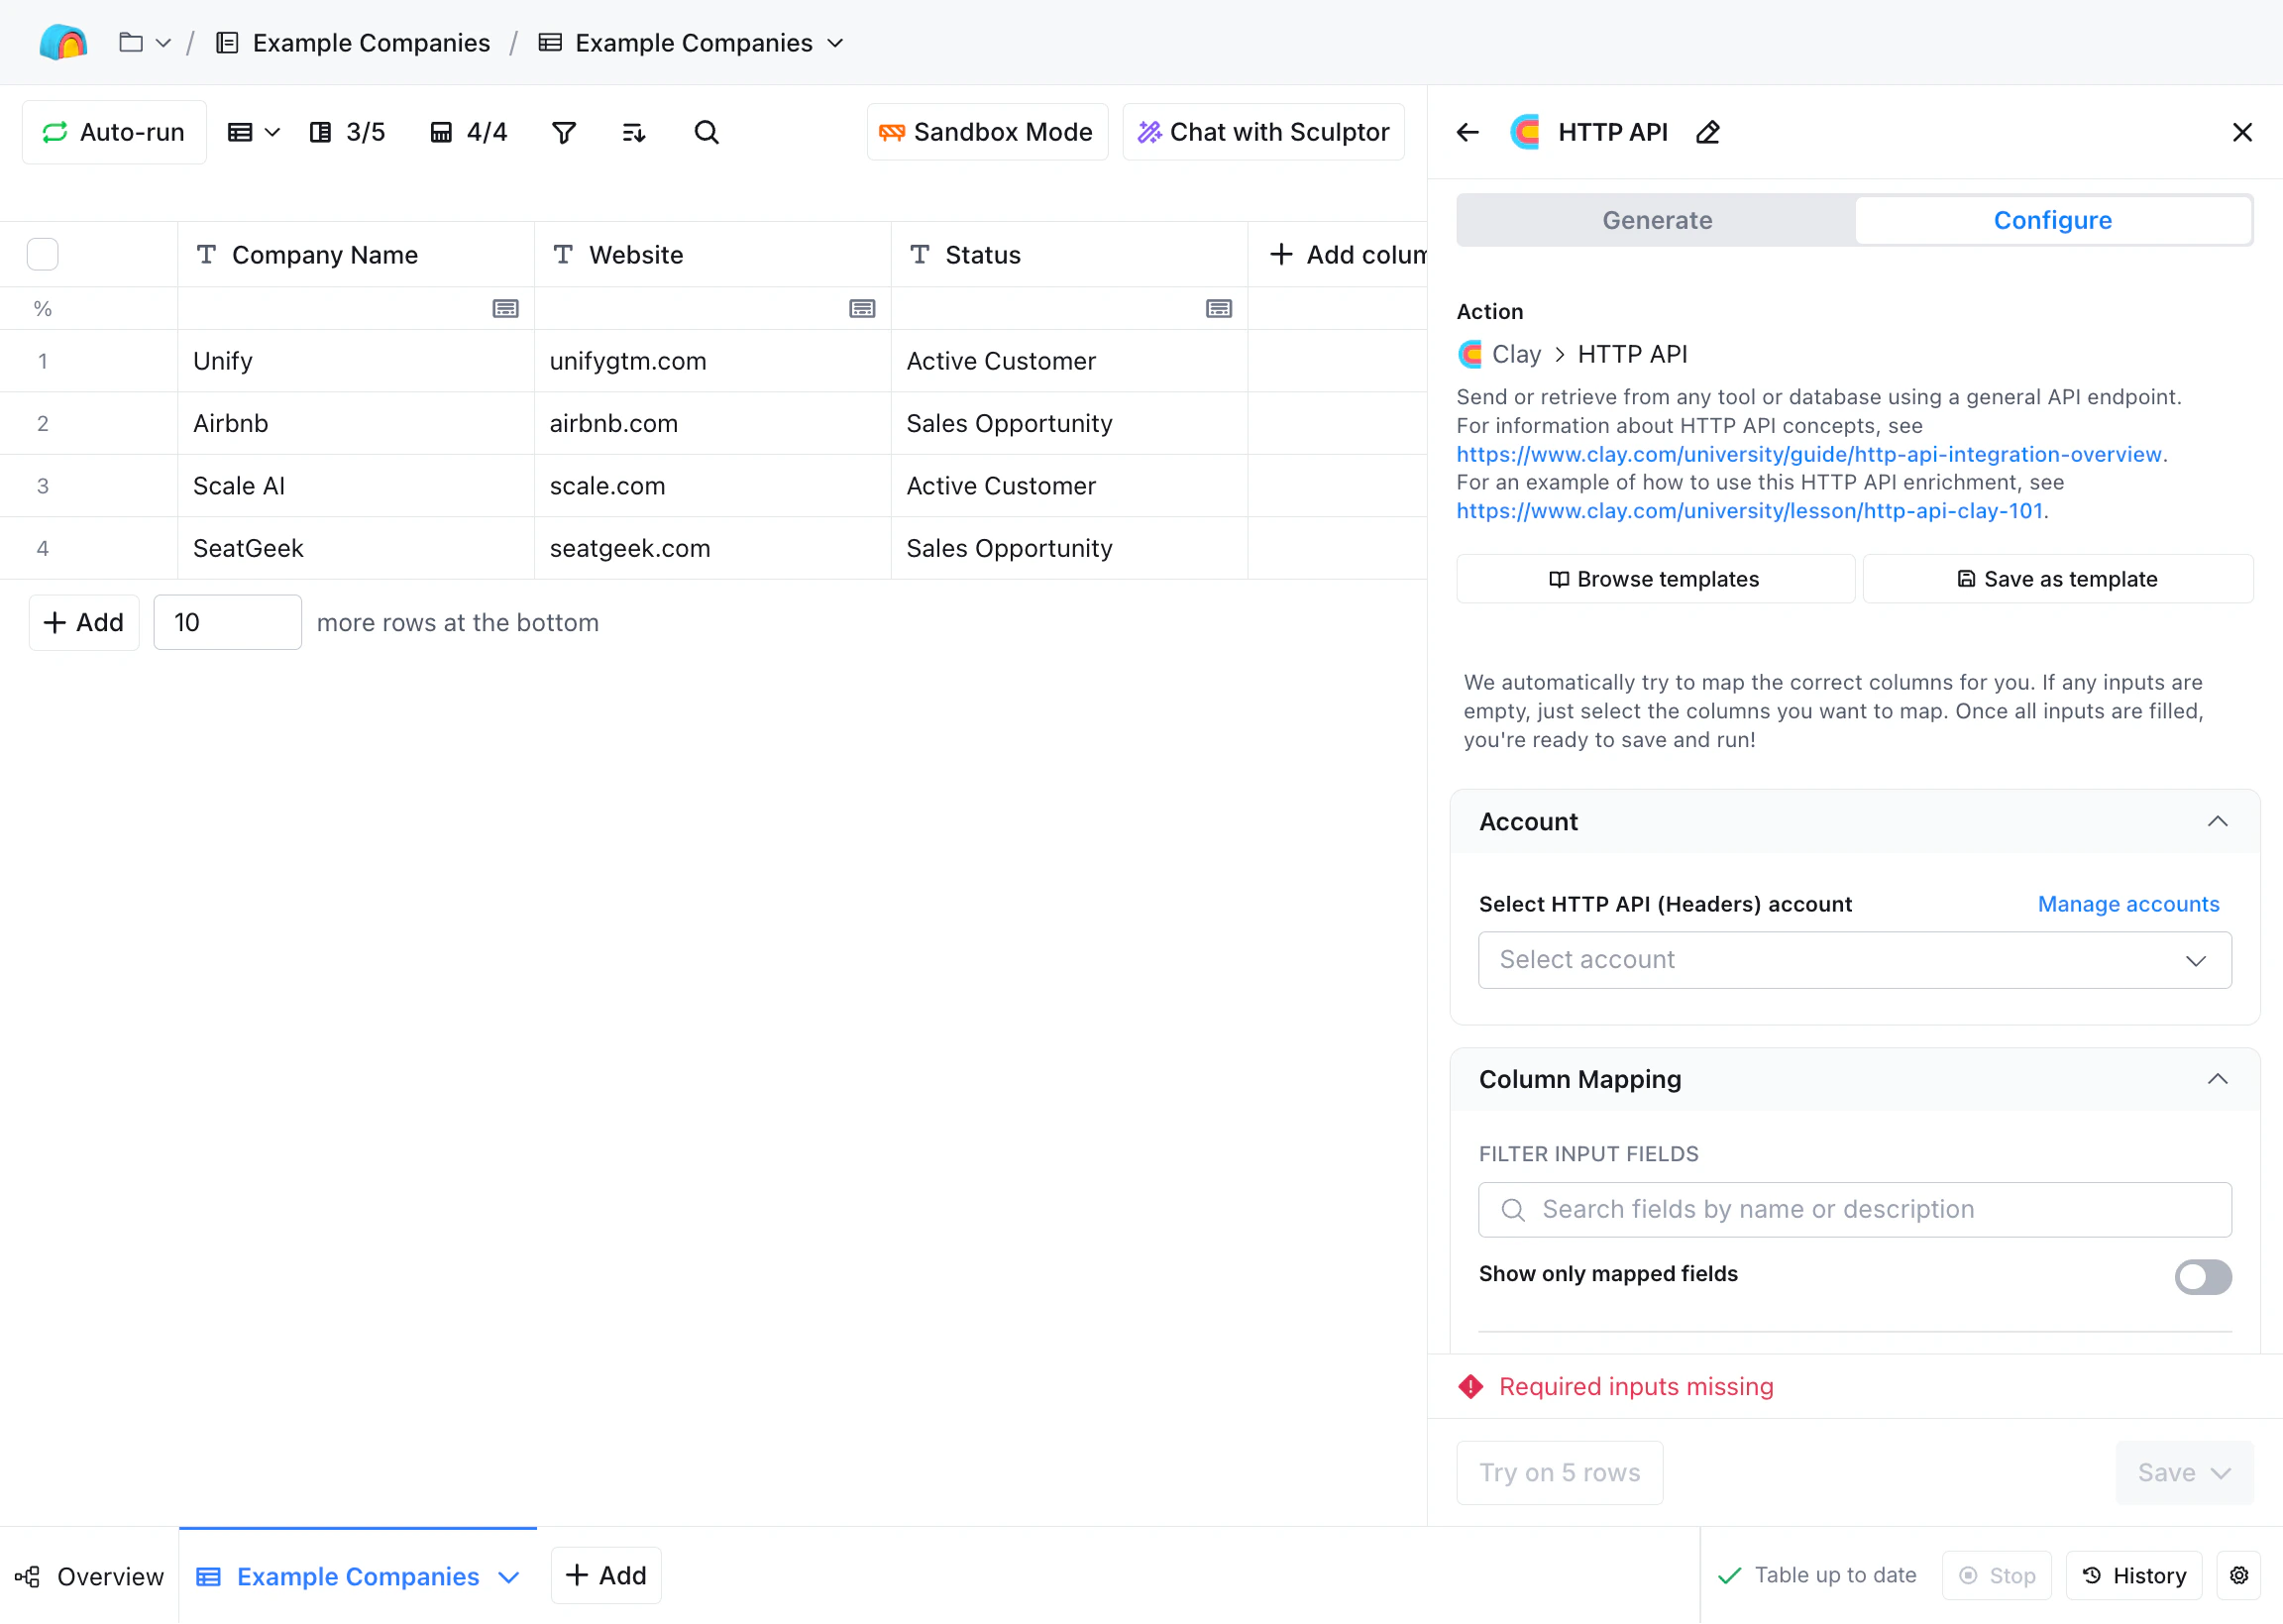
Select the Configure tab. Under Select HTTP API (Headers) account, choose Add account.
The Configure tab can be selected in the top-right corner of the panel.
If you have already completed this step in the past, you can simply select
your existing headers account for Unify.
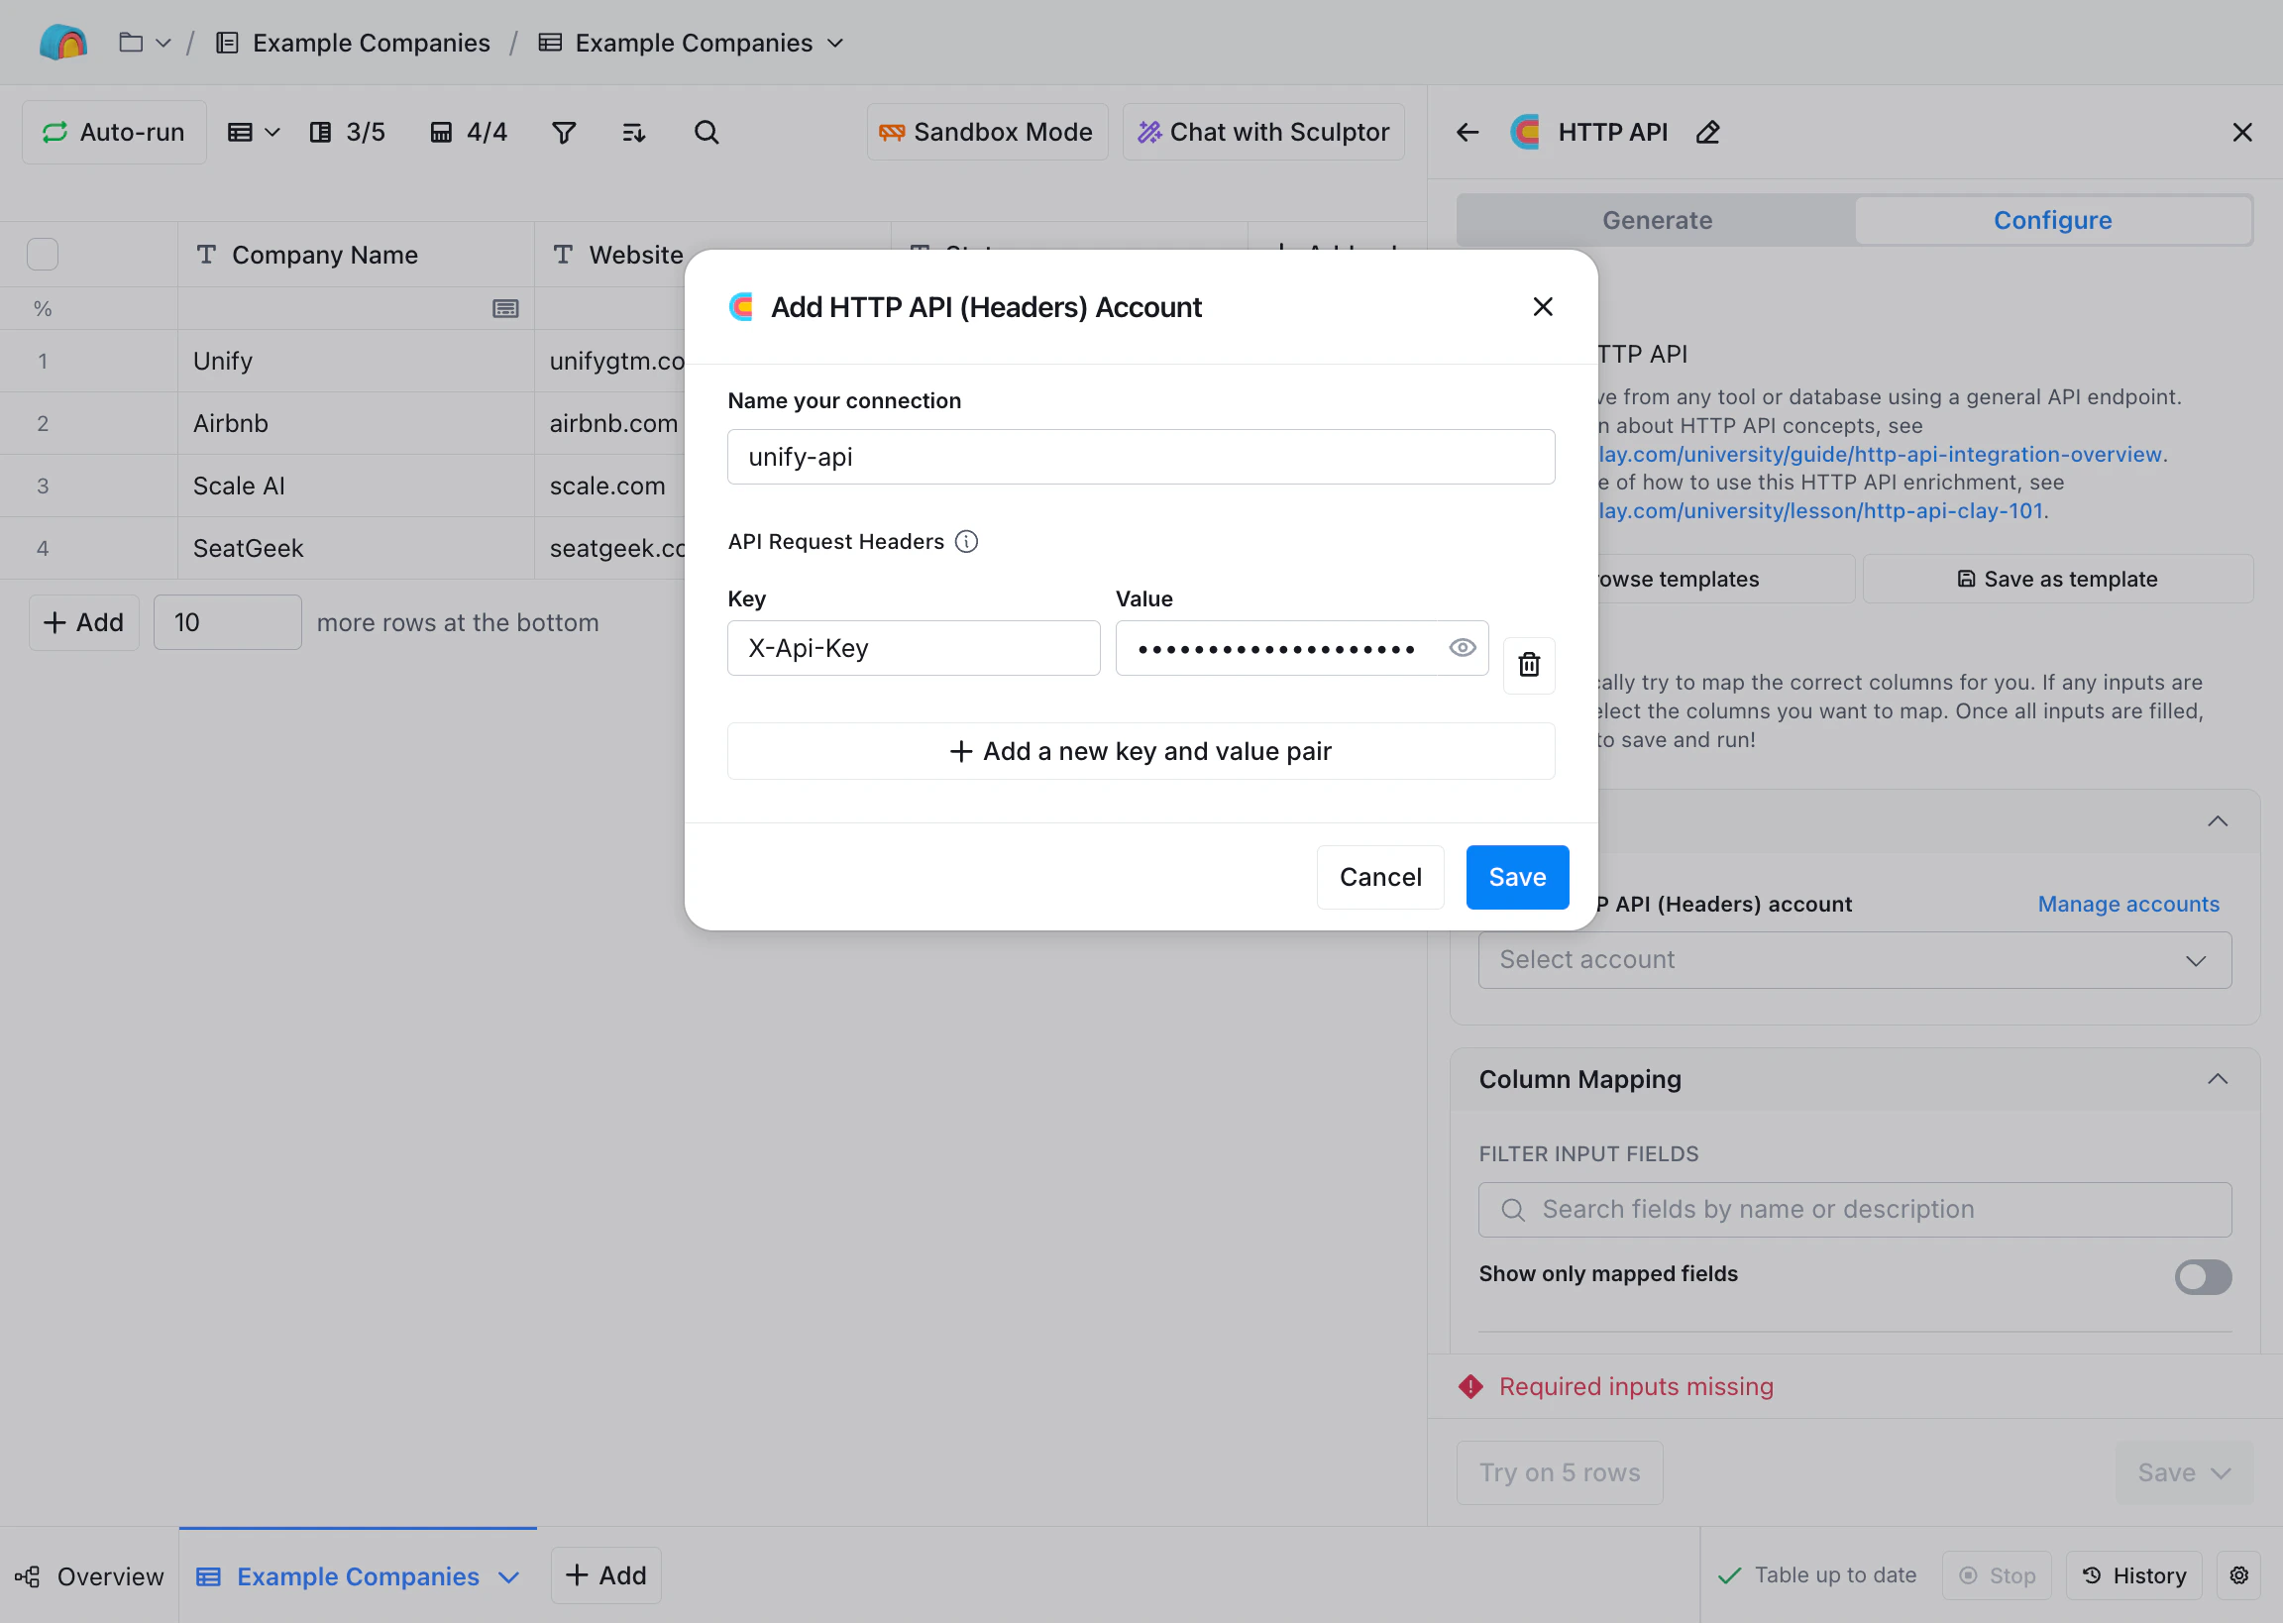
Give the new account a name (e.g., “unify-api”) and add a header named
X-Api-Key whose value is your Unify API key.
Fill in your Unify credentials here.
Select Save to confirm the credentials.
3
Determine which object to use
You can send records into Unify for any standard or custom object using the
Data API. Before constructing the request,
decide which object you want to send records into (e.g., company, person, or
a custom object).Once you’ve picked an object, you will need its API name. The API name can
be found on the object settings page.
For example, the company object’s API name is company.For an overview of how objects work in Unify, see Objects in Unify.
4
Construct the request
The best way to send data into Unify is with the Upsert method.
The URL for this API method is:
You will need to replace {object_name} with the API name of the object you
want to send records into (e.g., company, person, or a custom object).For example, the company object’s API name is company, so the URL is:
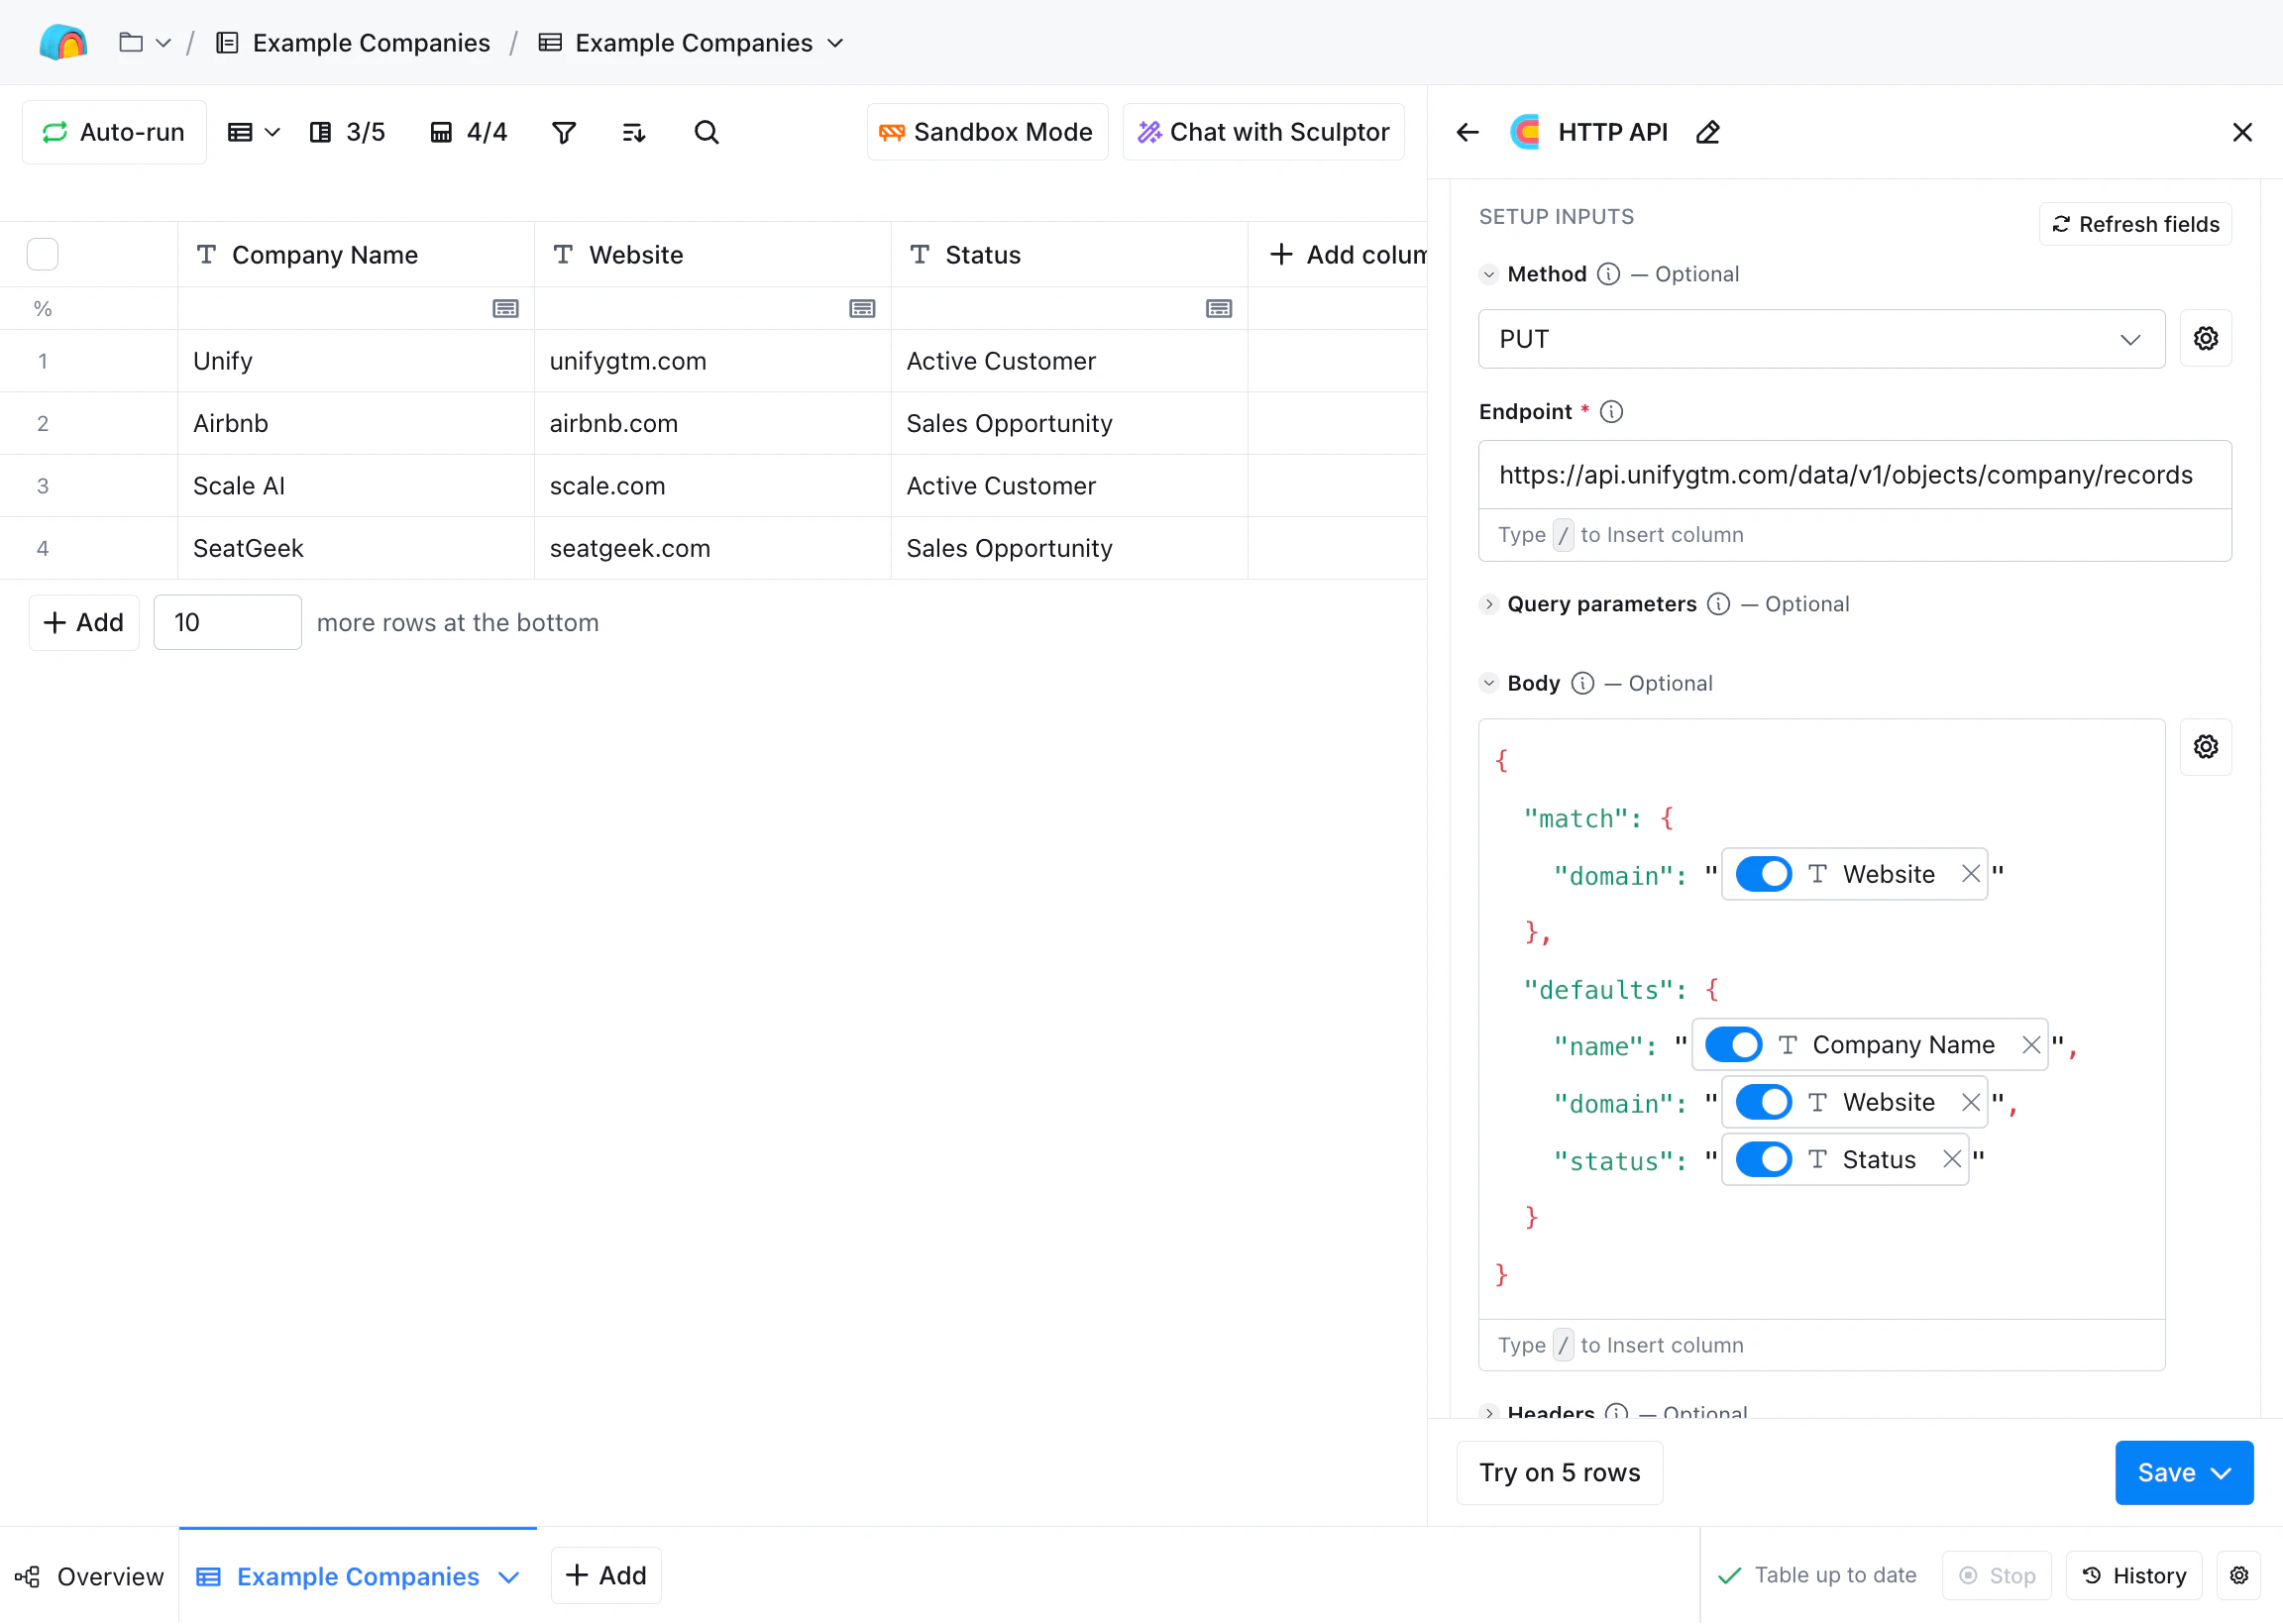
Be sure to replace these placeholders with the actual column names from
your Clay sheet. Press the slash (/) key to select a column when editing
the body.
Don’t forget to include quotation marks around the column placeholders!
That’s it! All of the other settings can be left in their default state or
modified as needed.
A fully configured HTTP API action for upserting records into Unify.
5
Test and save
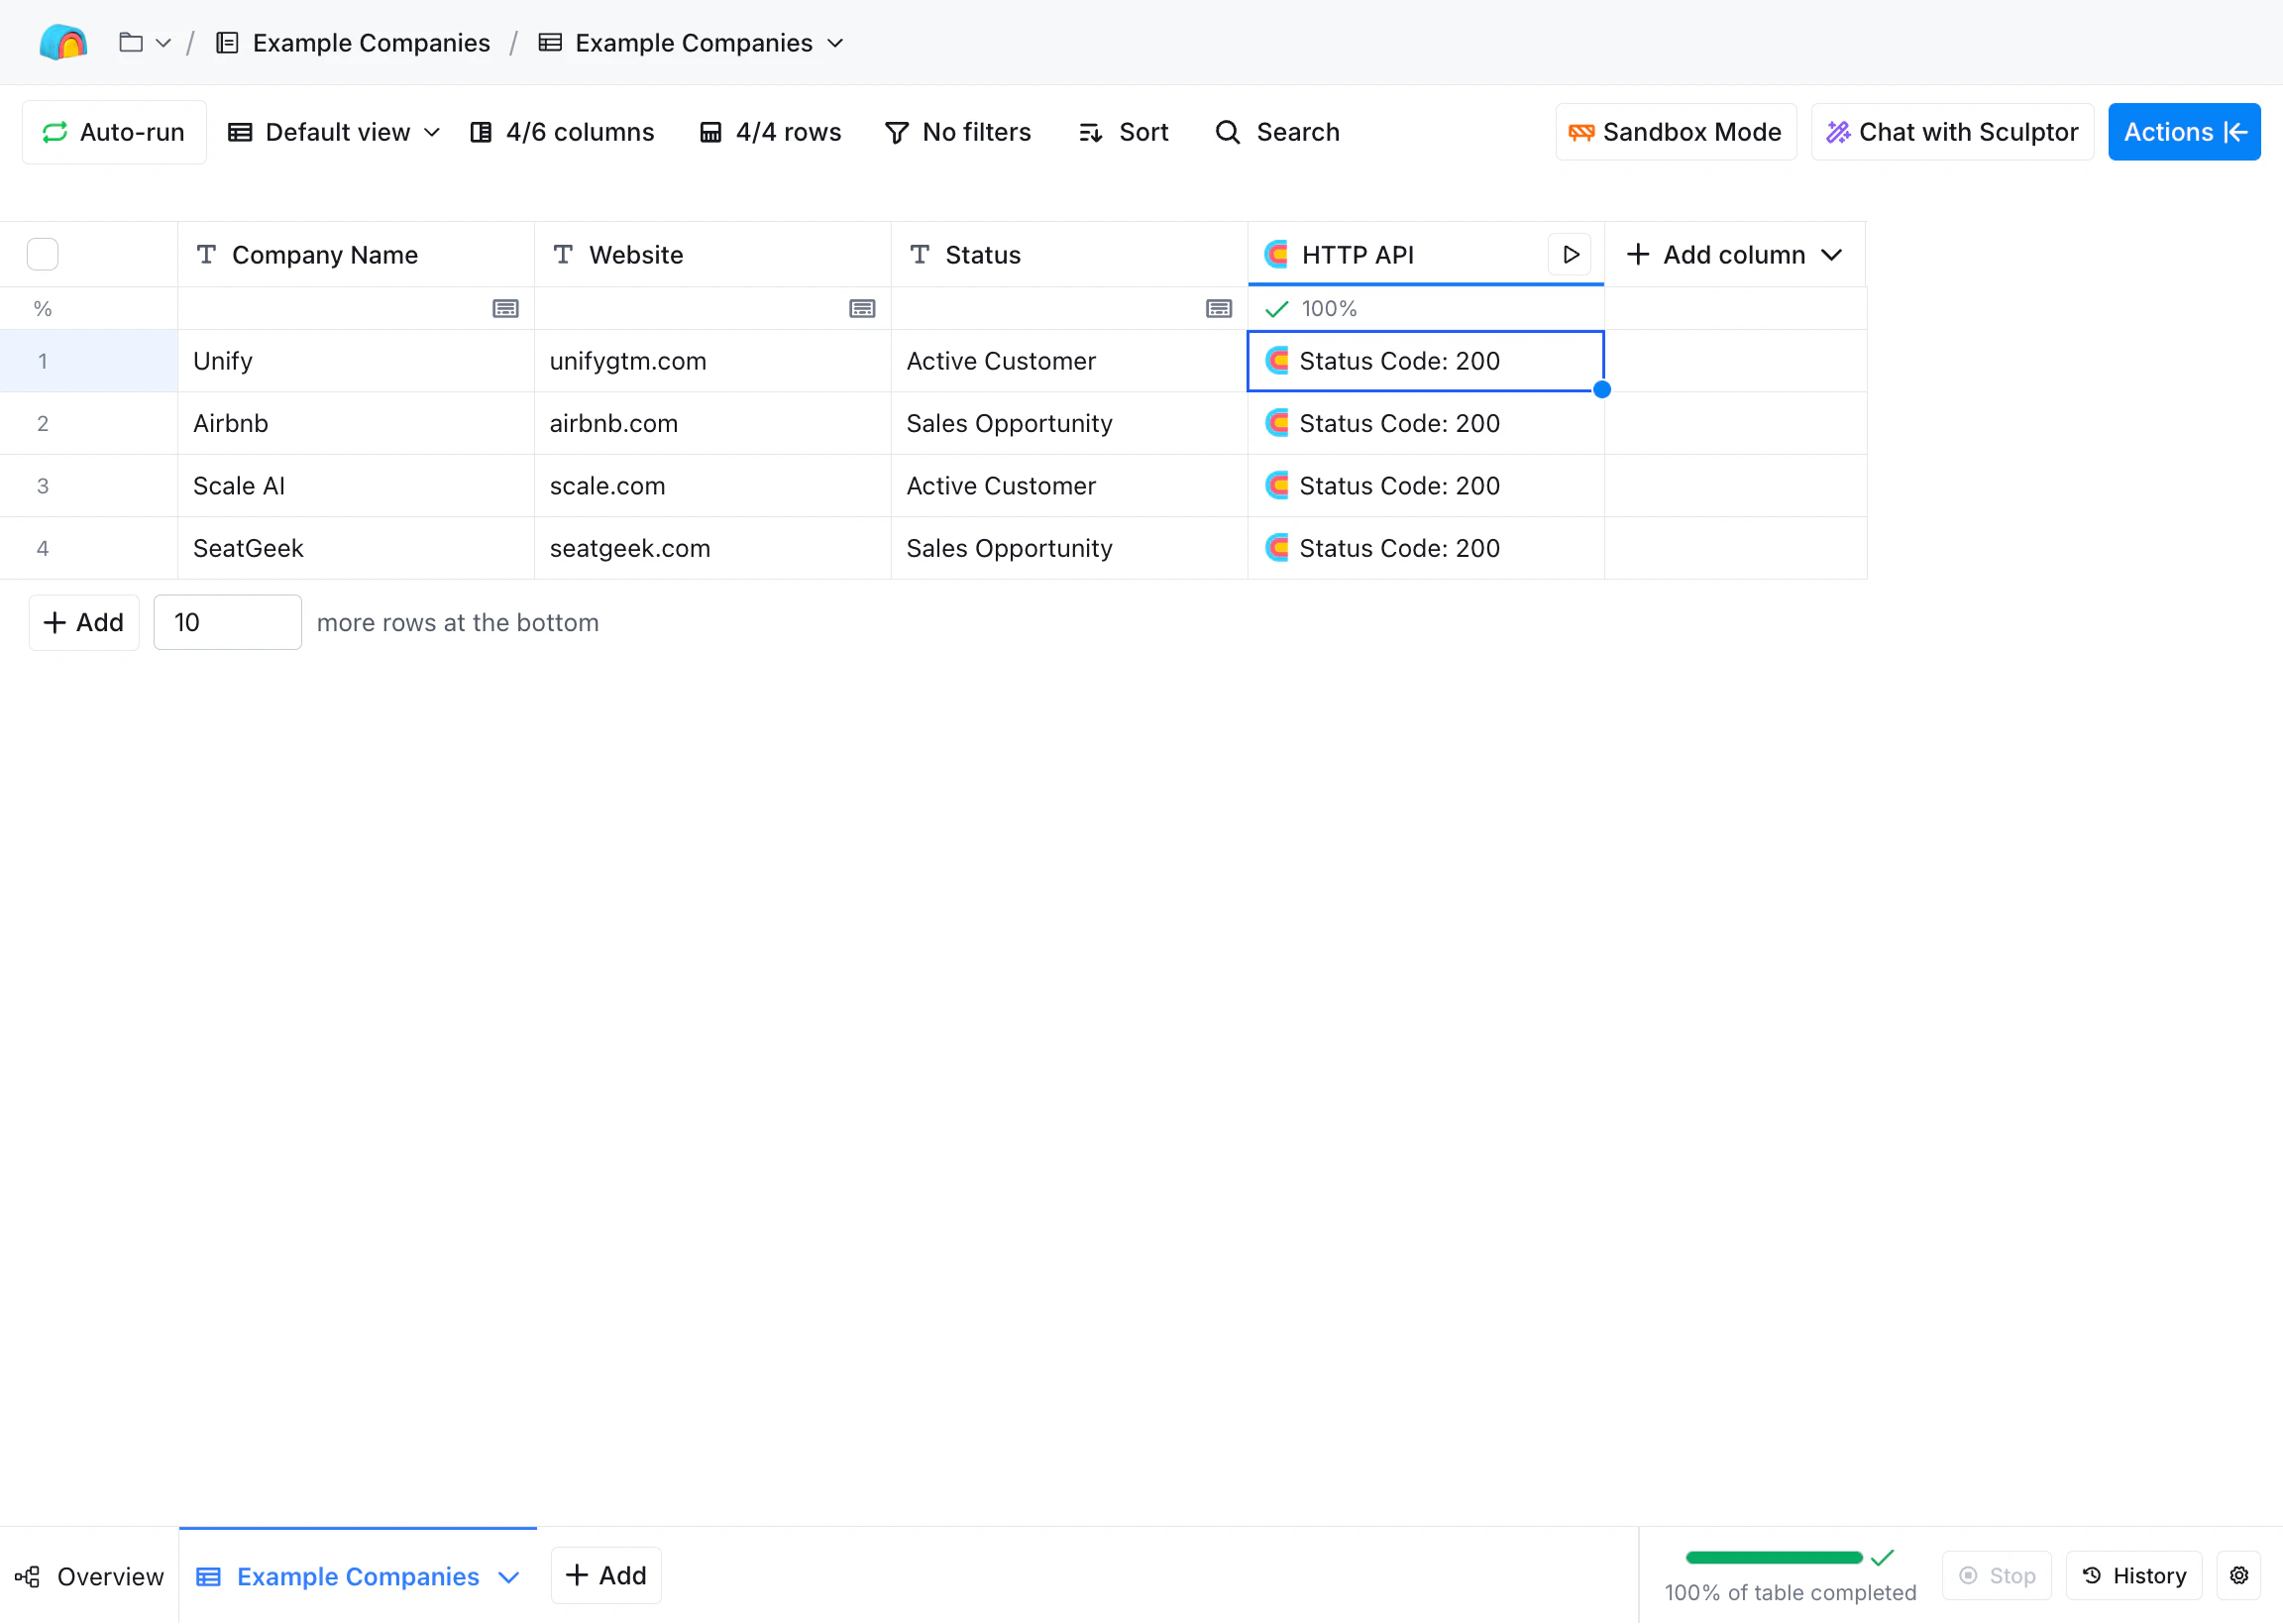
Once the action is configured, you can test it by clicking the Try on 5 rows
button. You should see a status code in the range 200-299 if the request was
successful.
Test the configured API call for the first five rows in the sheet.
Finally, select Save and choose whether you want to immediately run the
action on all rows in the sheet. Once run, you should see successful status
codes appear in the column.
Test the configured API call for the first five rows in the sheet.
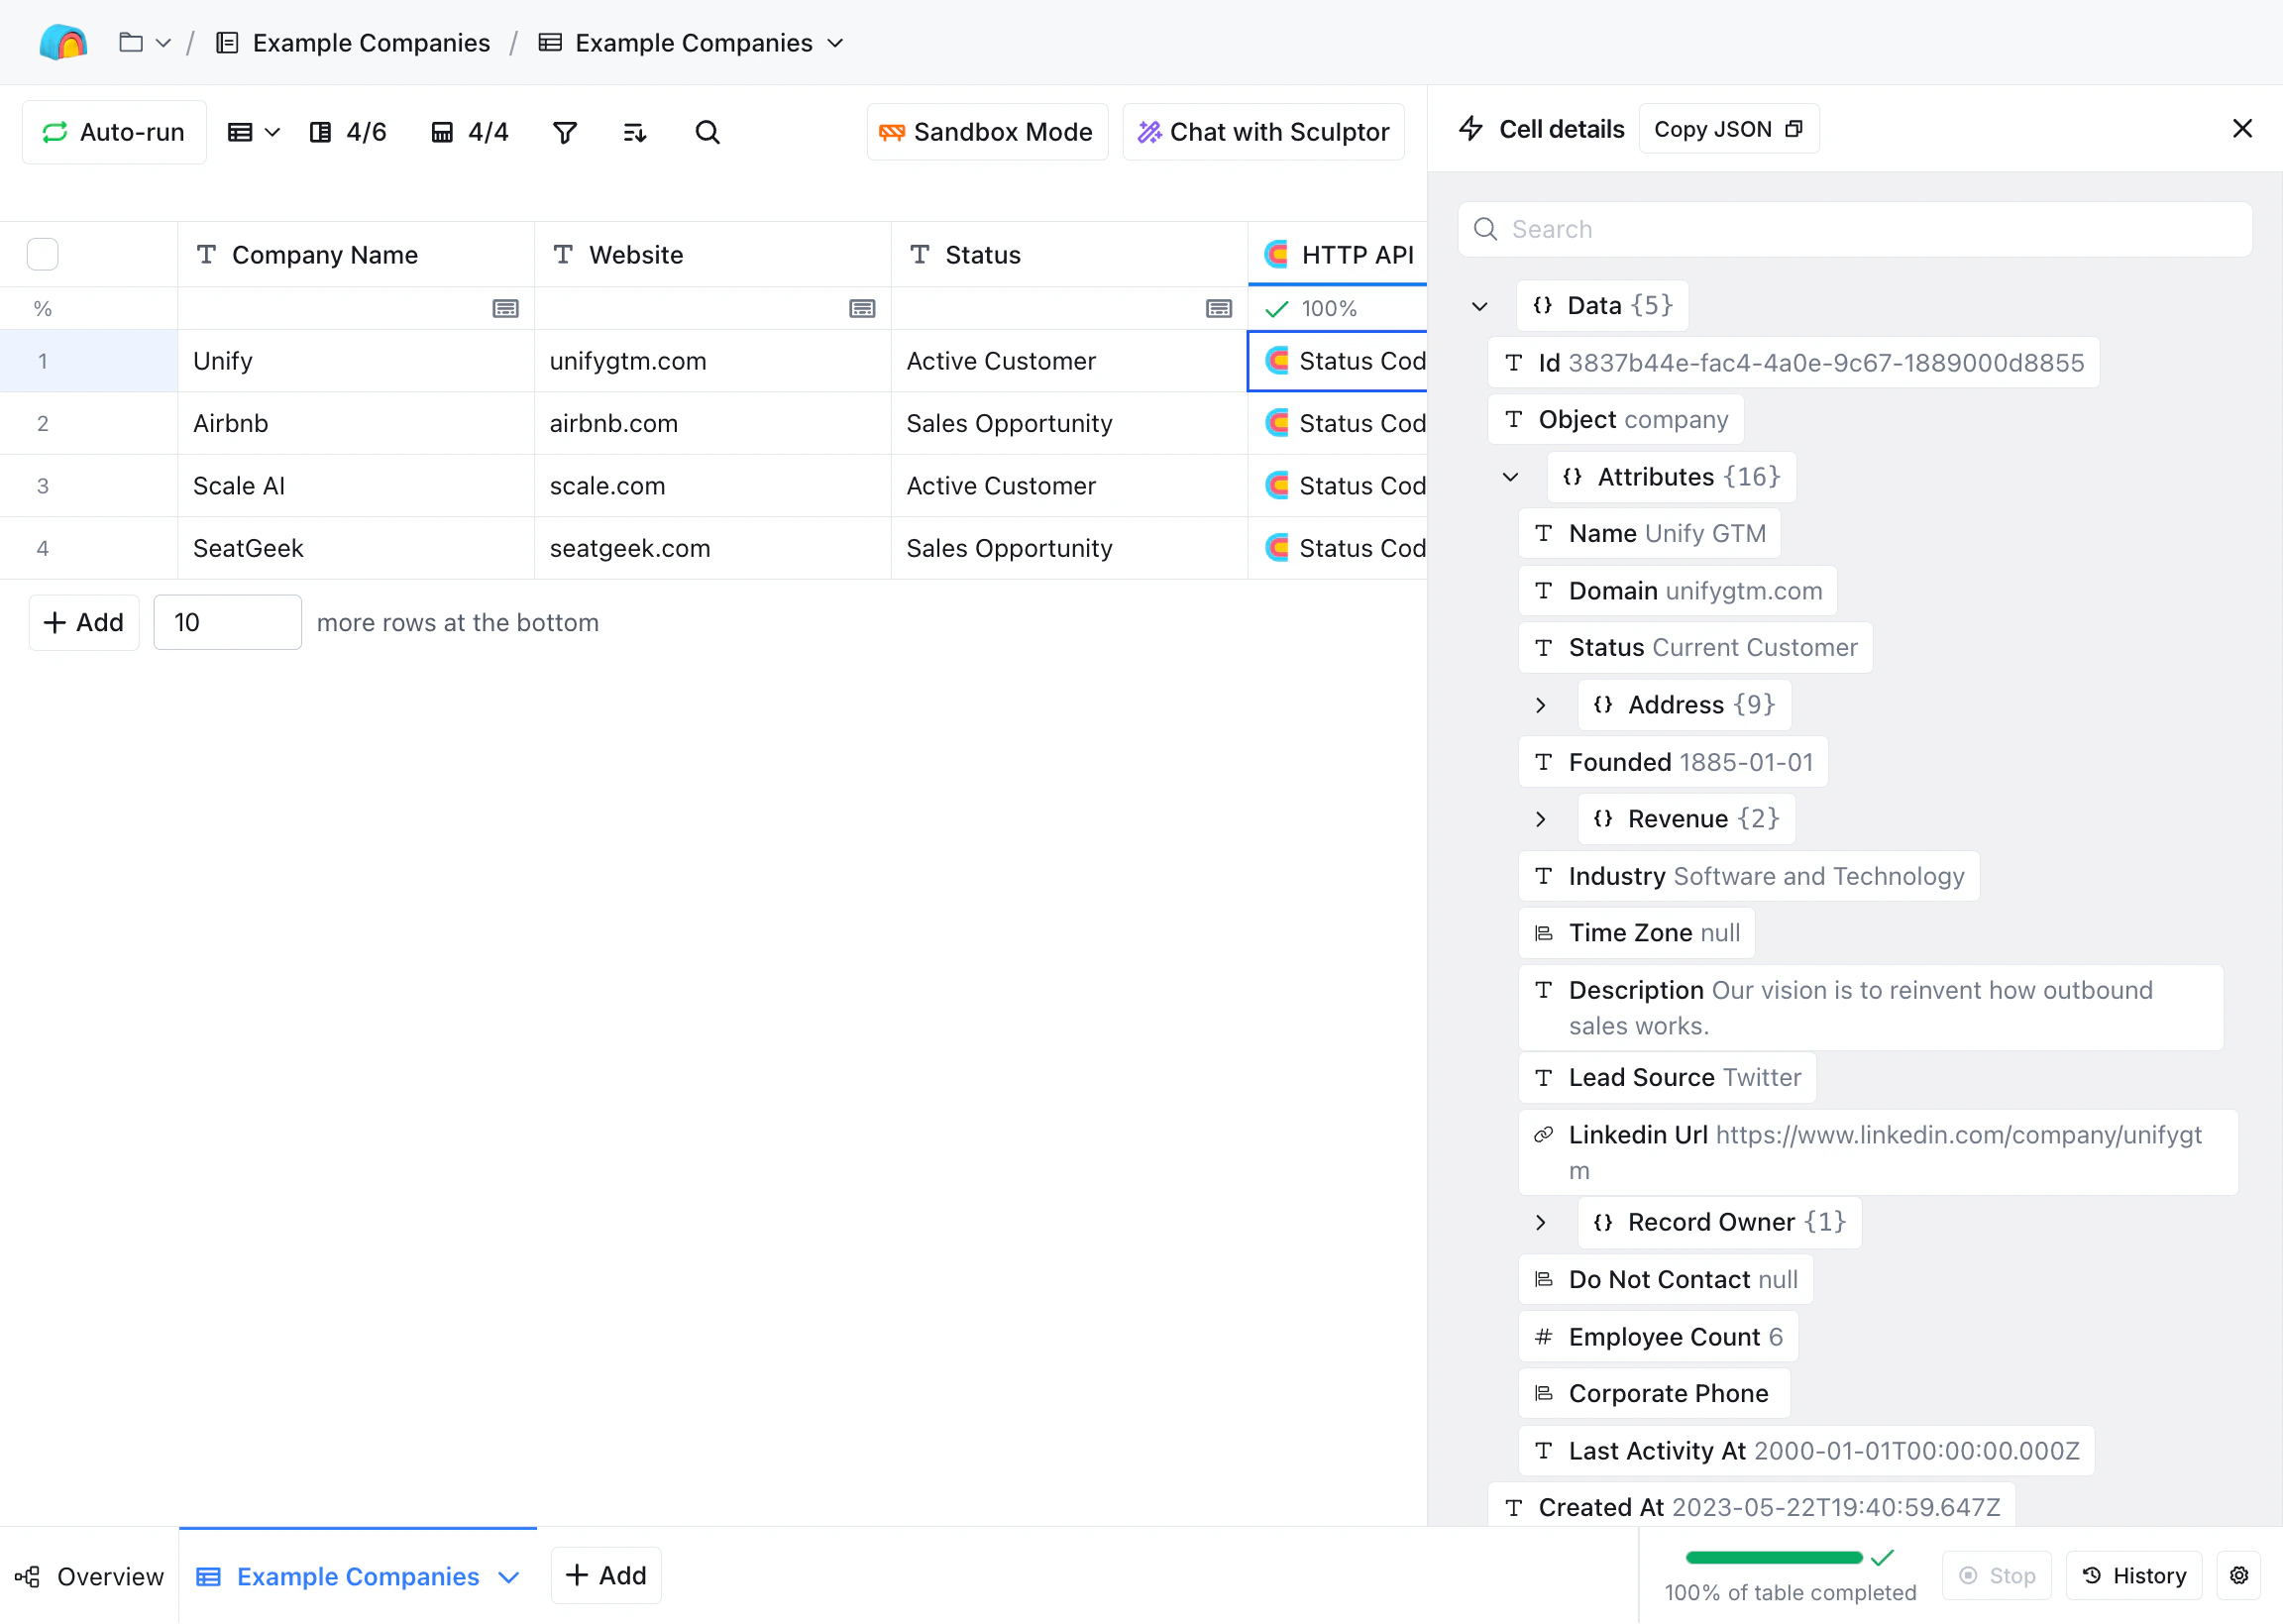
You can click into any cell in the column to see the full response from the
API. Typically, the Data API will return the full record that was created or
updated.
View the full API response for a specific row.
If you search for that record in Unify, you should see it appear with the
correct data!
Why am I getting an undefined or 400 status code error response?
Here are a few things to try:
Inspect the response: All error responses should contain details about
why the request failed. Click into the cell in the sheet to view the full
response and look for any error messages or details.
Check the object API name: The URL must use the object’s API name,
such as company, person, or the custom object API name from settings.
Check the upsert body: Upsert requests must include match and one of
create, create_or_update, or create_or_update_if_empty.
Check the body formatting: Ensure that the JSON body correctly matches
the expected format of the Data API
method you are trying to use. Double check that all Clay column variable
placeholders are inside quotation marks.
Check nested references: If you are linking a person to a company,
make sure the nested company value is a valid match, create, or upsert
payload.
Check for sheet errors: Look for a red error symbol in the column name
of the HTTP API column in the sheet. Sometimes, this will indicate an
error in the Clay UI. For example, you may be referencing a deleted column
name, or there may have been a subtle error when pasting the body into the
Clay UI.