Overview
This guide assumes that you already have a Census account. If you don’t, you
can sign up for a free plan here, which supports up
to one billable destination.
Connect Census to Unify
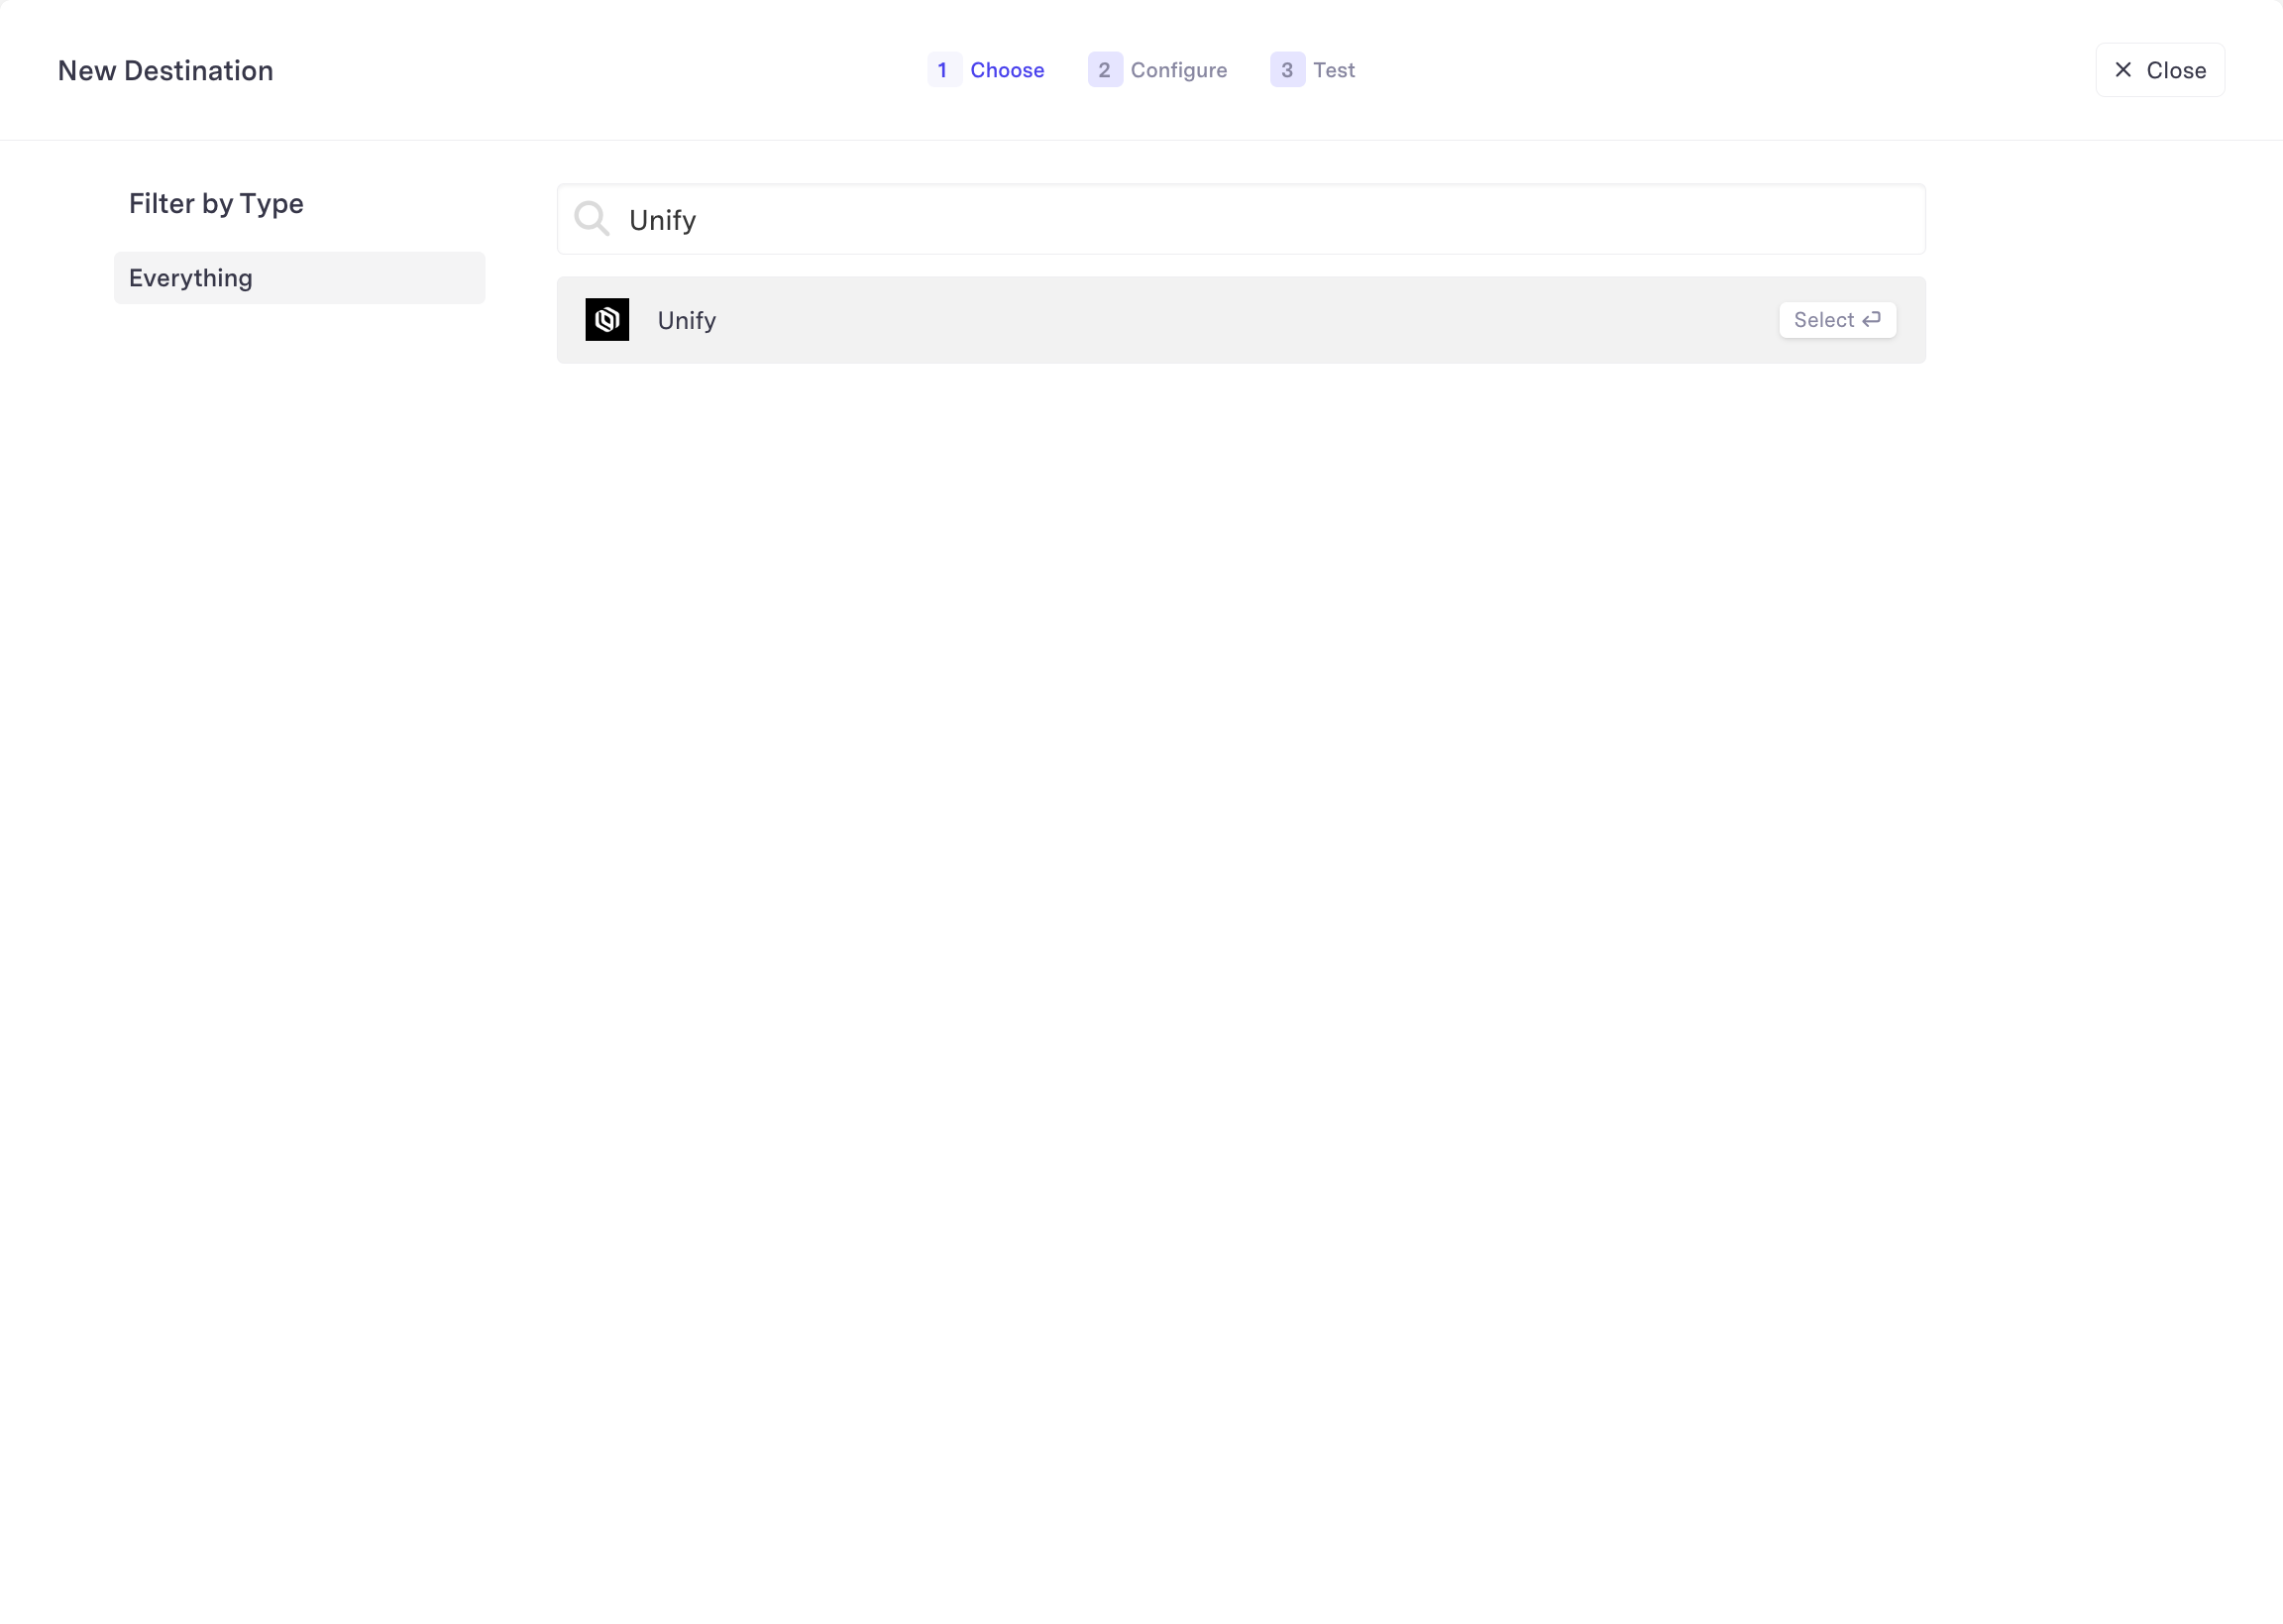
Select the Unify destination type
Within Census, navigate to Destinations and select Add a destination.
Configure the destination
Fill in a name for your destination and provide an API key. You can generate
an API key within Unify by navigating to Settings -> API
Keys.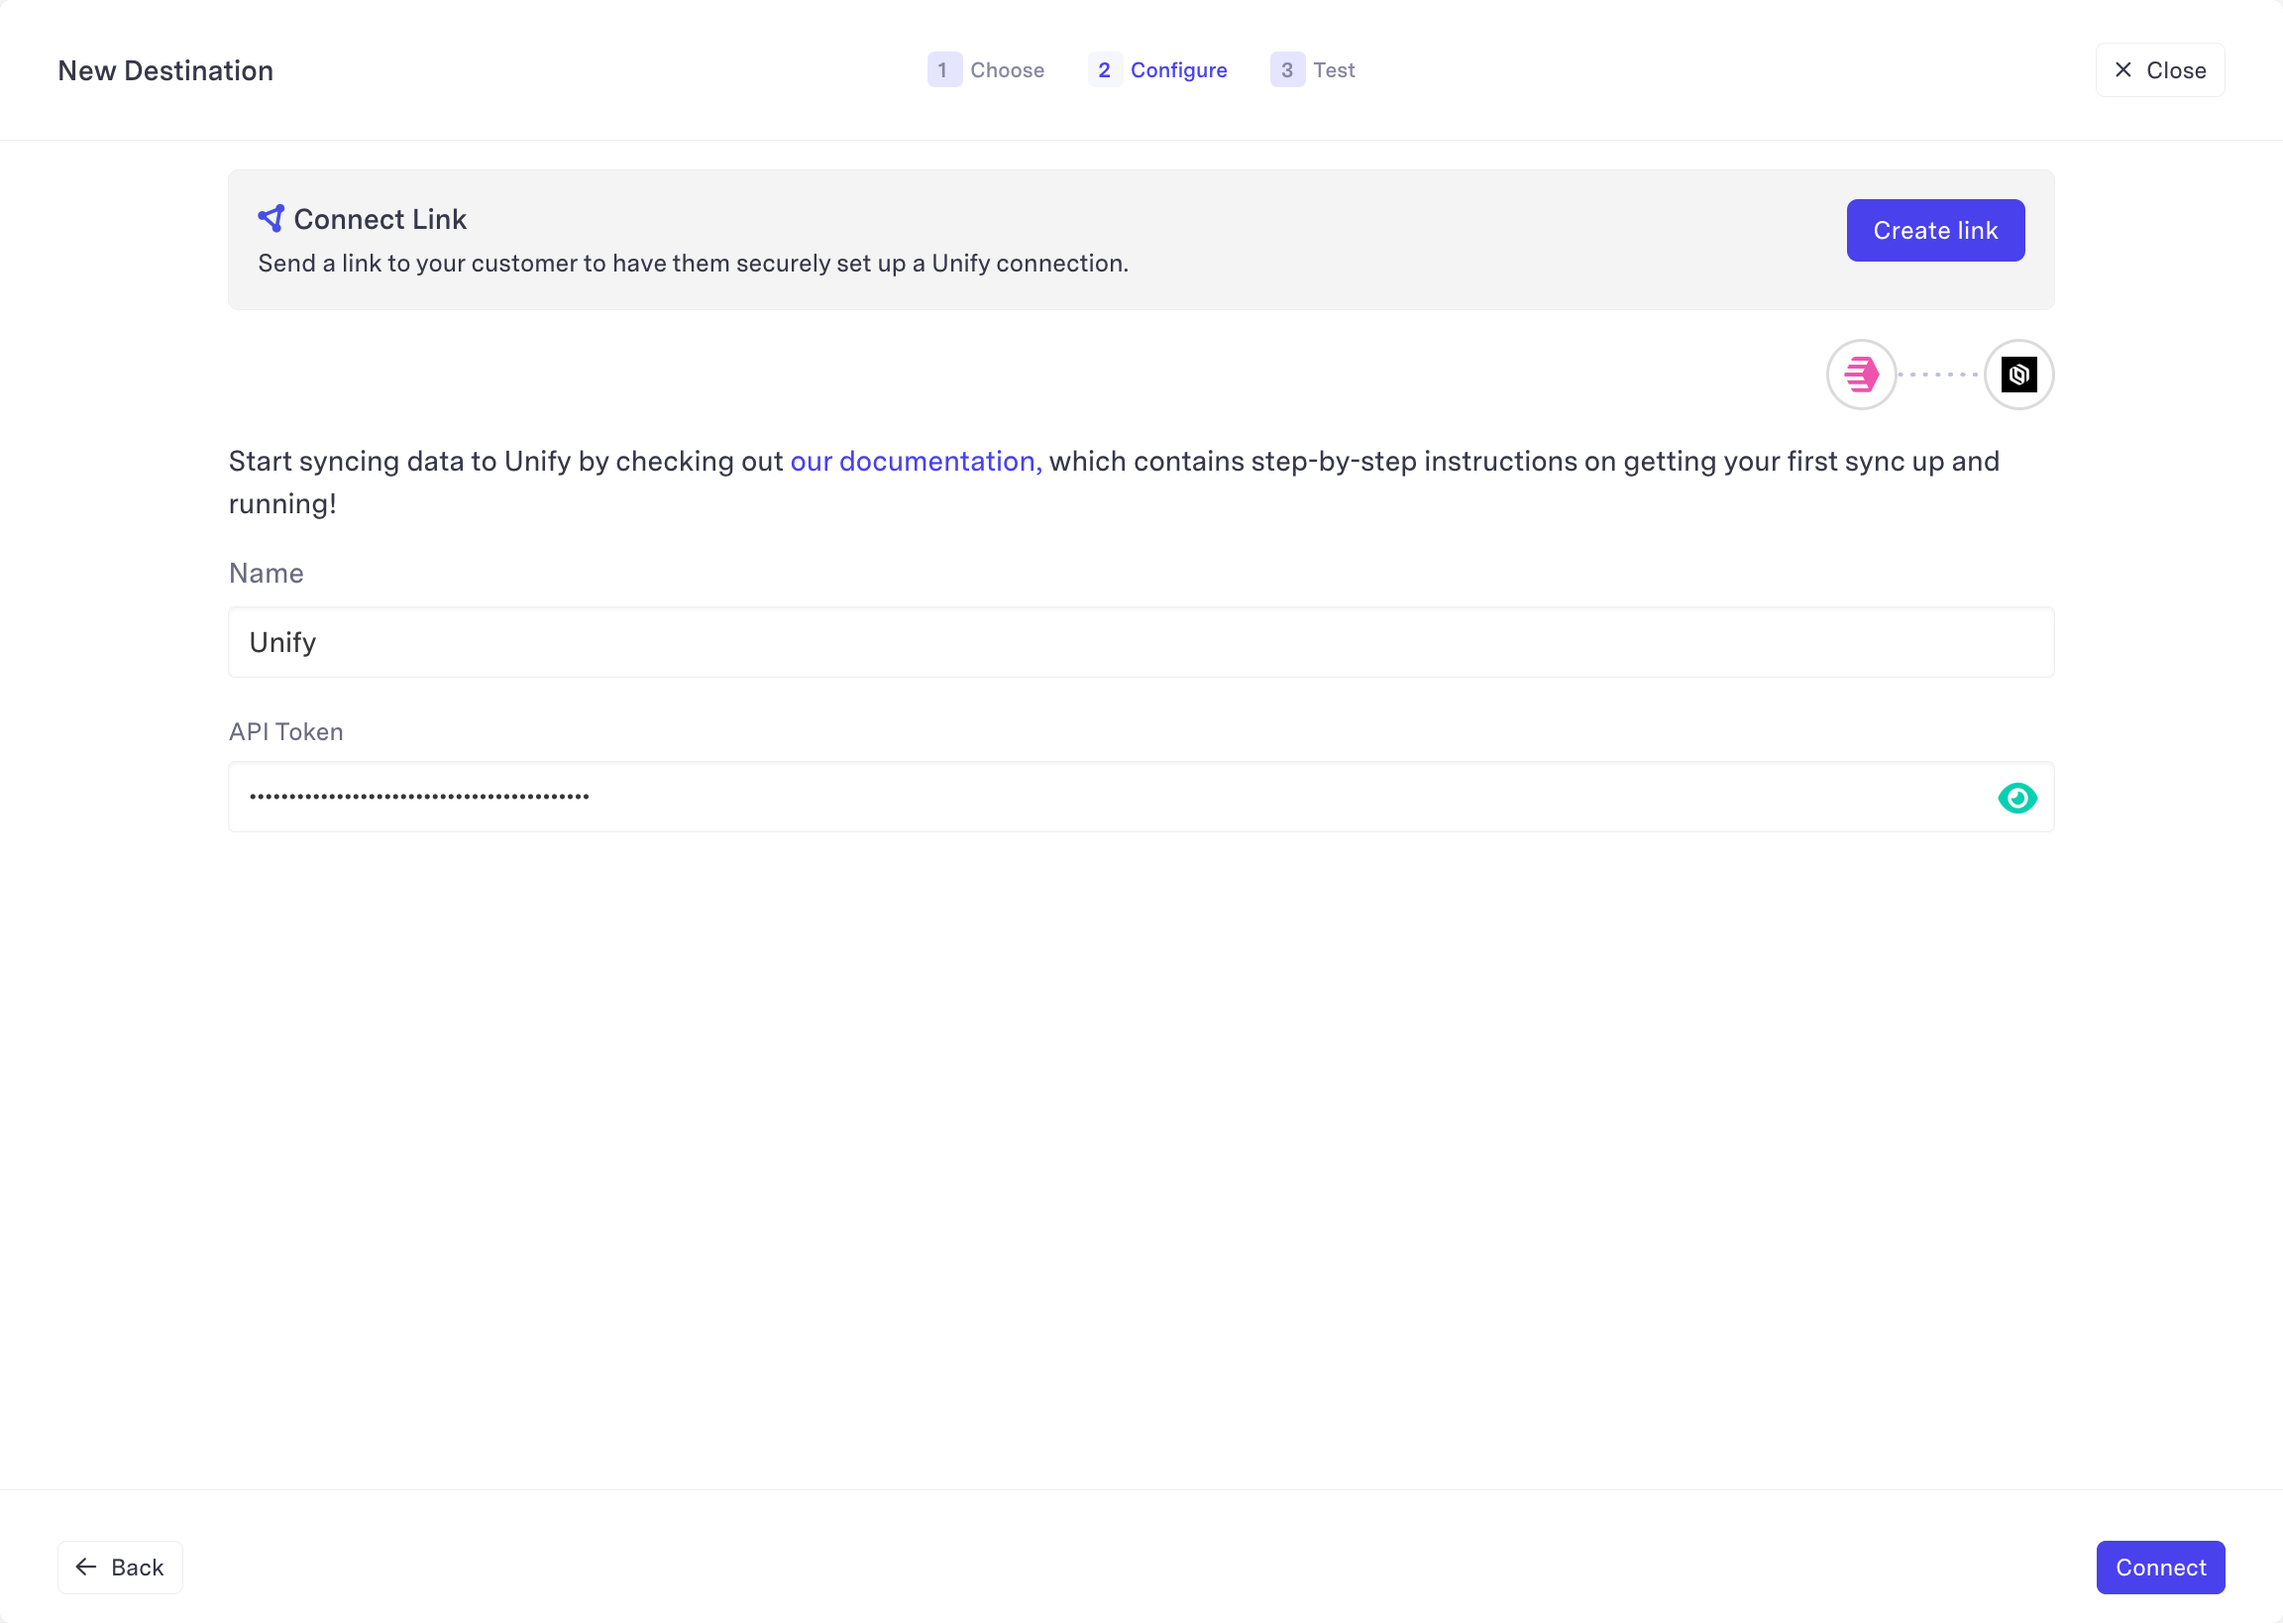
Sync to an object

Select a data source
Select the data source you want to sync from. This can be a table in a data
warehouse, database, or any other supported data source.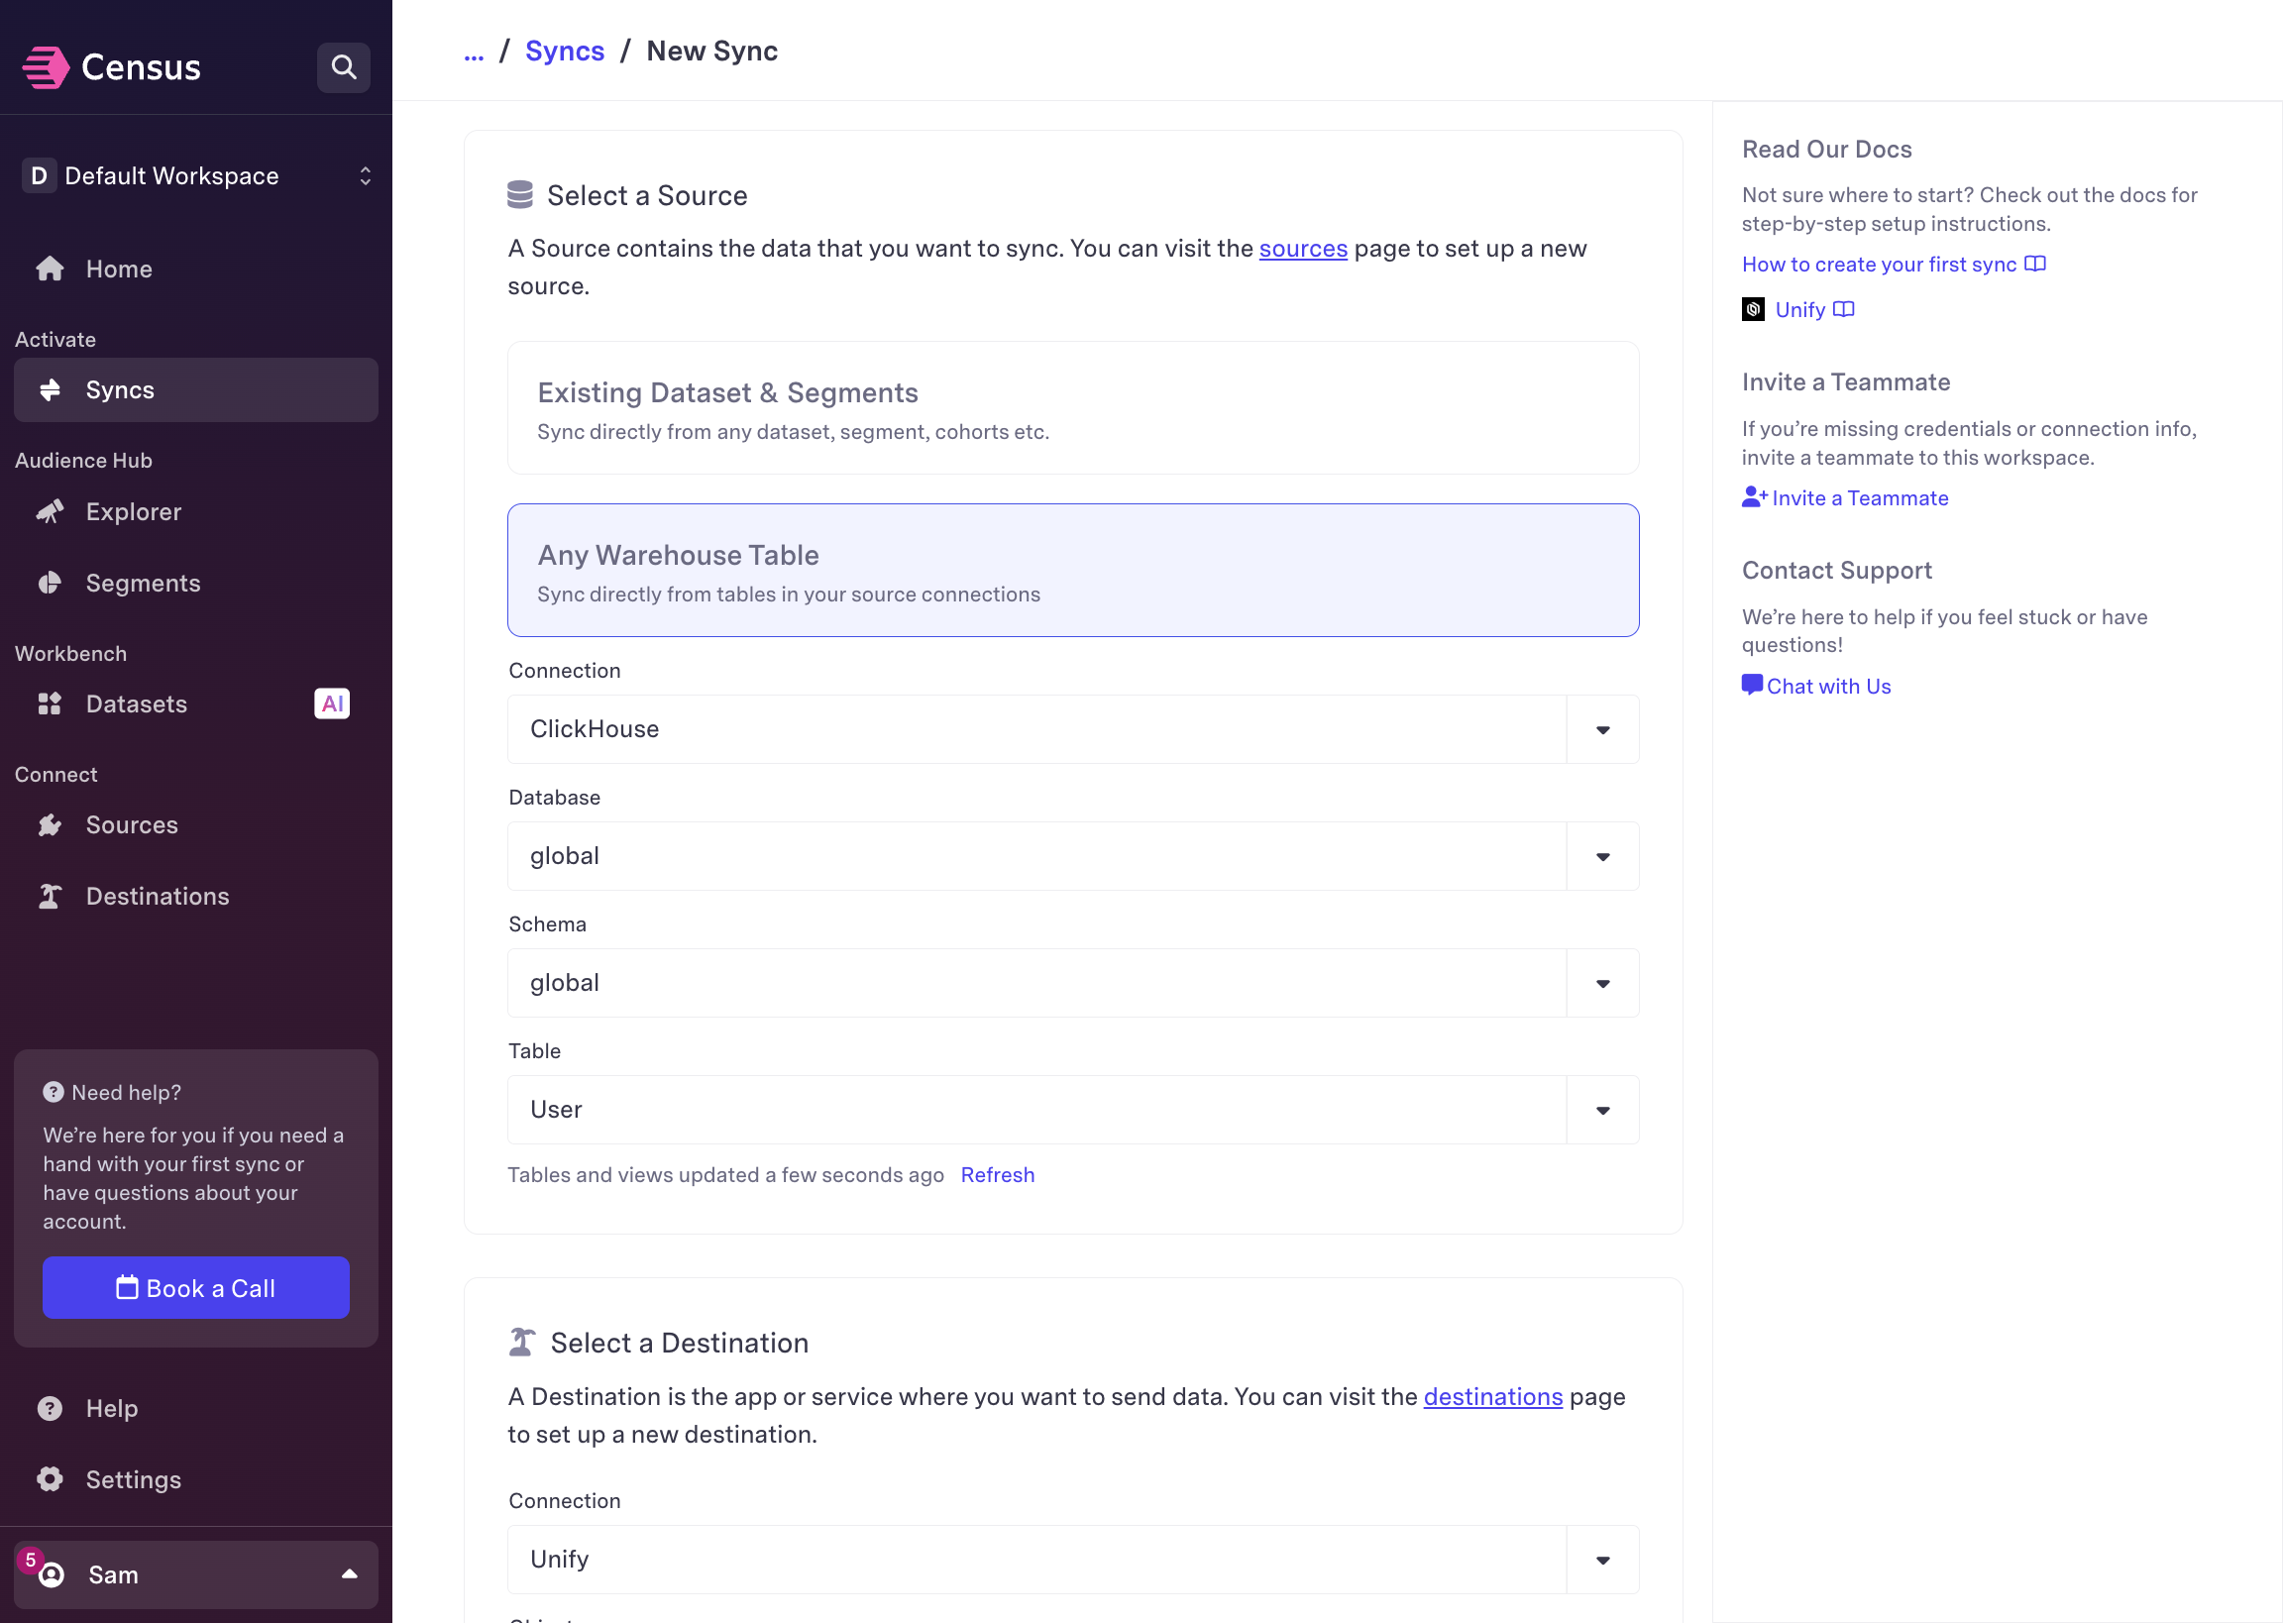
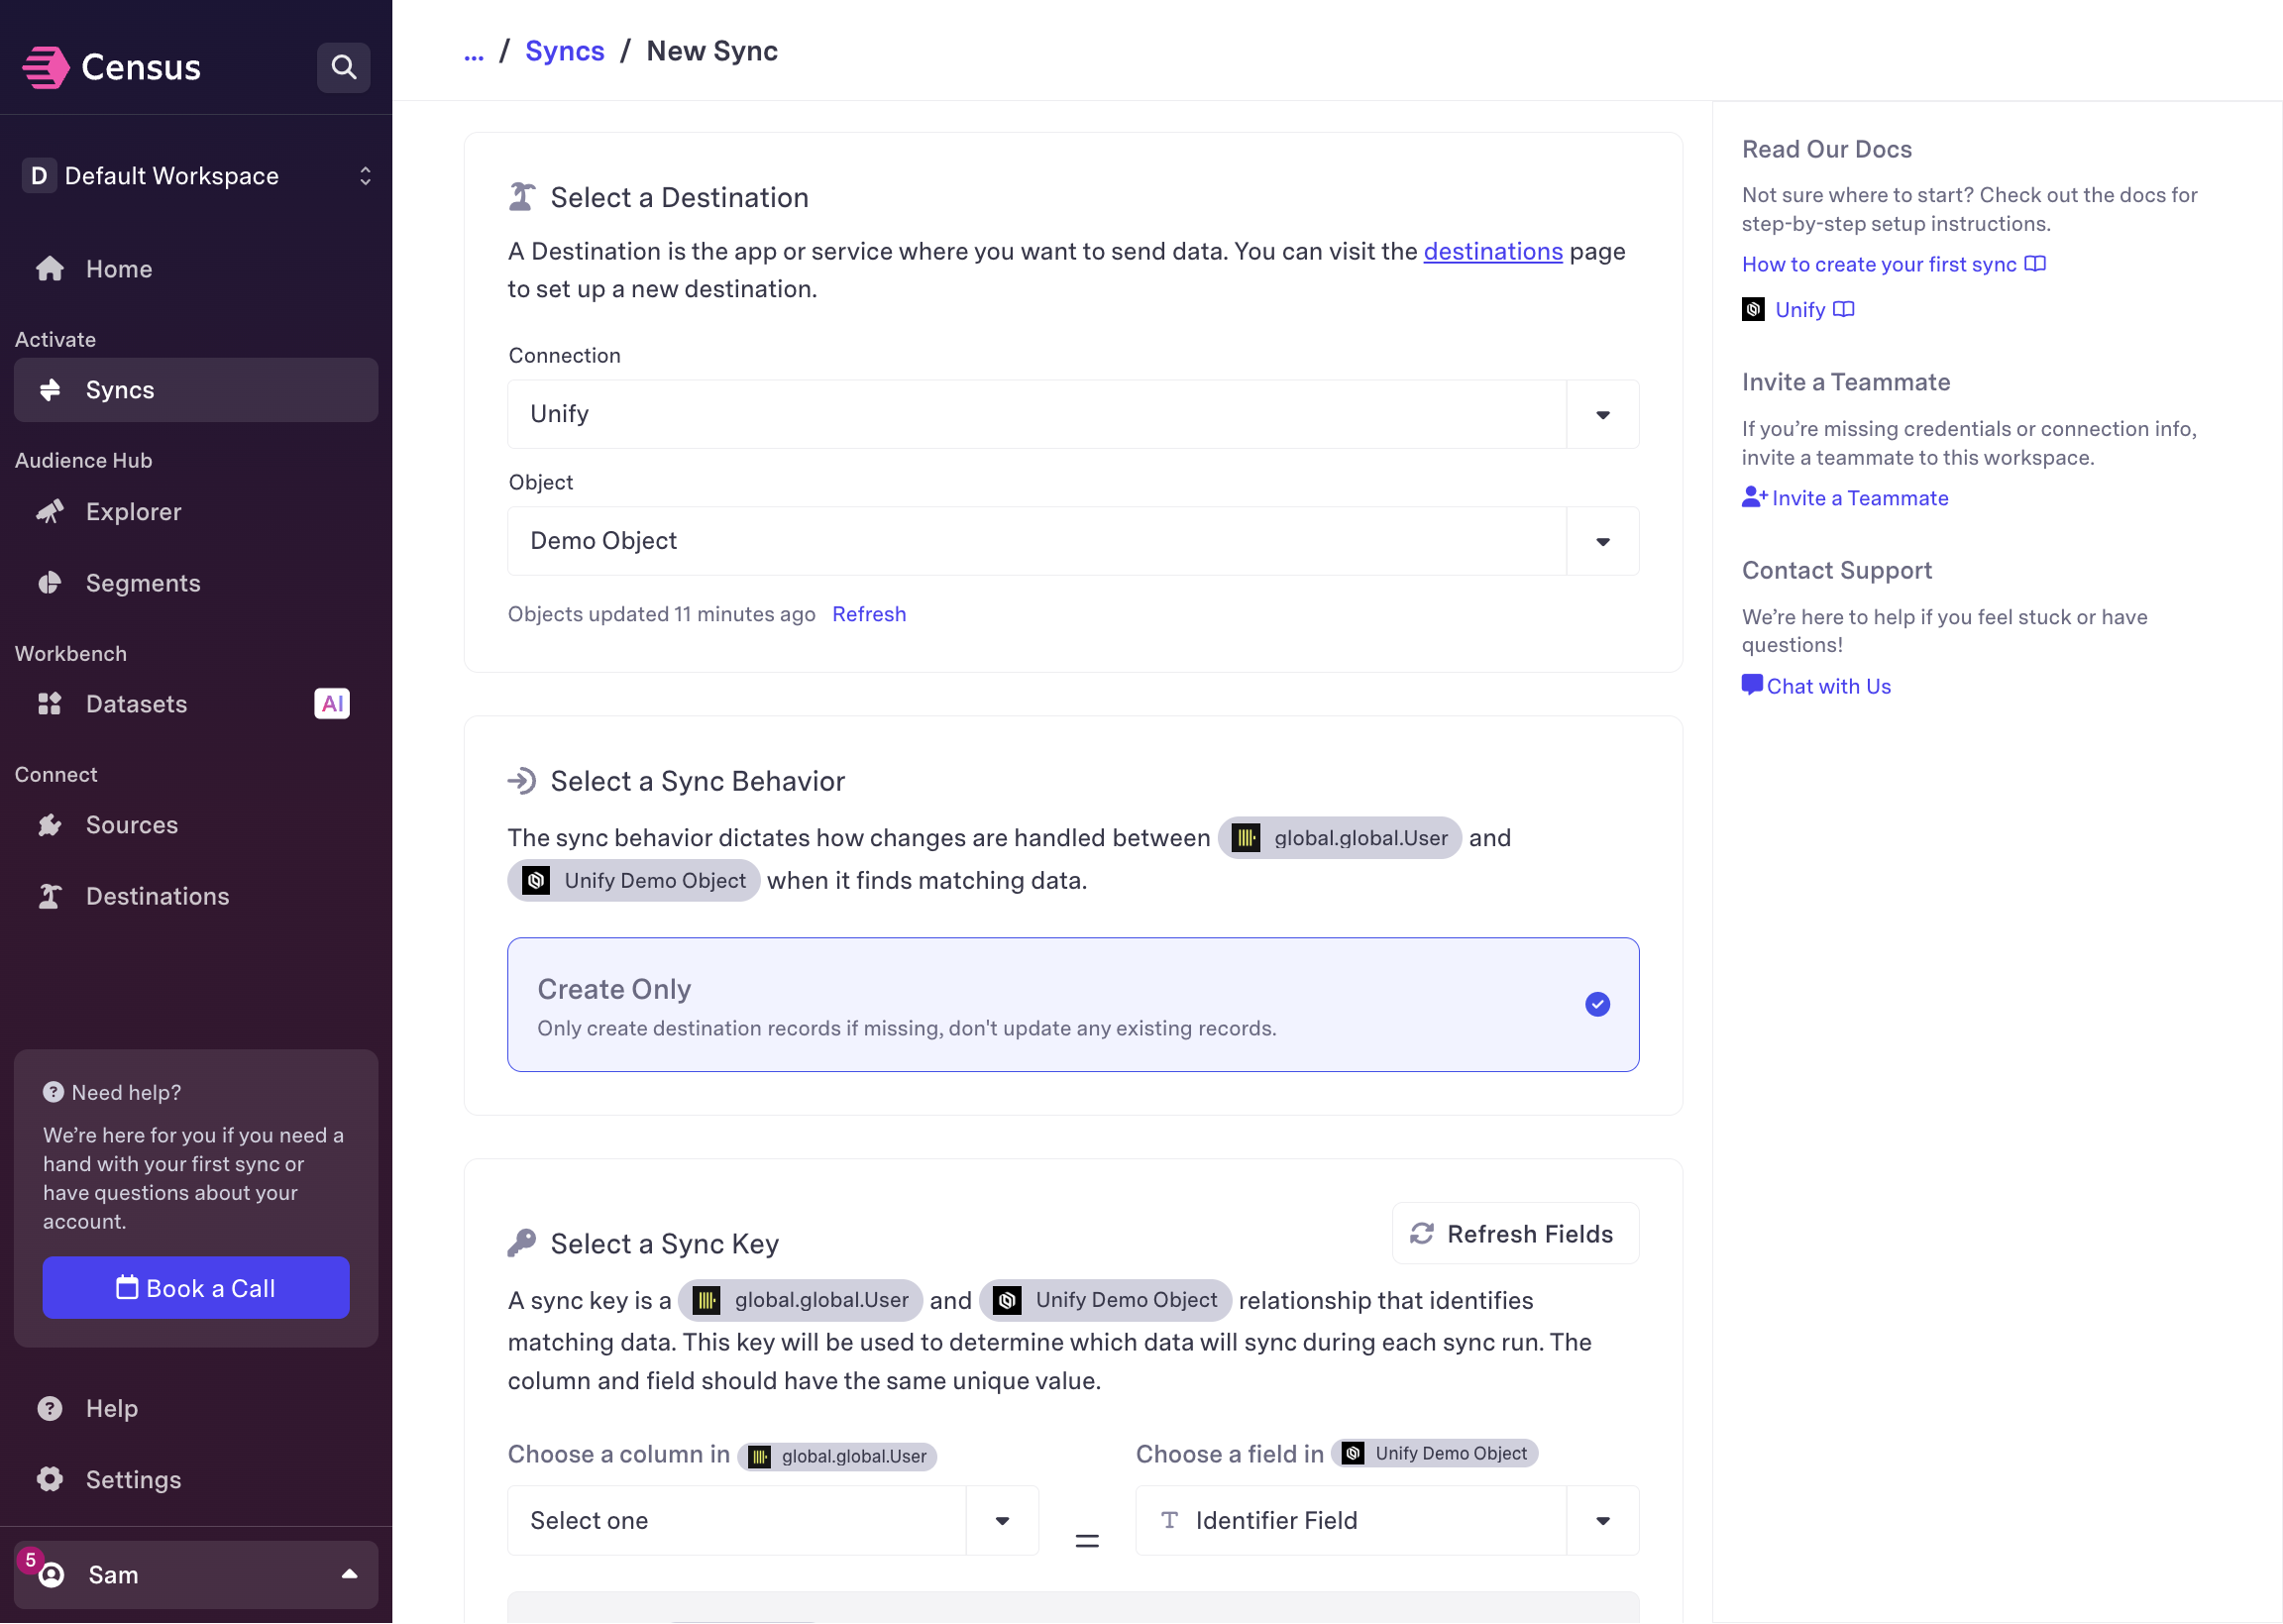
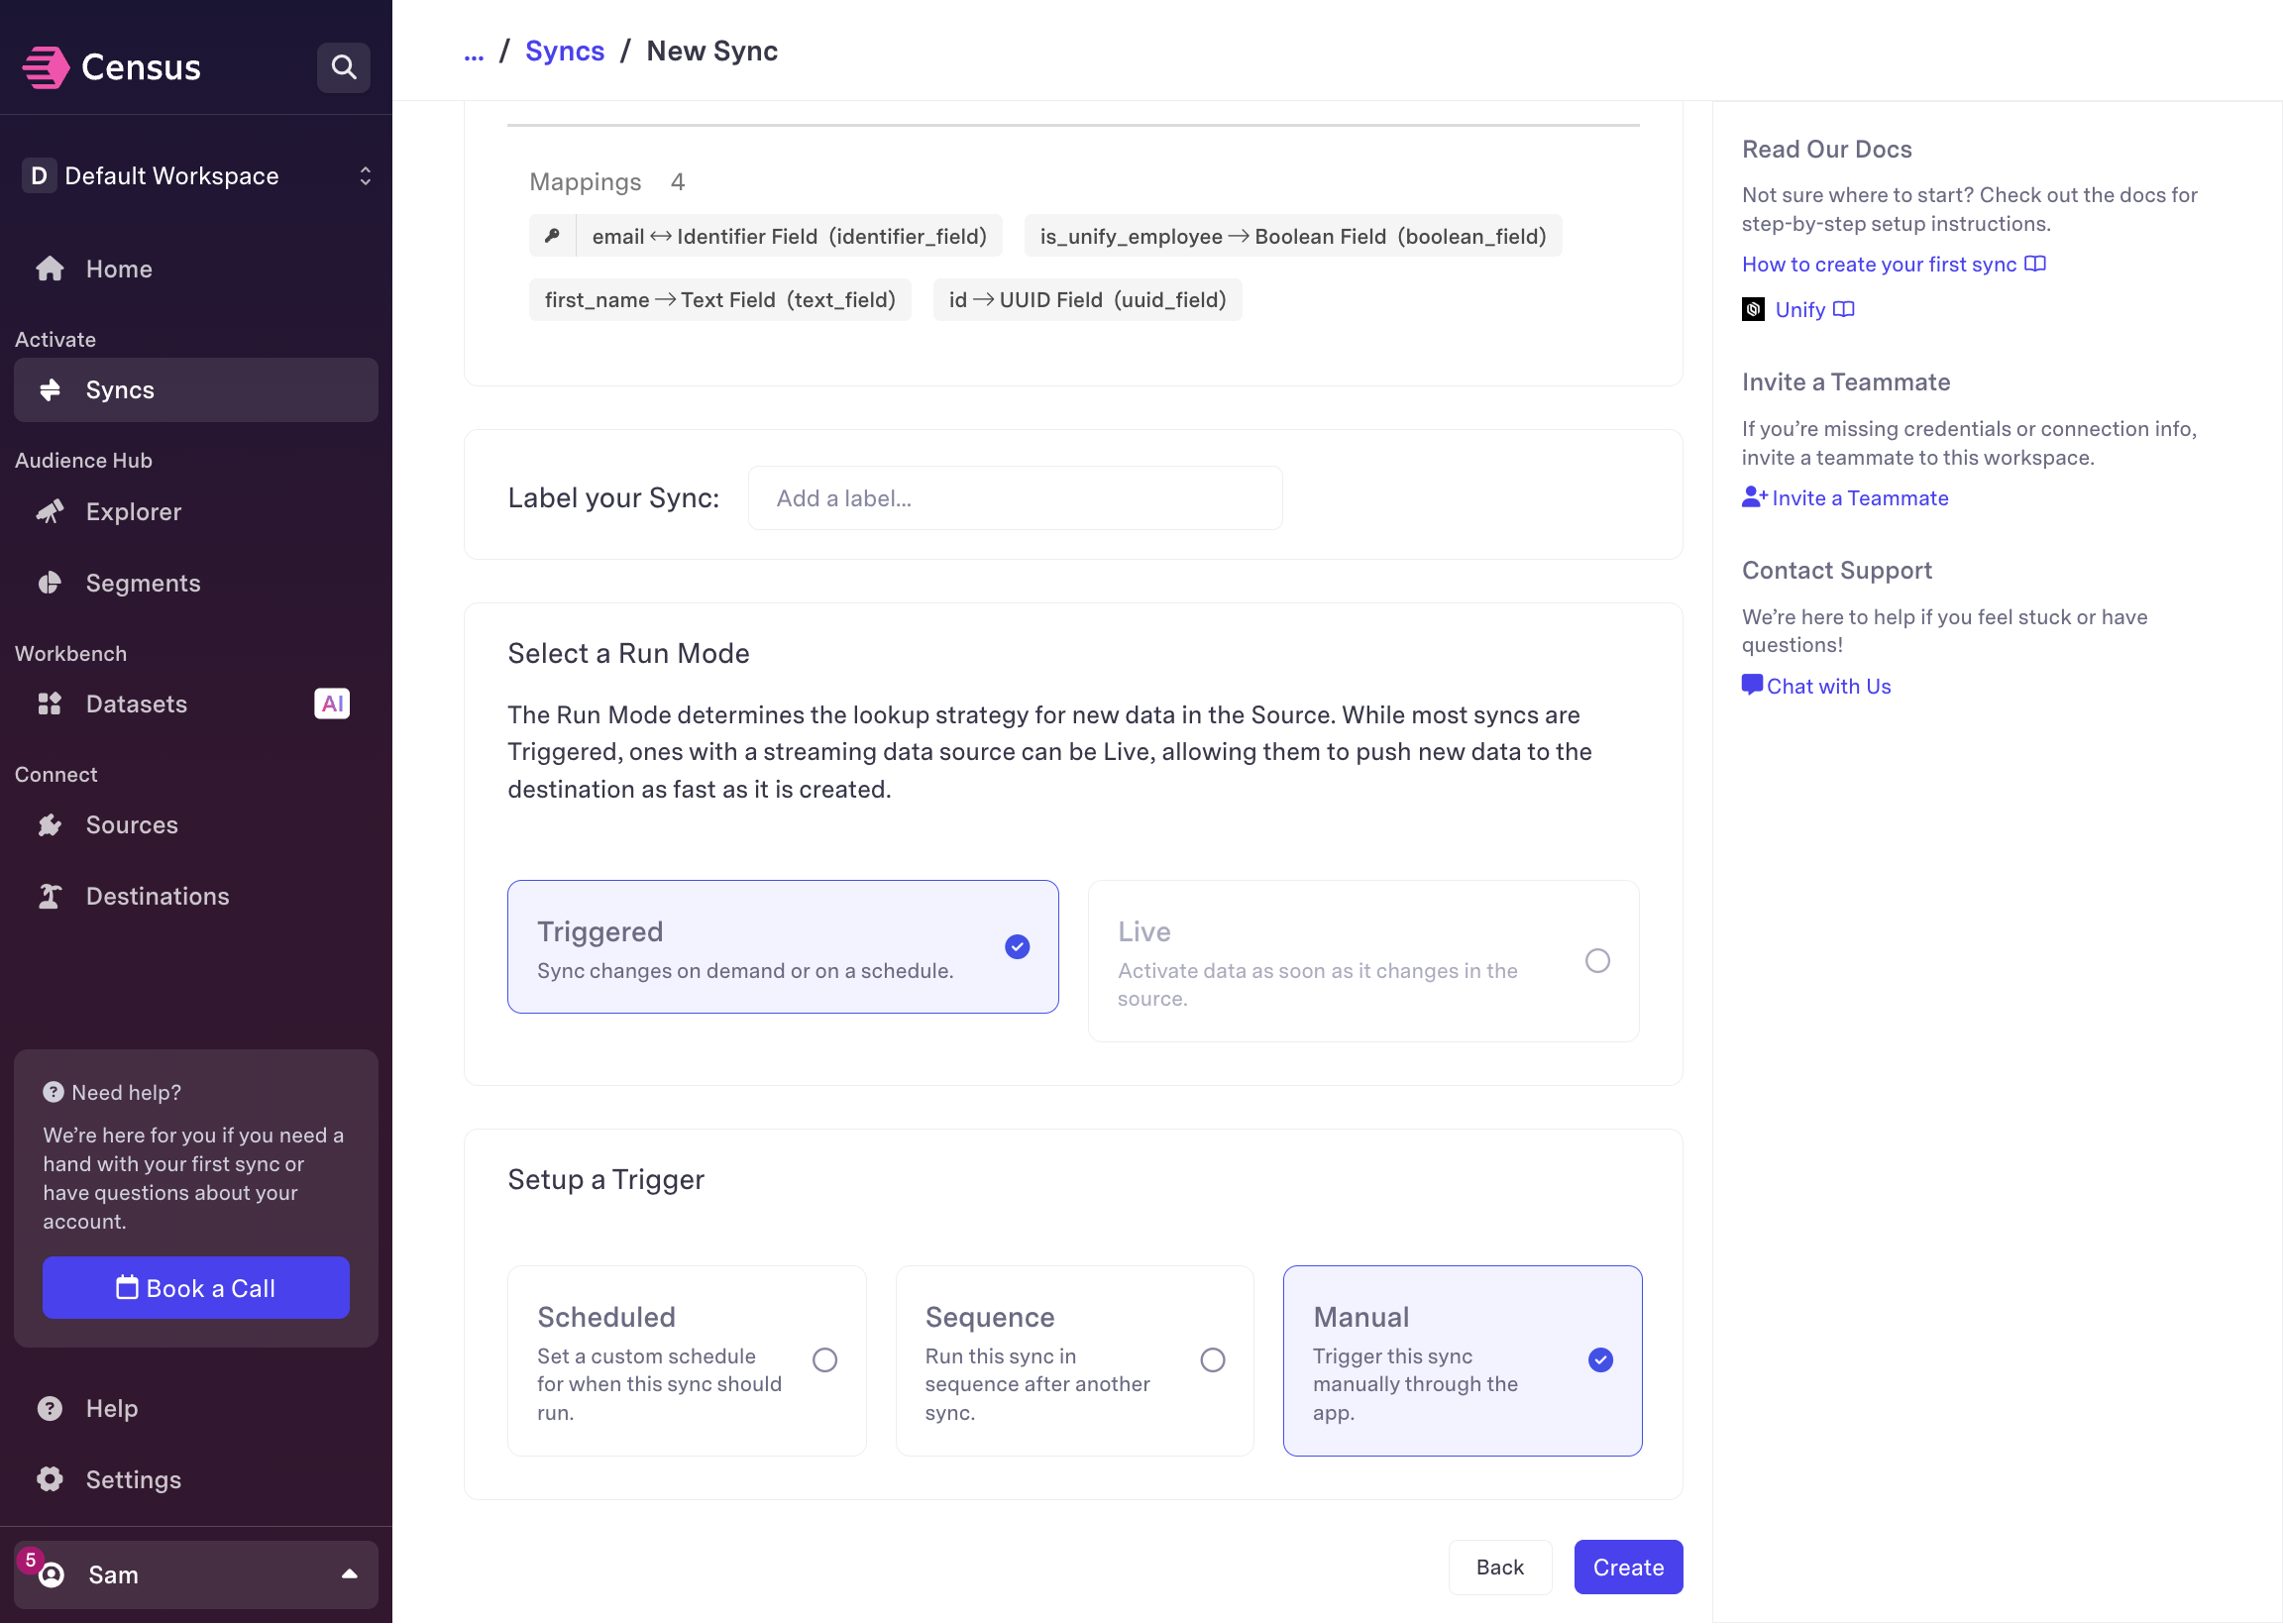
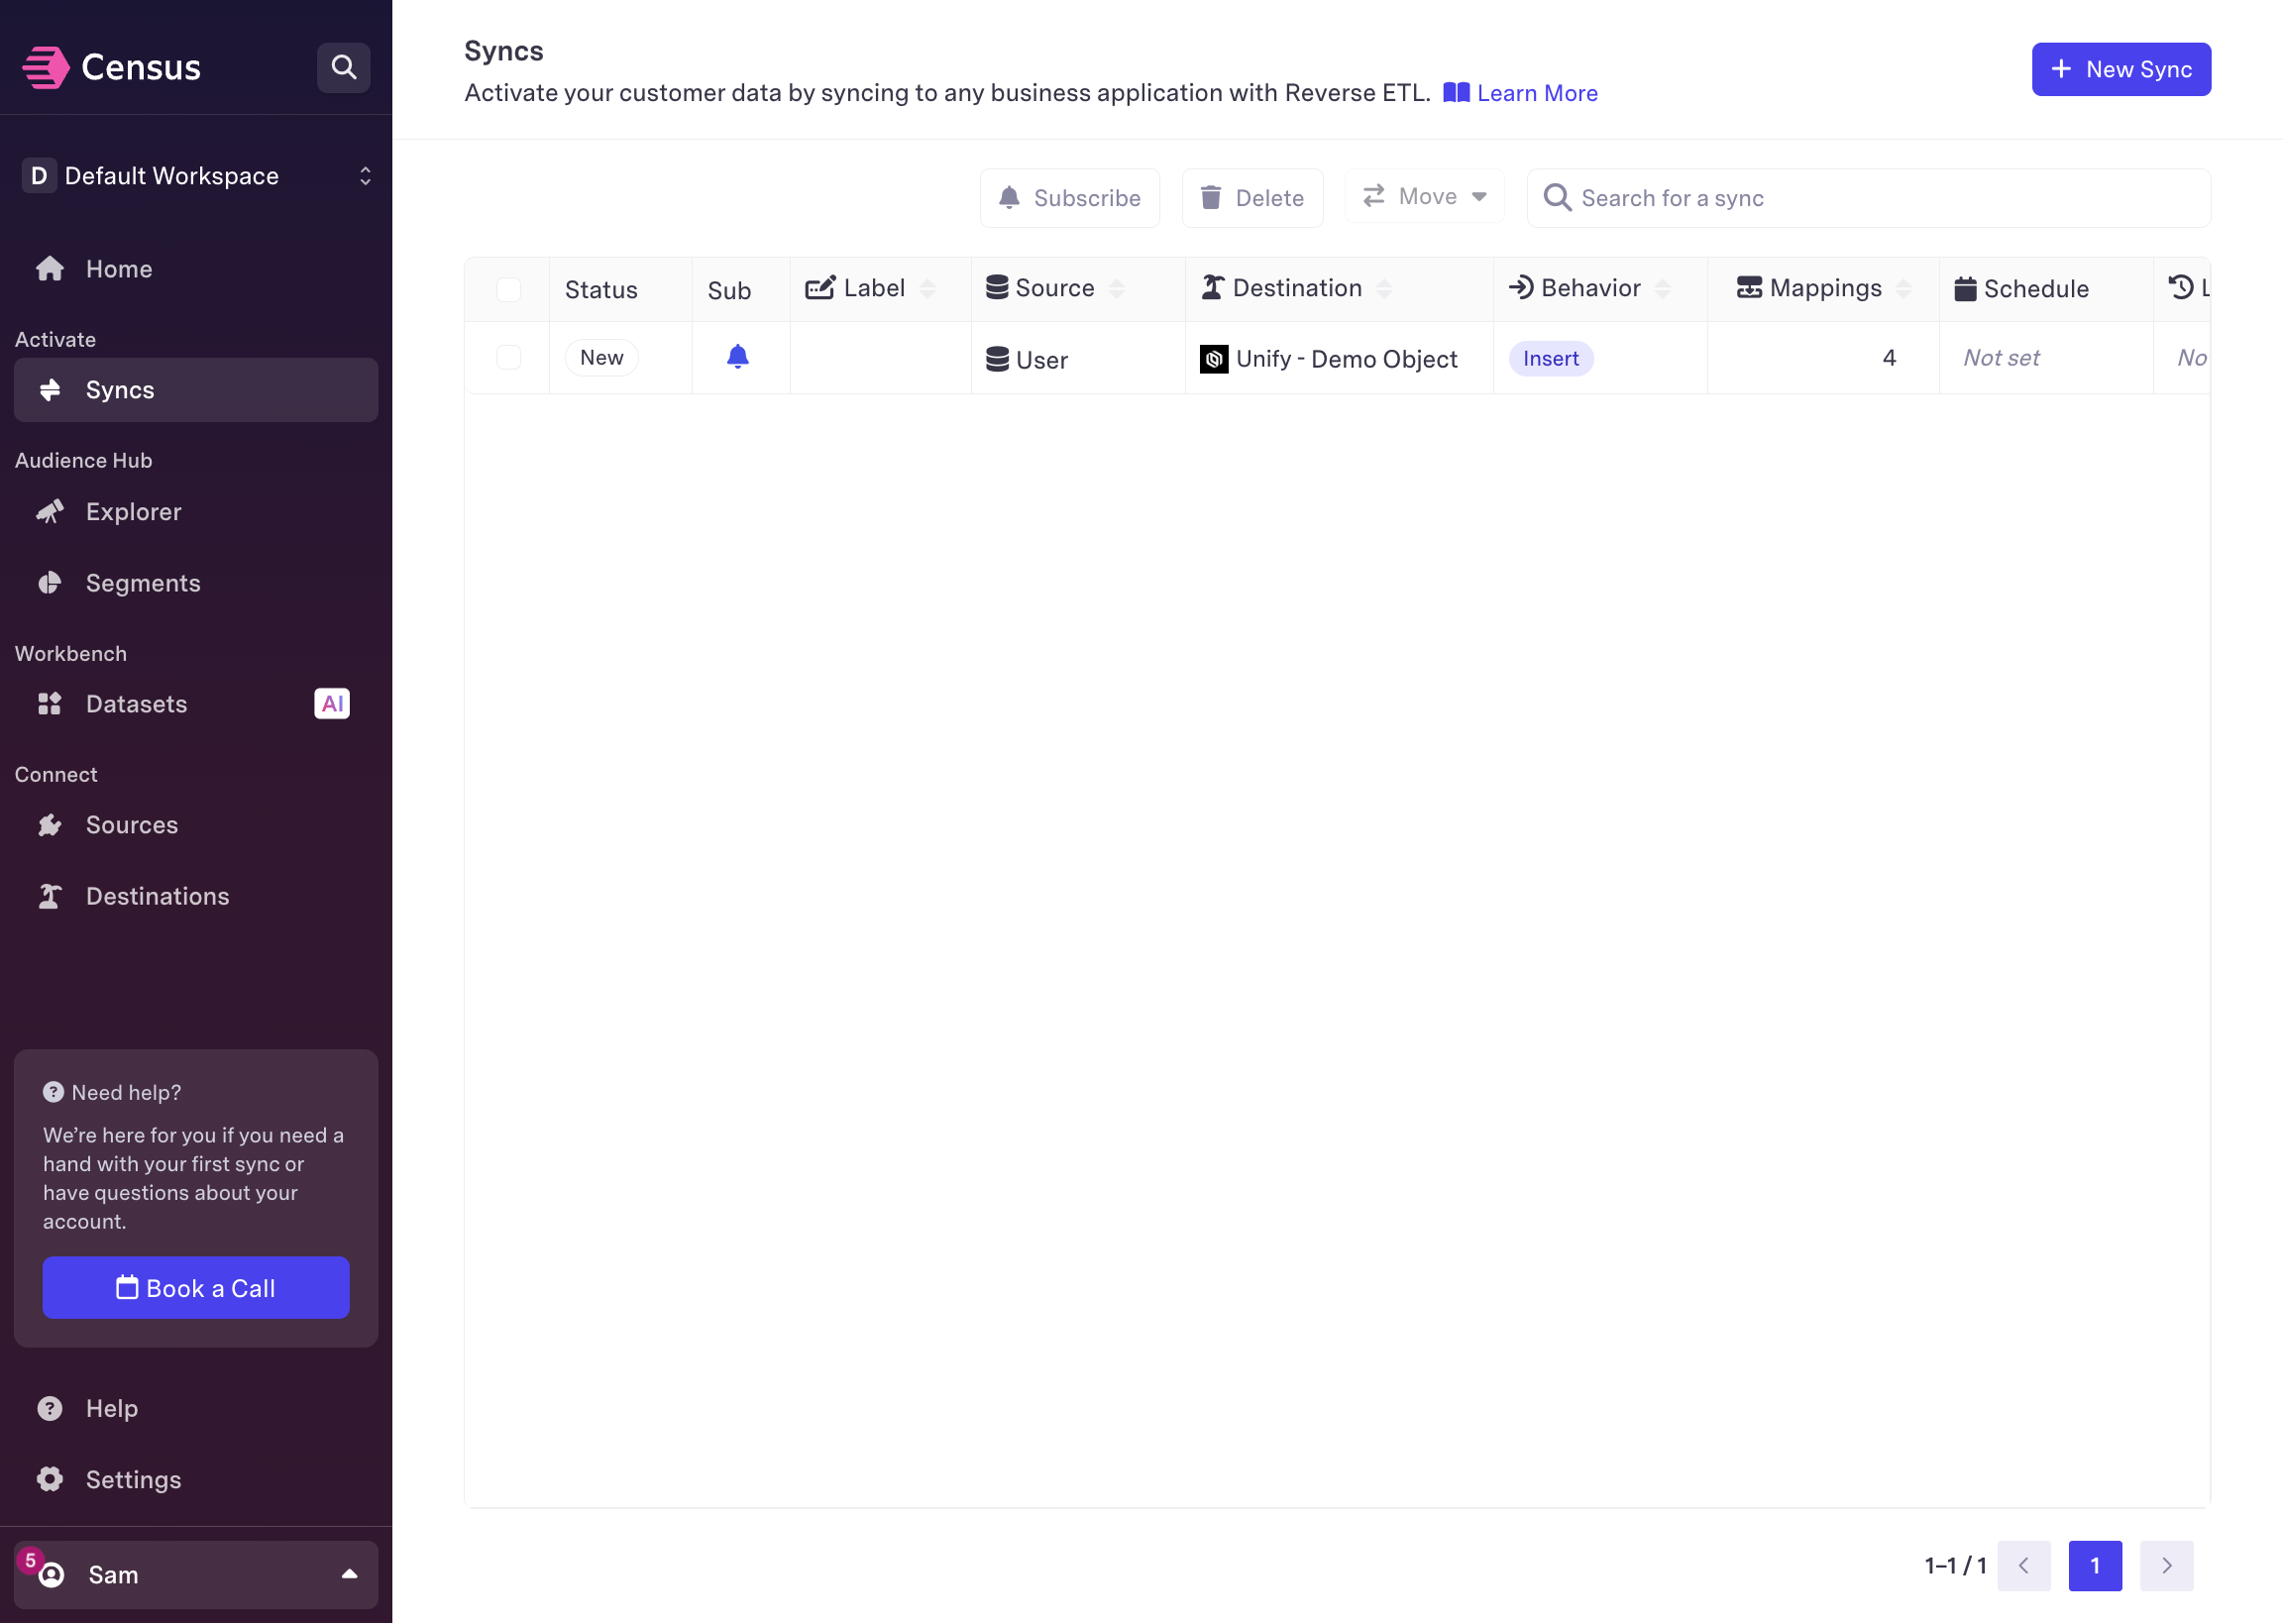
Determine the sync behavior
Choose the sync behavior. You can choose to either Insert or Upsert
records into Unify. Inserting records will only add new records, while
upserting will sync changes to existing records as well.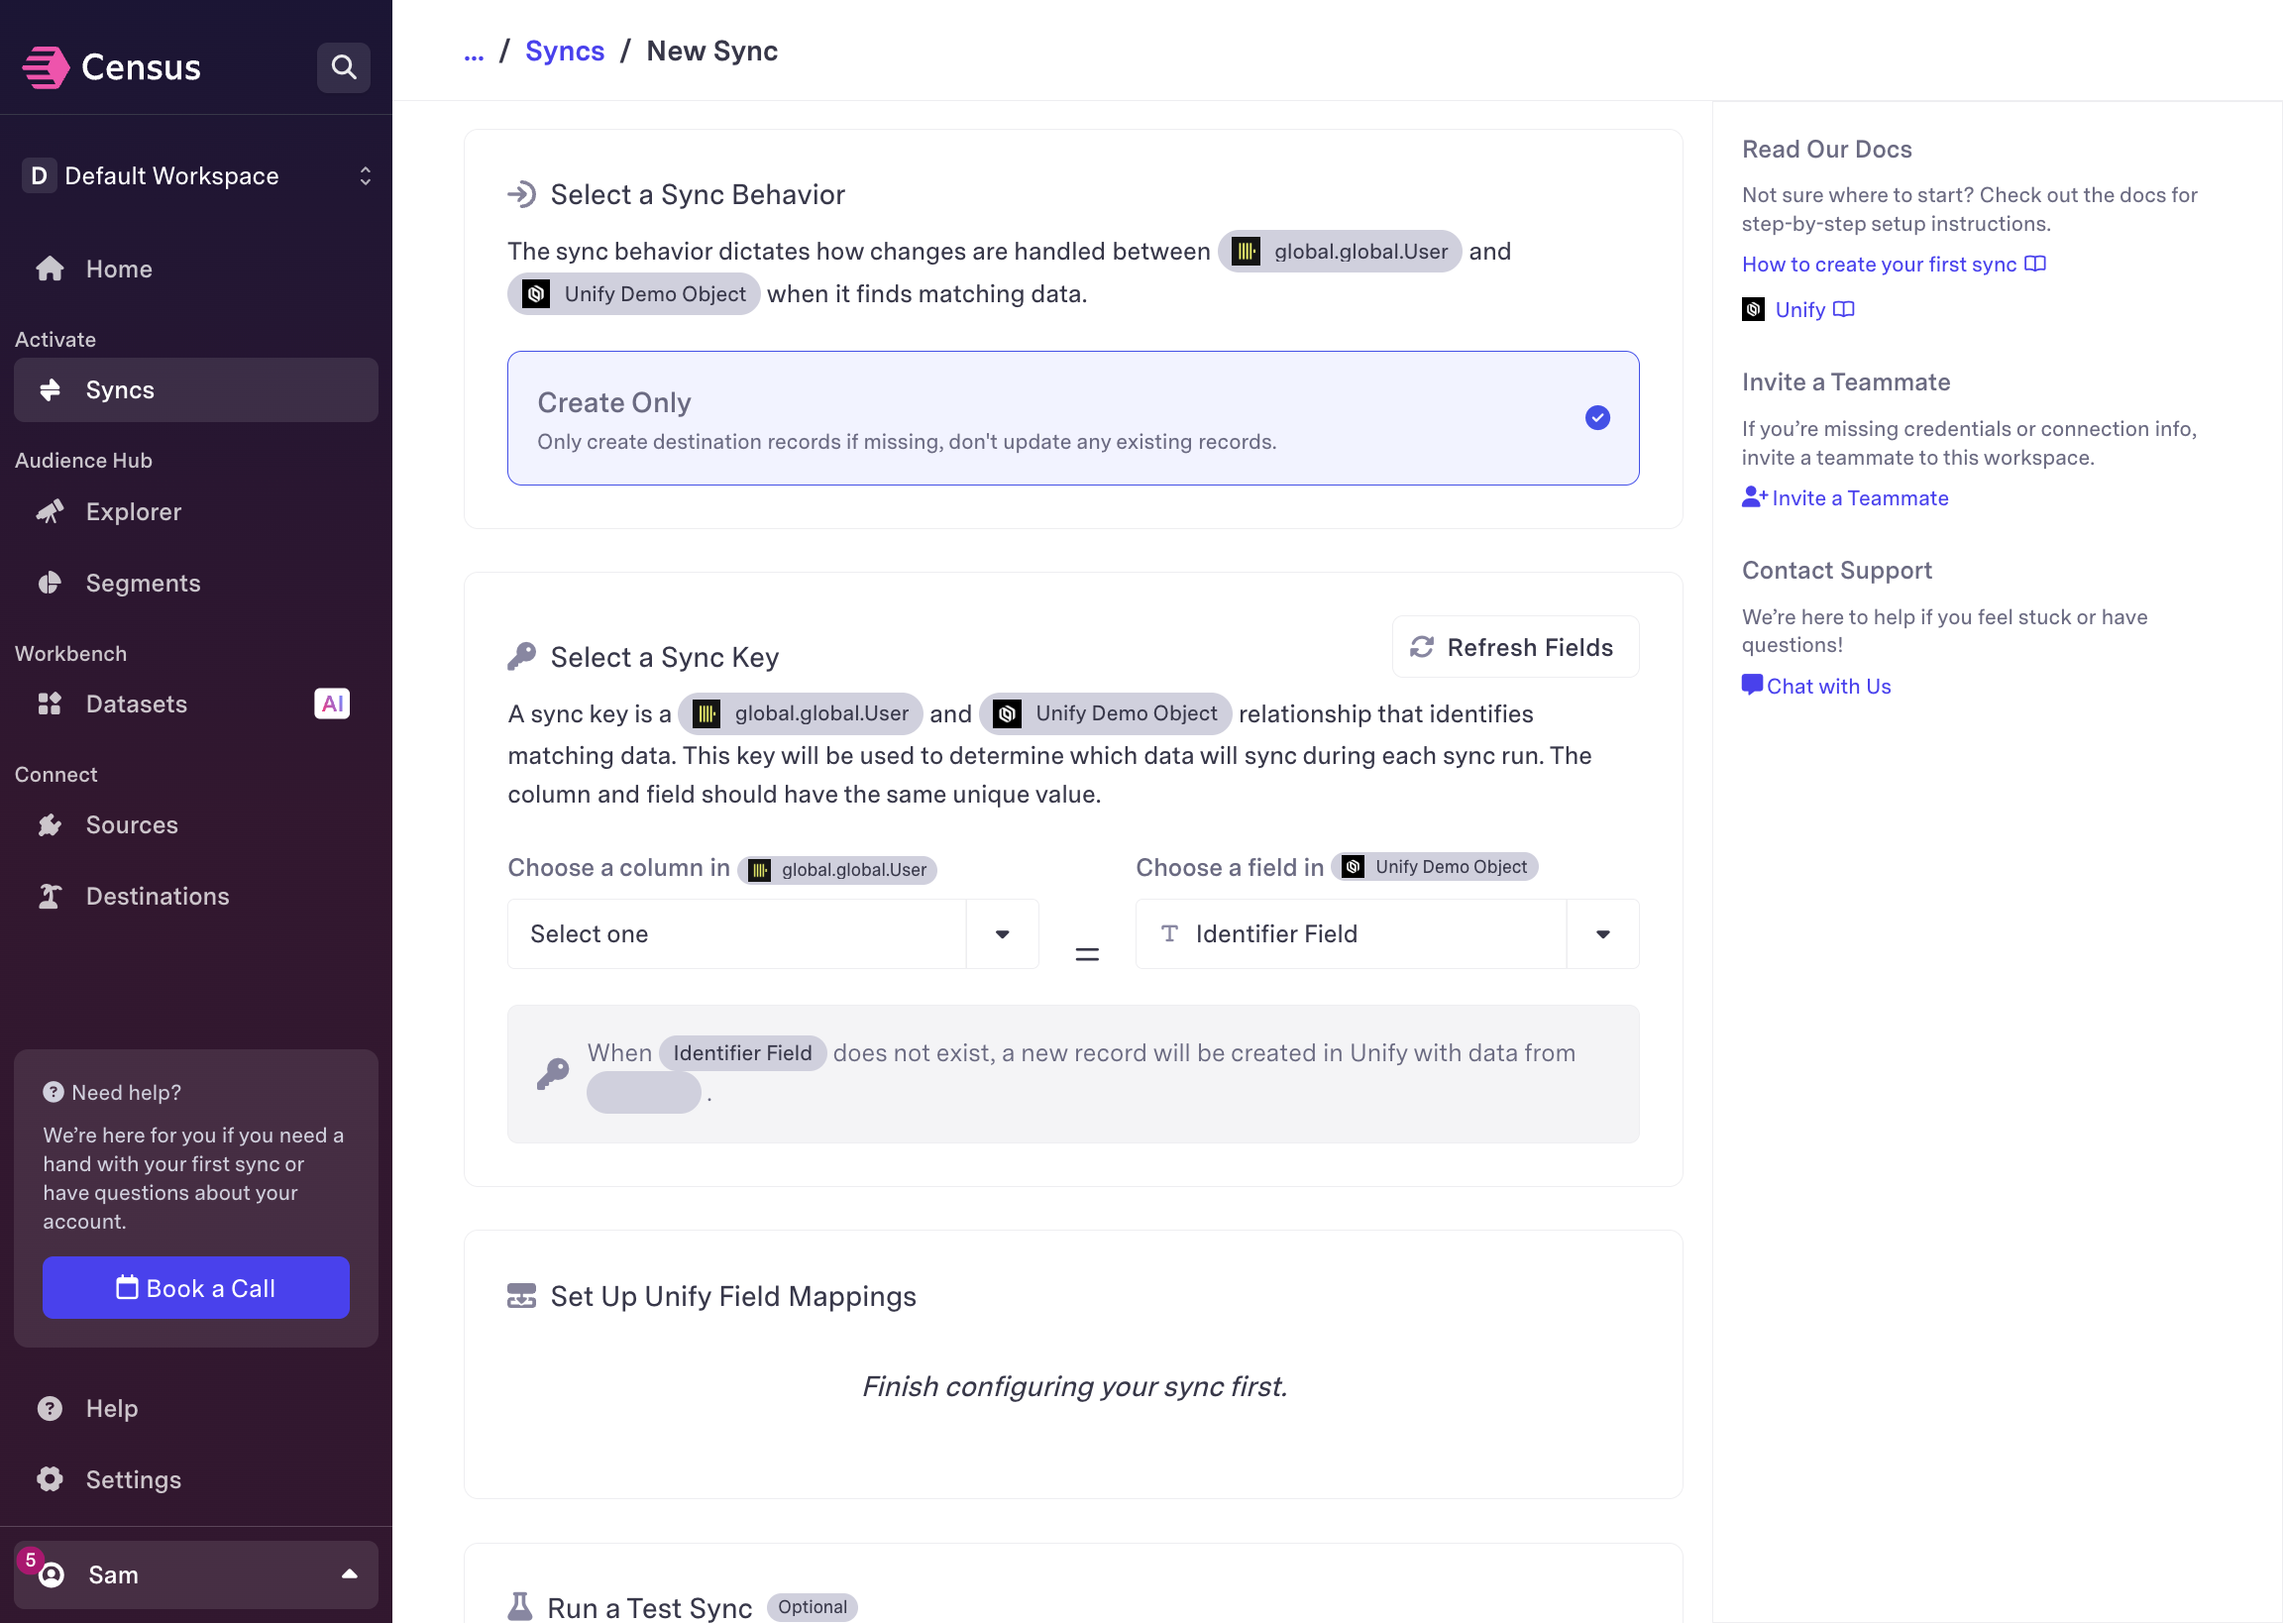
Select the sync key
Choose which unique key to use for the sync. This is the key that will be
used to identify records in Unify to avoid creating duplicates and to update
existing records (if applicable).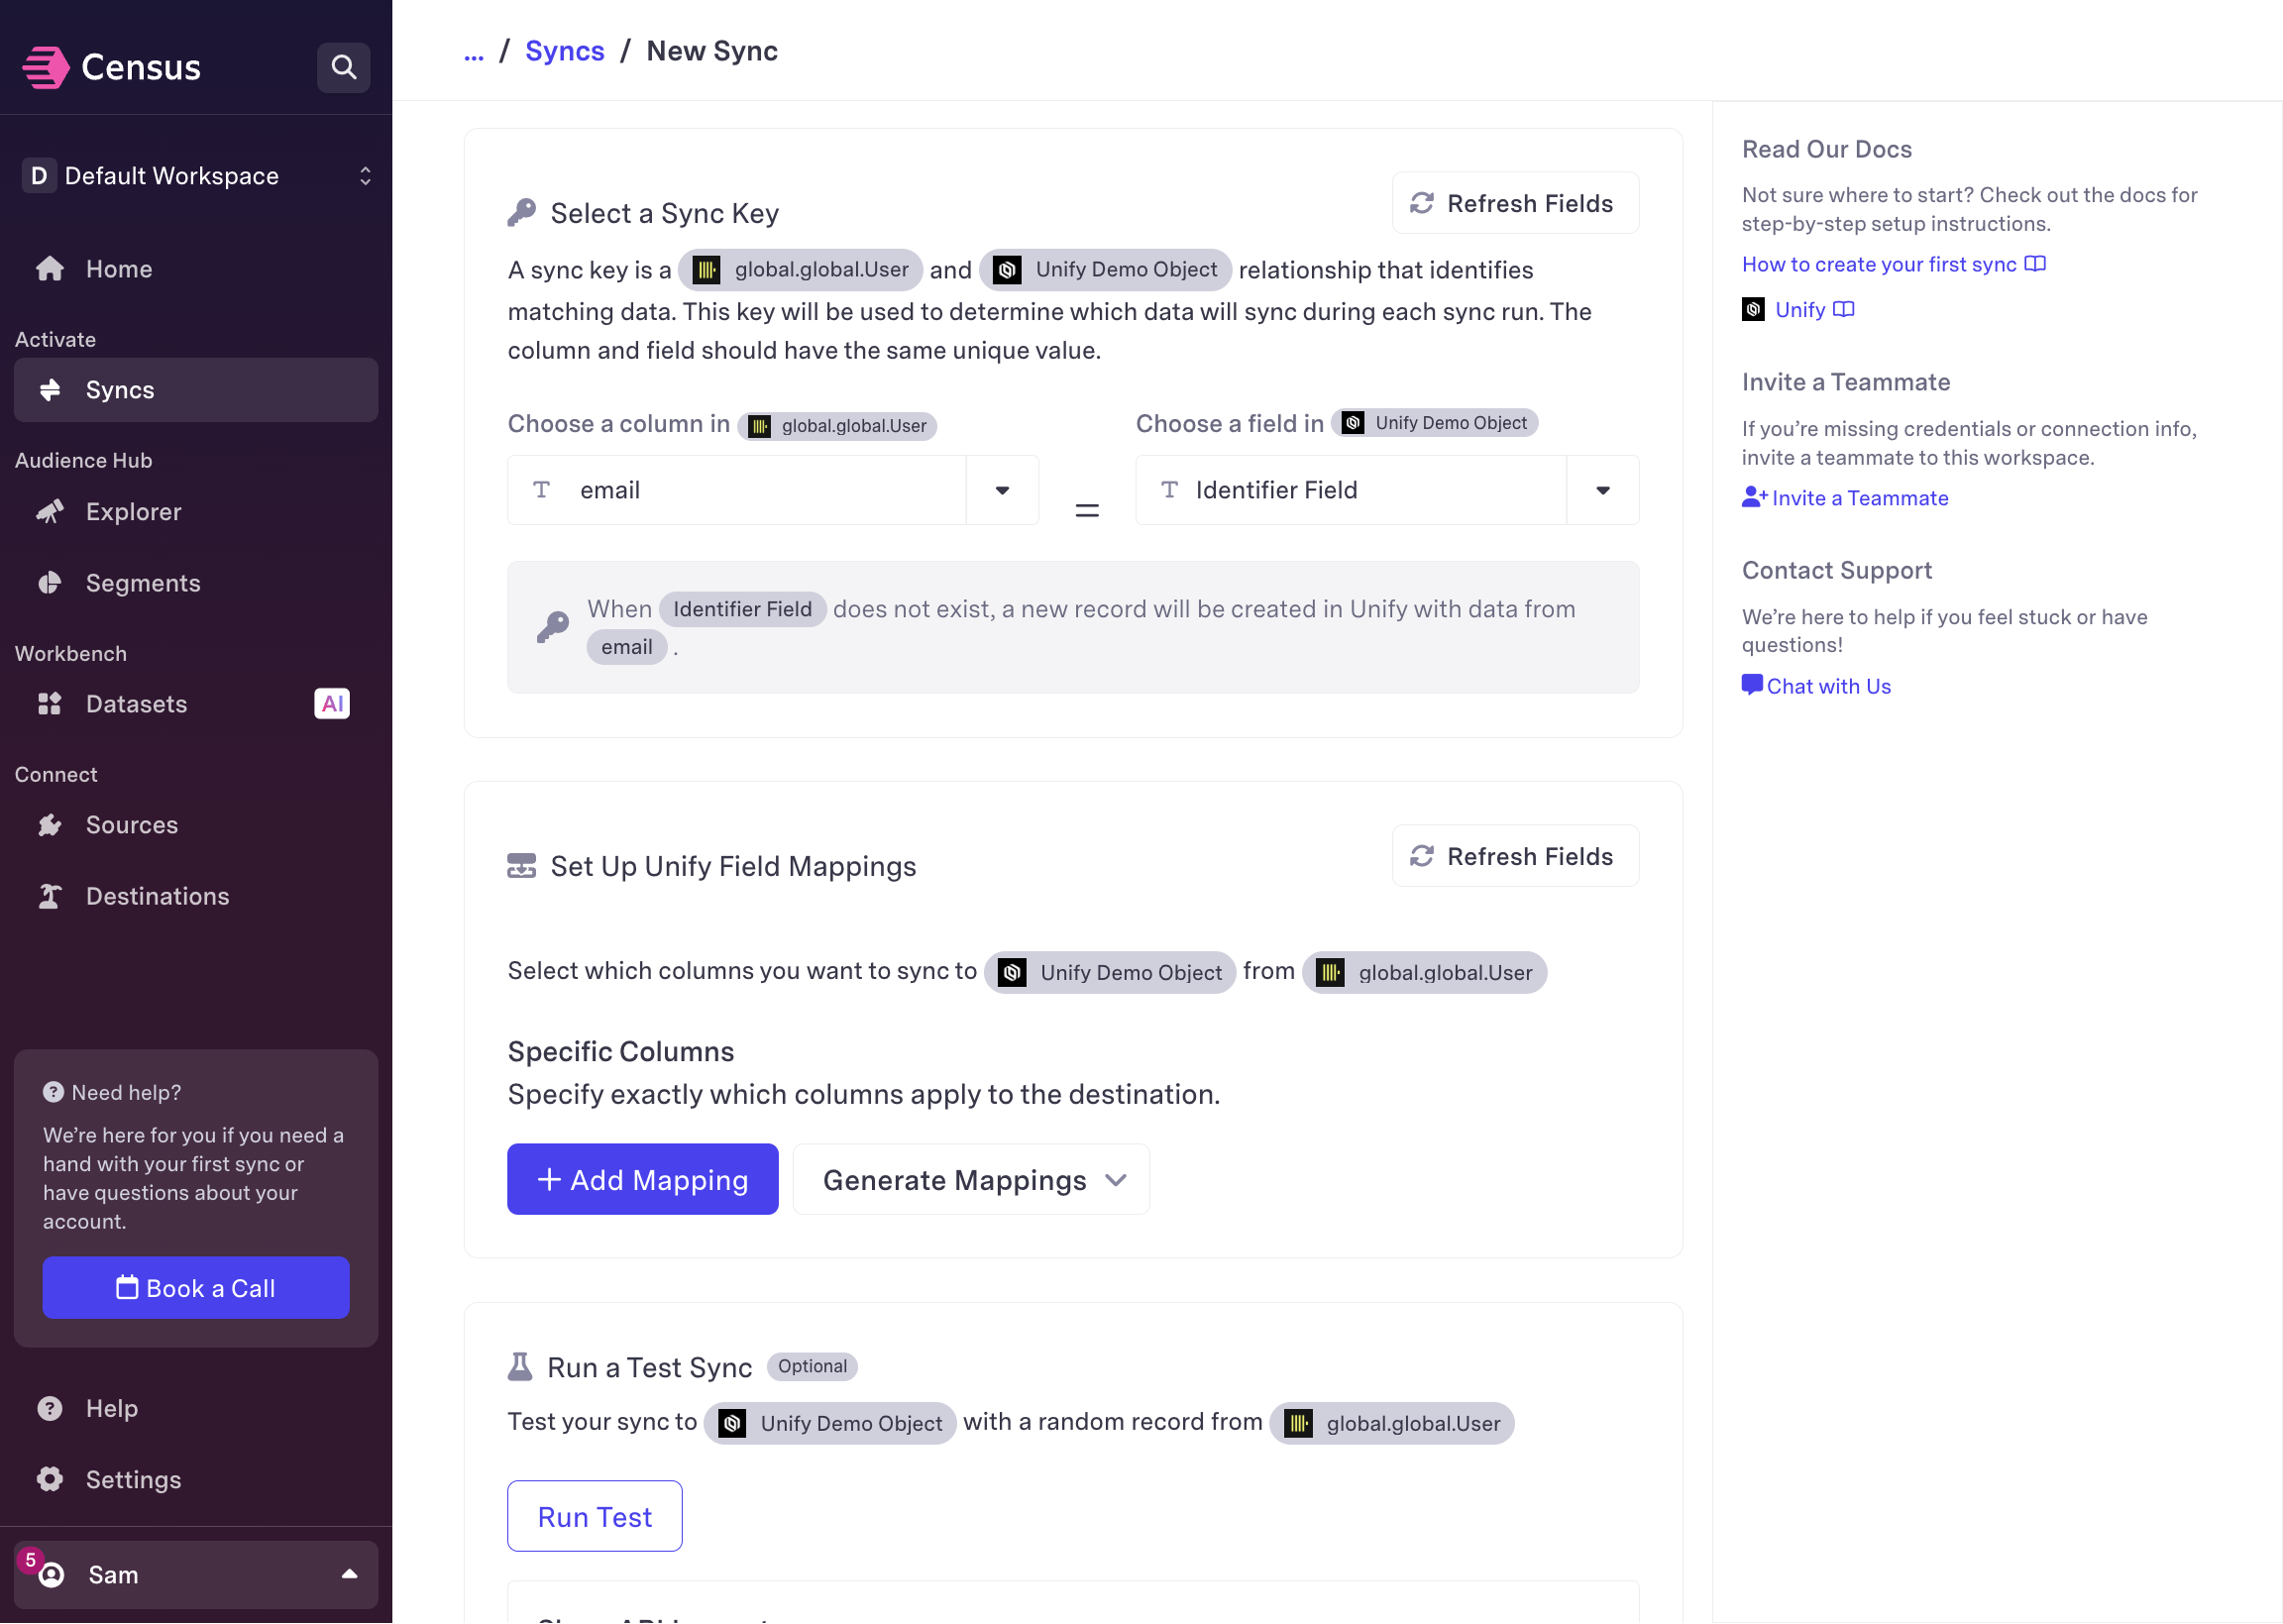
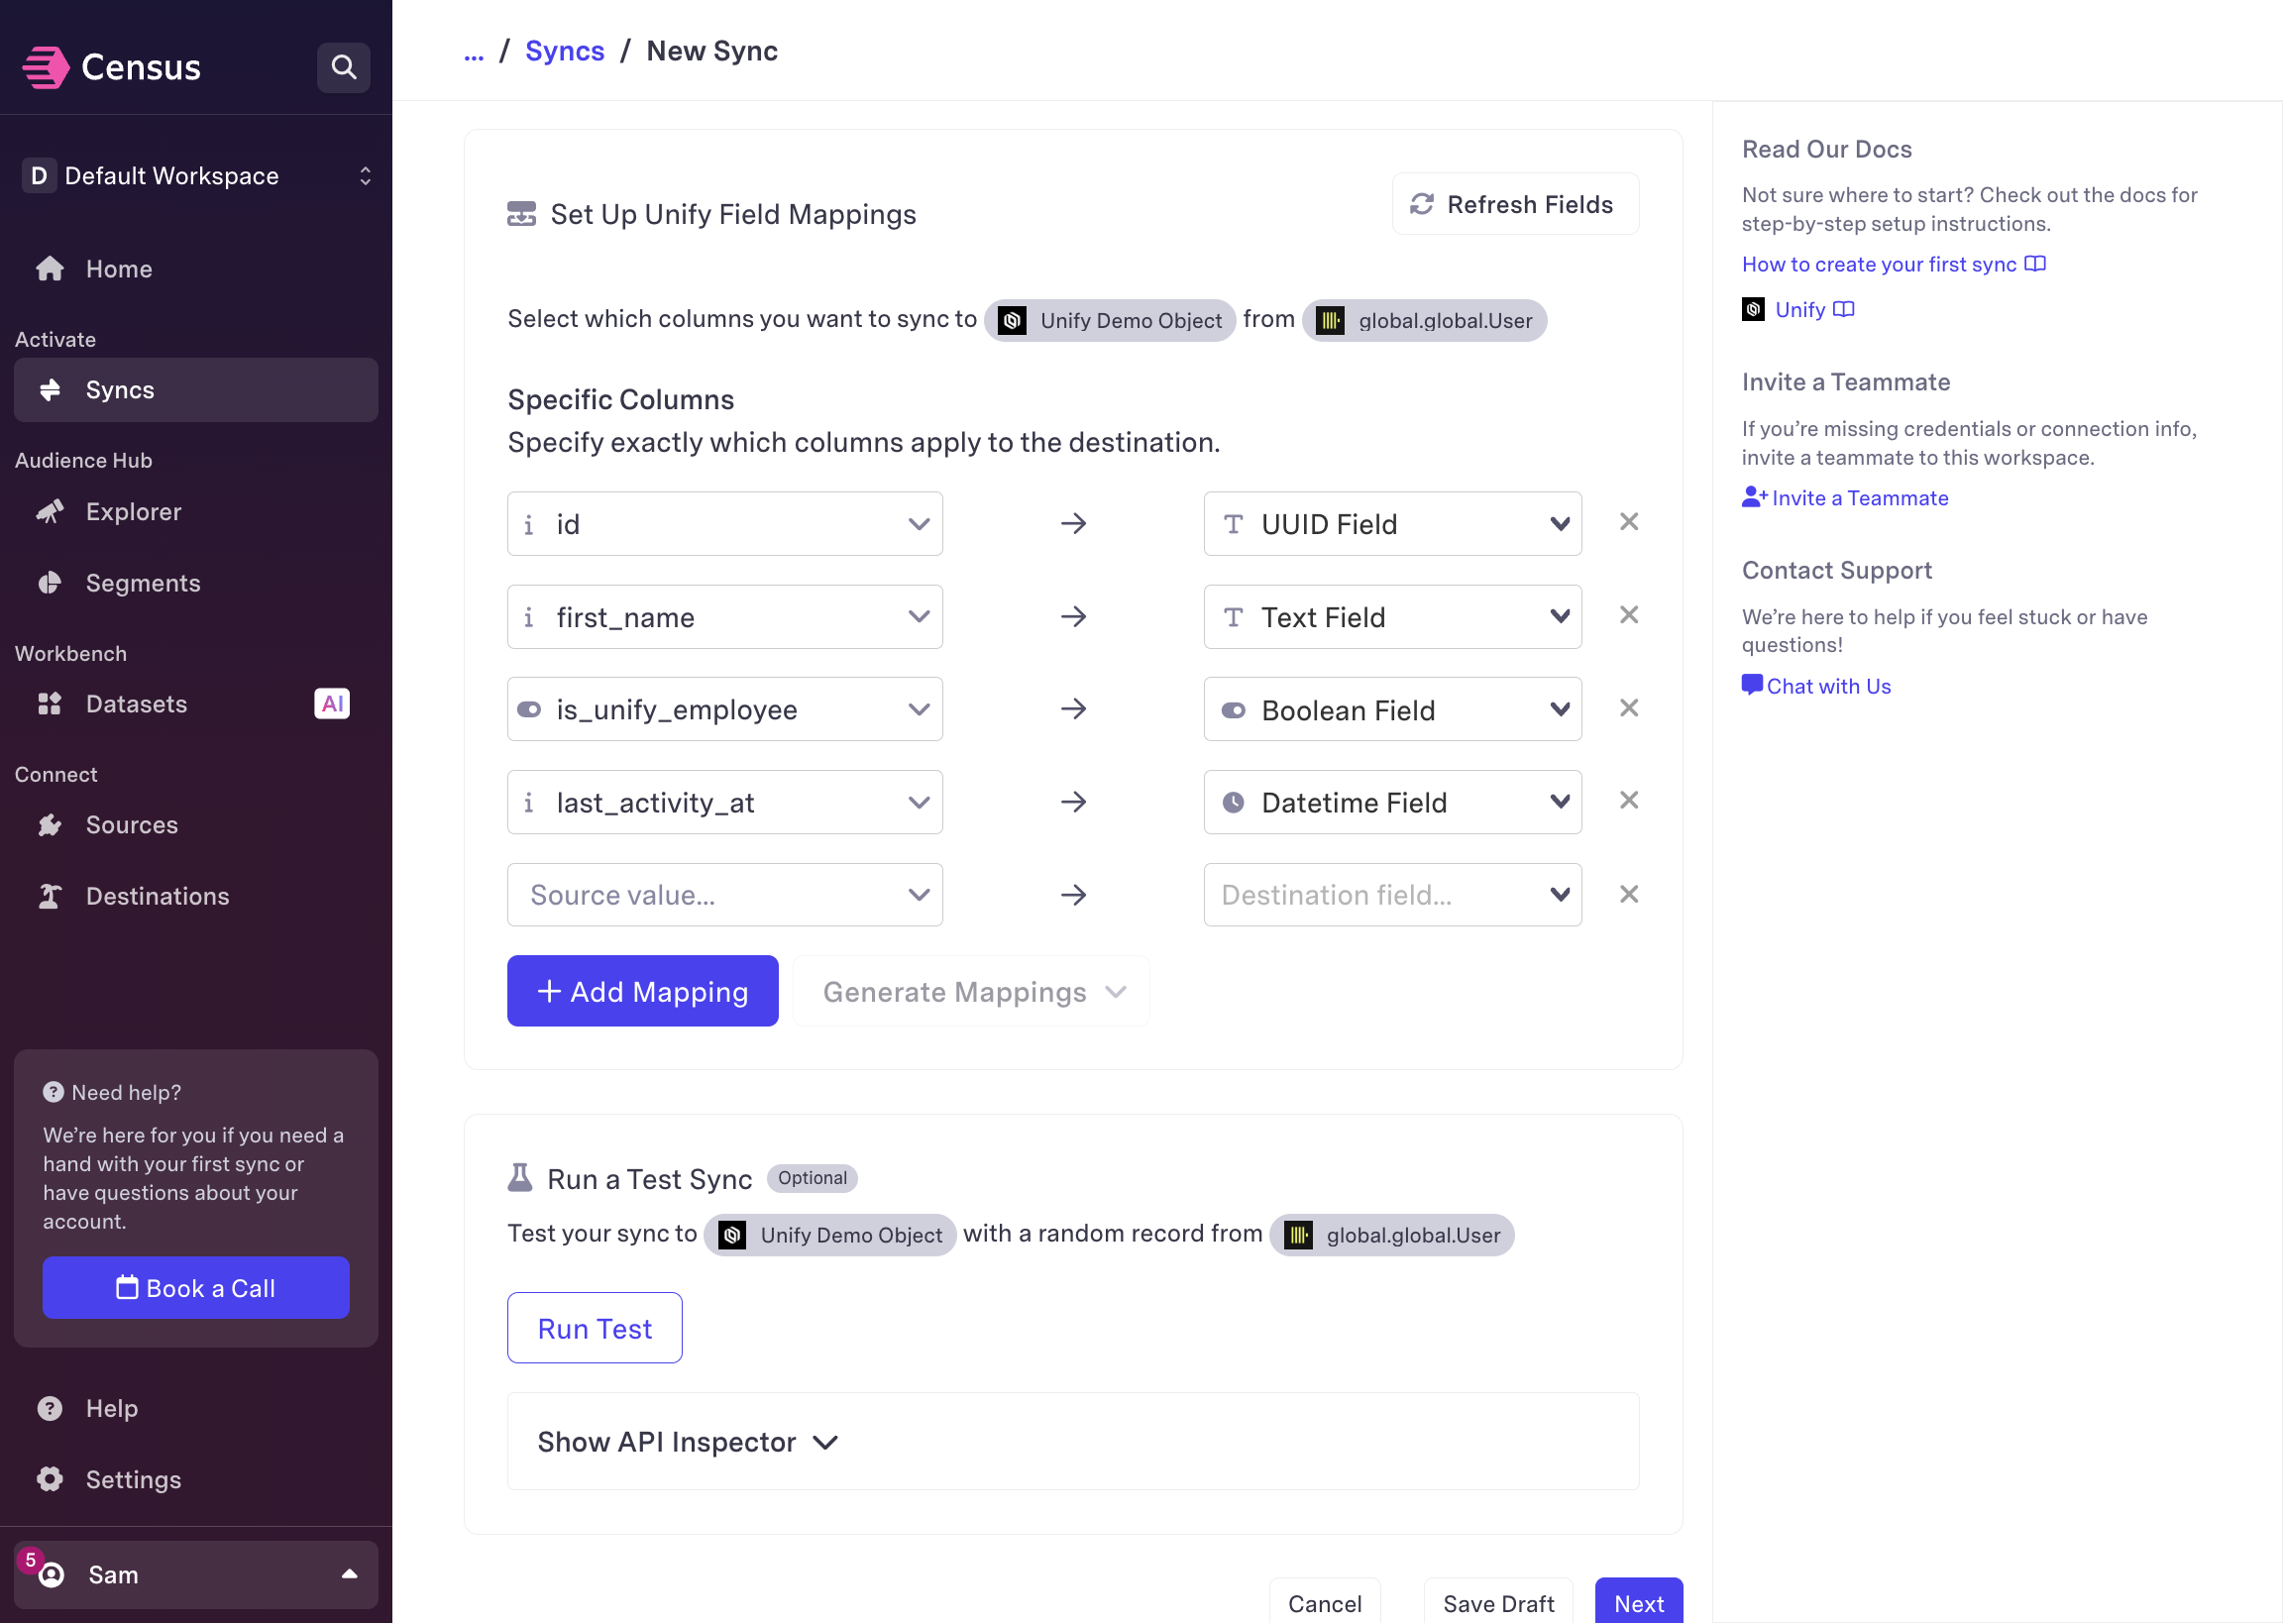
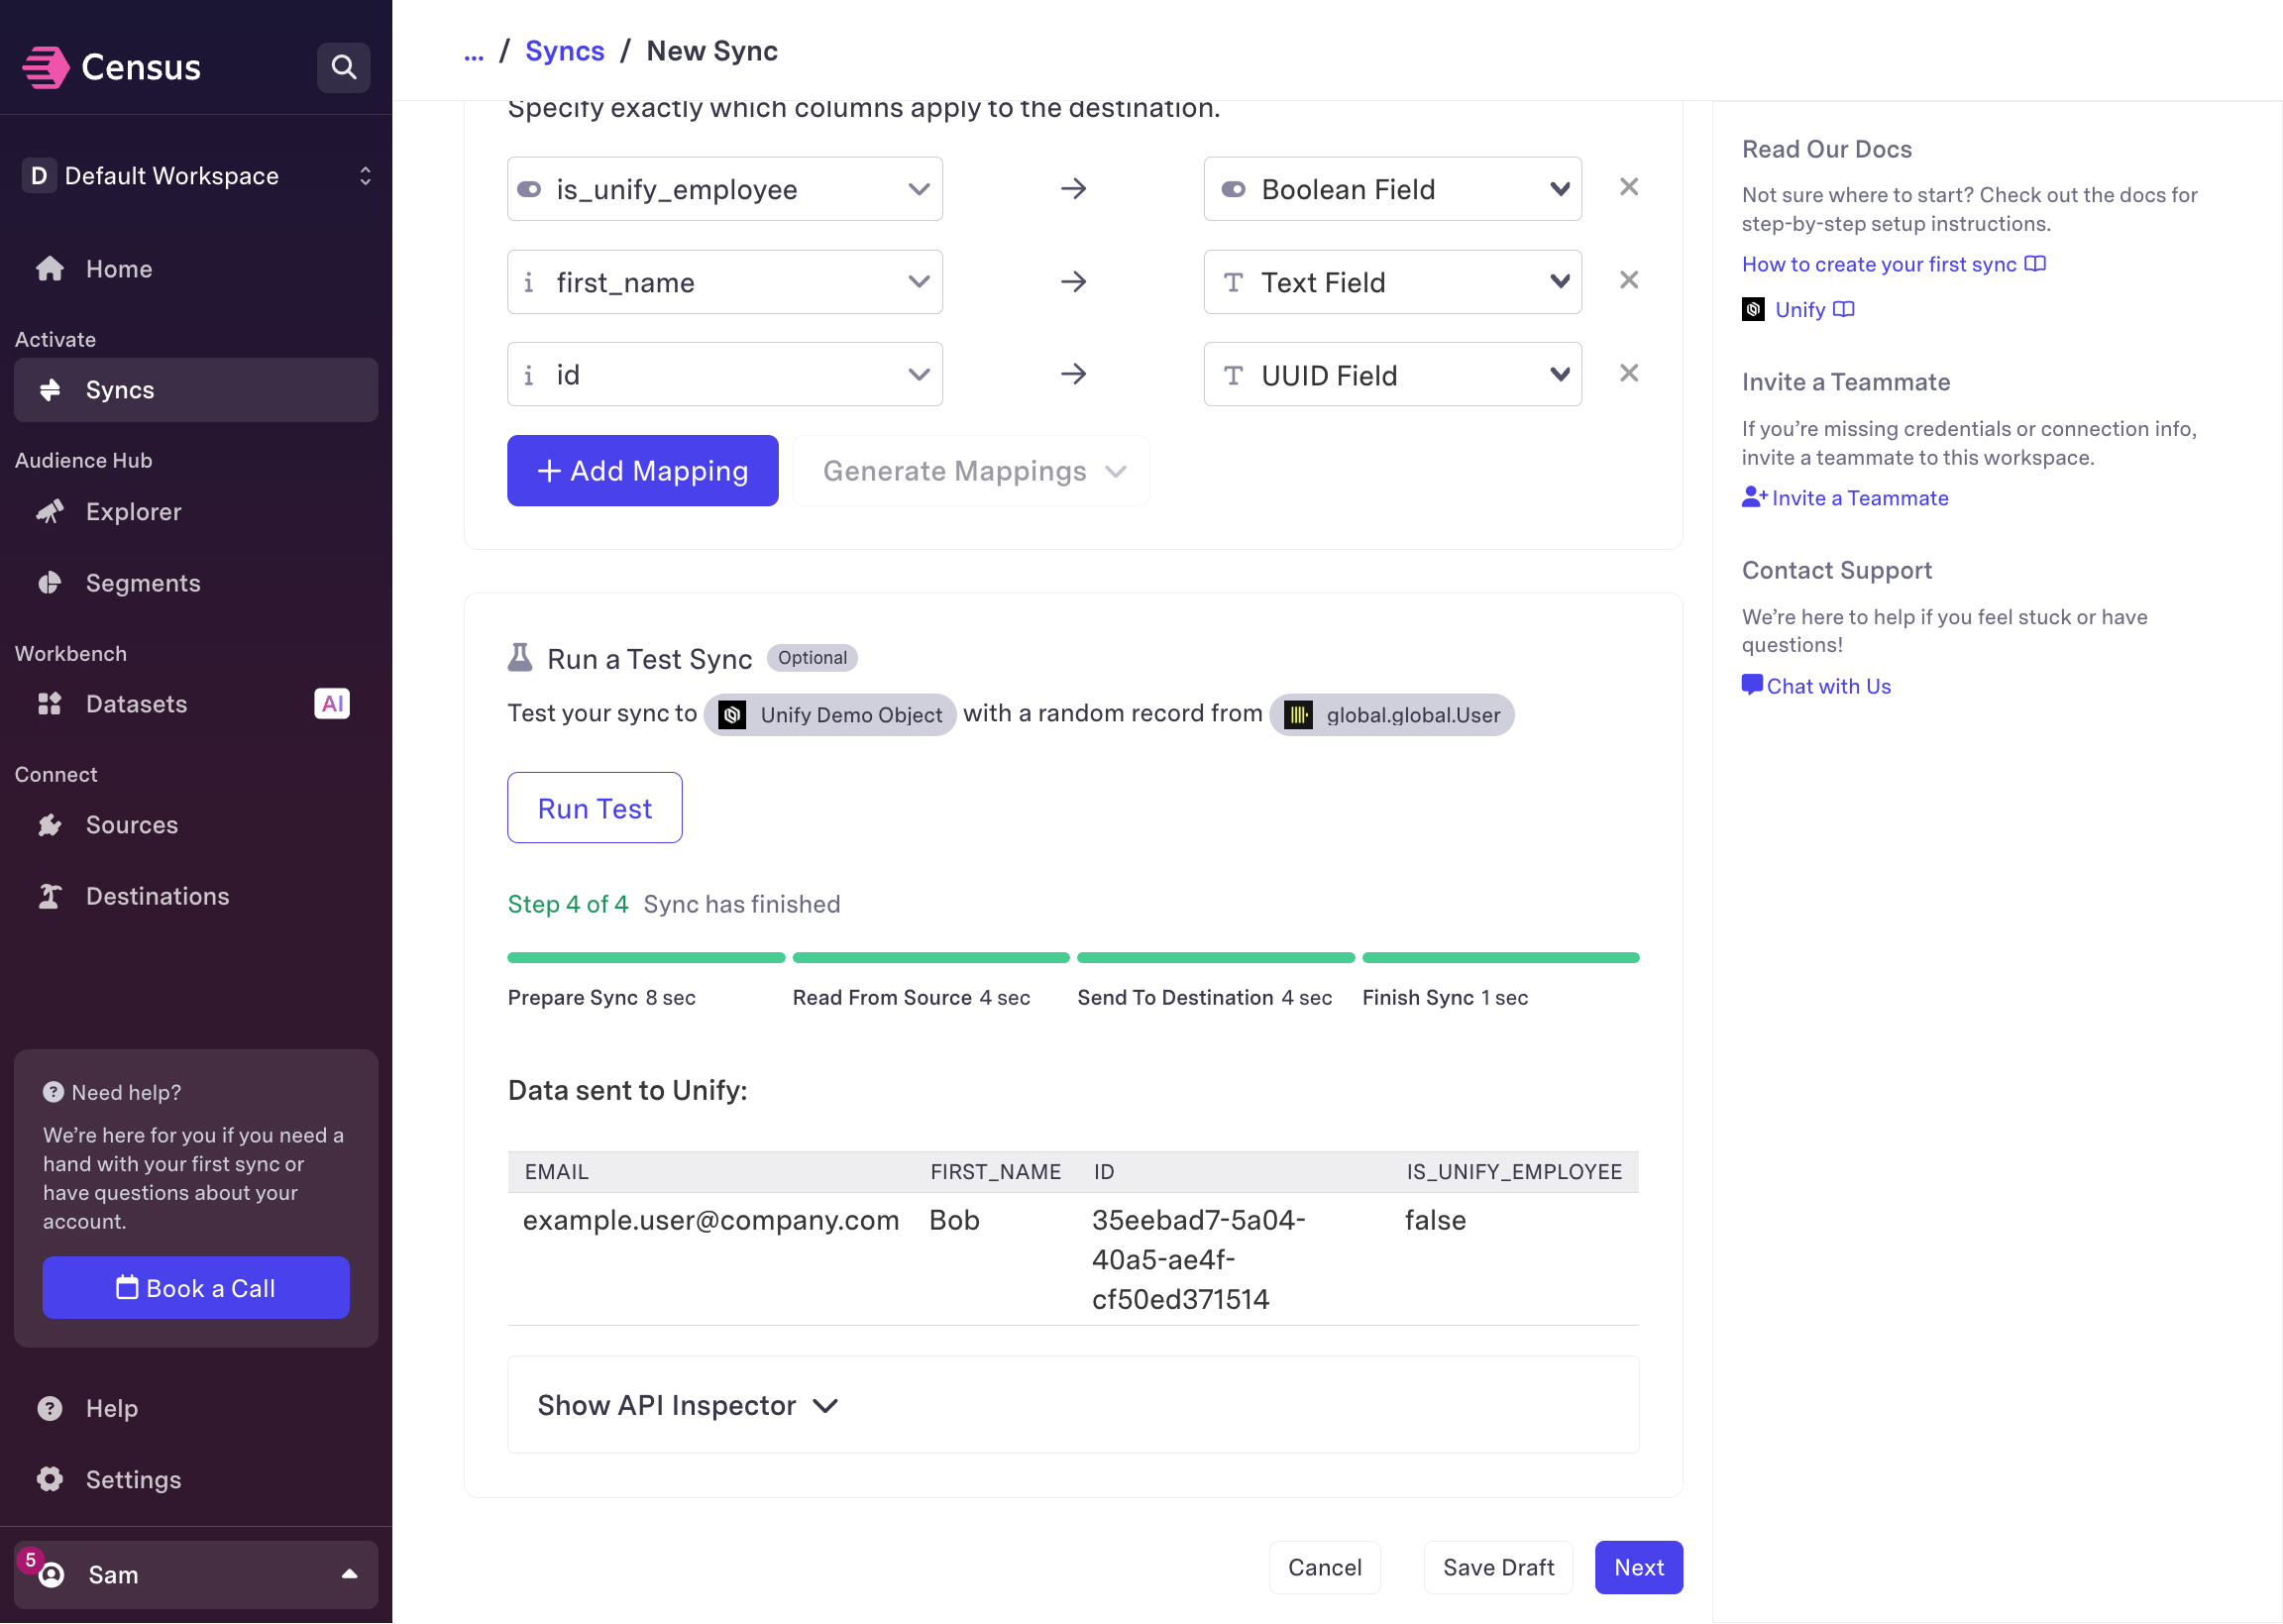
Map fields from source to object
Fill in the mapping between the fields in your data source and the
attributes on the Unify object. This is how you tell Census which fields in
your data source should be synced to which attributes in Unify.