> ## Documentation Index
> Fetch the complete documentation index at: https://docs.unifygtm.com/llms.txt
> Use this file to discover all available pages before exploring further.
# Toggle lead assignment rules in Salesforce
> Troubleshoot a common bug in Salesforce related to lead assignment rules.
## Explanation
Salesforce allows you to create "lead assignment rules" that automatically assign different owners to leads depending on custom criteria. However, sometimes these rules don’t work right off the bat due to a specific bug in Salesforce. The steps outlined here should resolve the issue.
## Steps
### Ensure you have an active lead assignment rule
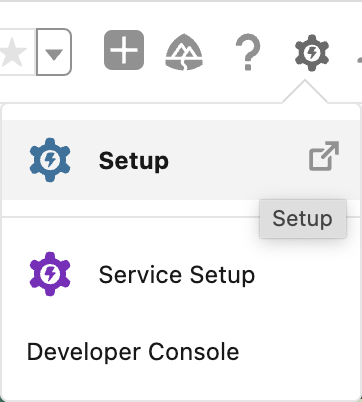
Navigate to the **Setup** page in Salesforce by clicking the settings icon in the top-right corner of any Salesforce page.
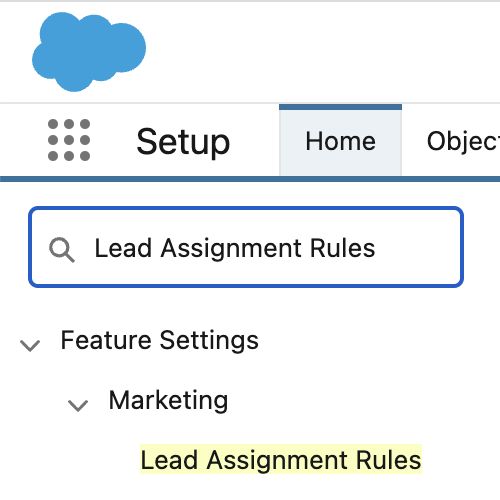
 Search for **Lead Assignment Rules** in the sidebar.
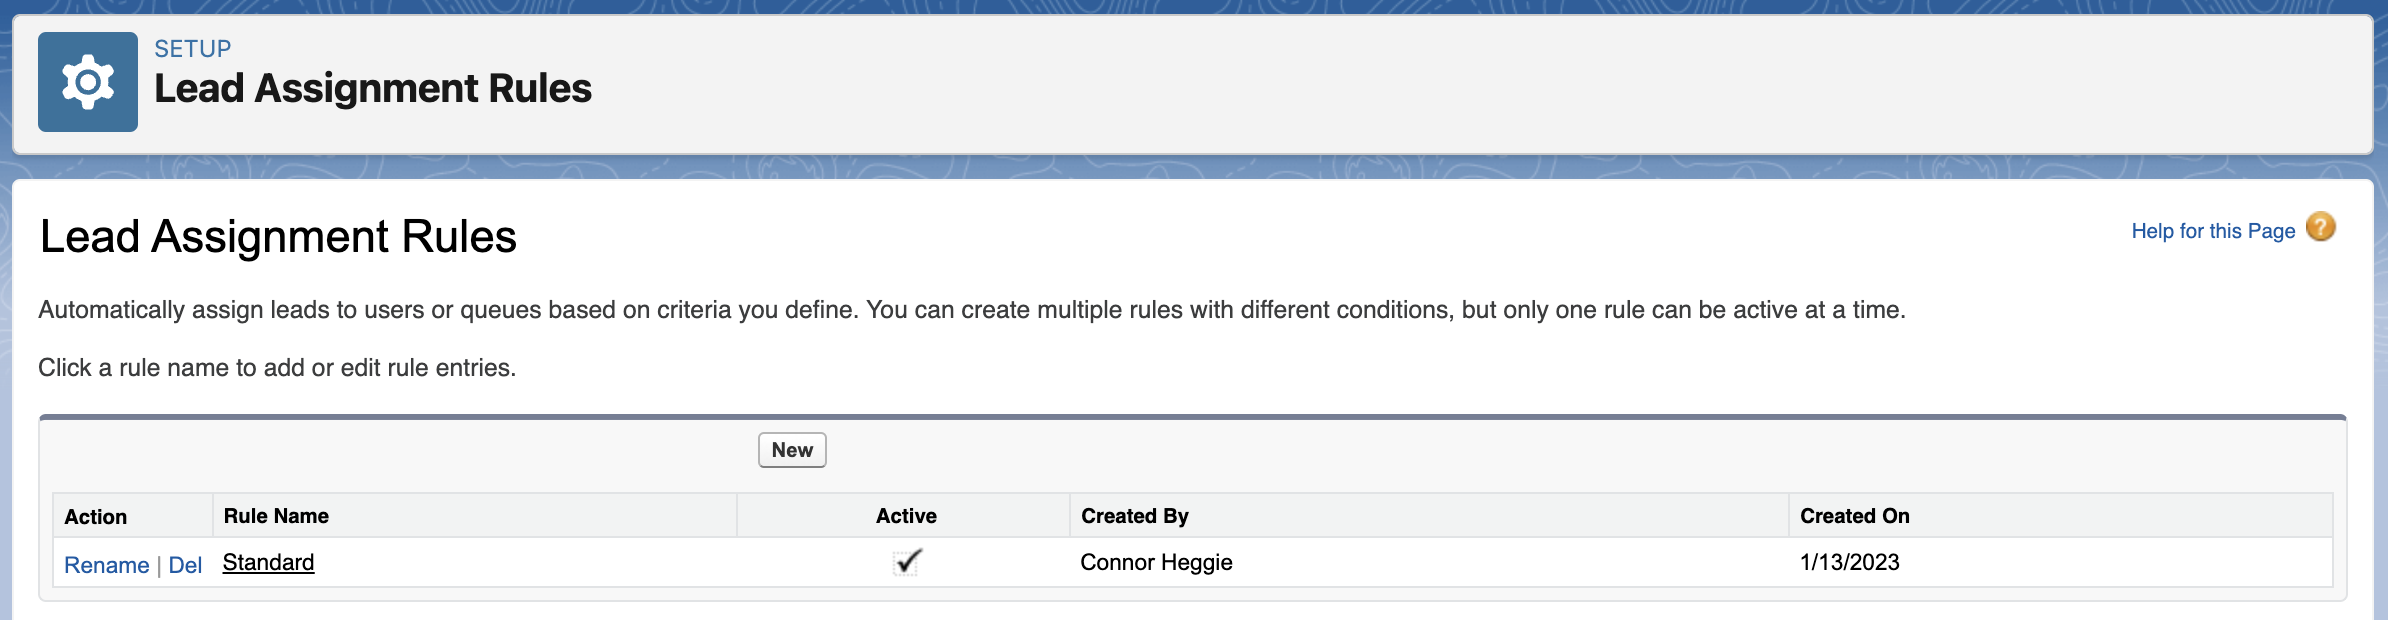
 You should see at least one rule with a checkmark under the **Active** column.
 ### Toggle the rule off and on
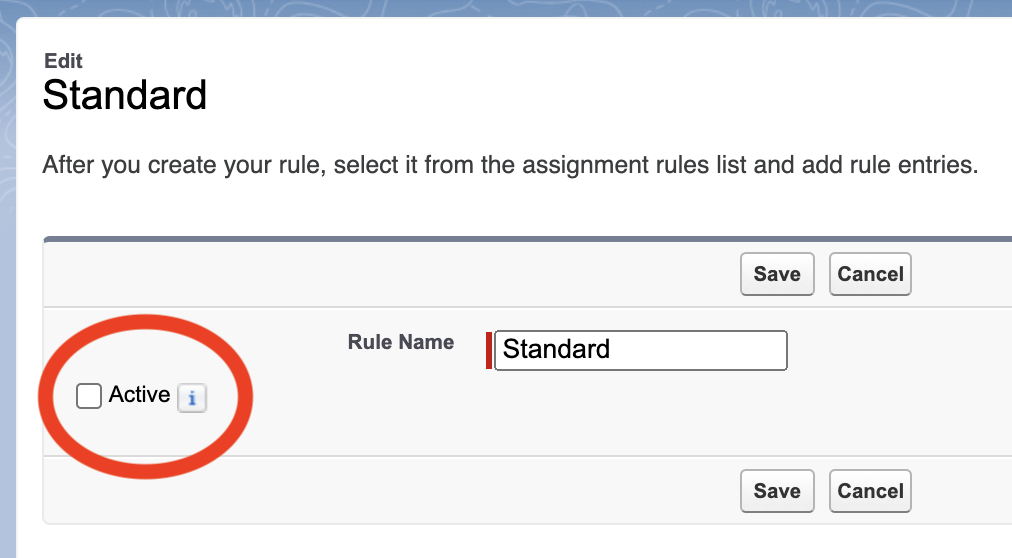
In the **Lead Assignment Rules** page from the previous step, click on the name of your rule and then select **Edit**. Deselect the checkbox next to **Active** to temporarily deactivate the rule.
### Toggle the rule off and on
In the **Lead Assignment Rules** page from the previous step, click on the name of your rule and then select **Edit**. Deselect the checkbox next to **Active** to temporarily deactivate the rule.
 Click **Save**. Then click **Edit** again, re-check the checkbox next to **Active**, and then choose **Save**.
### Test that leads are assigned correctly in the UI
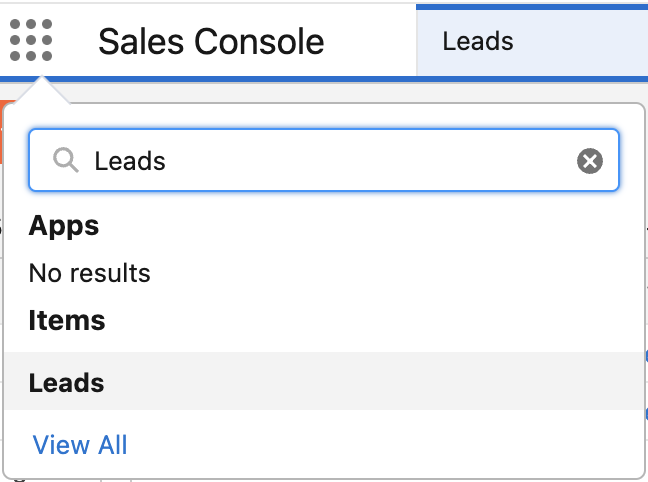
Navigate to the **Leads** page in Salesforce. You can get there via the app launcher.
Click **Save**. Then click **Edit** again, re-check the checkbox next to **Active**, and then choose **Save**.
### Test that leads are assigned correctly in the UI
Navigate to the **Leads** page in Salesforce. You can get there via the app launcher.
 In the top-right corner of the screen, select **New** to create a new lead.
 Check the **Assign using active assignment rule** checkbox in the lower-left corner.
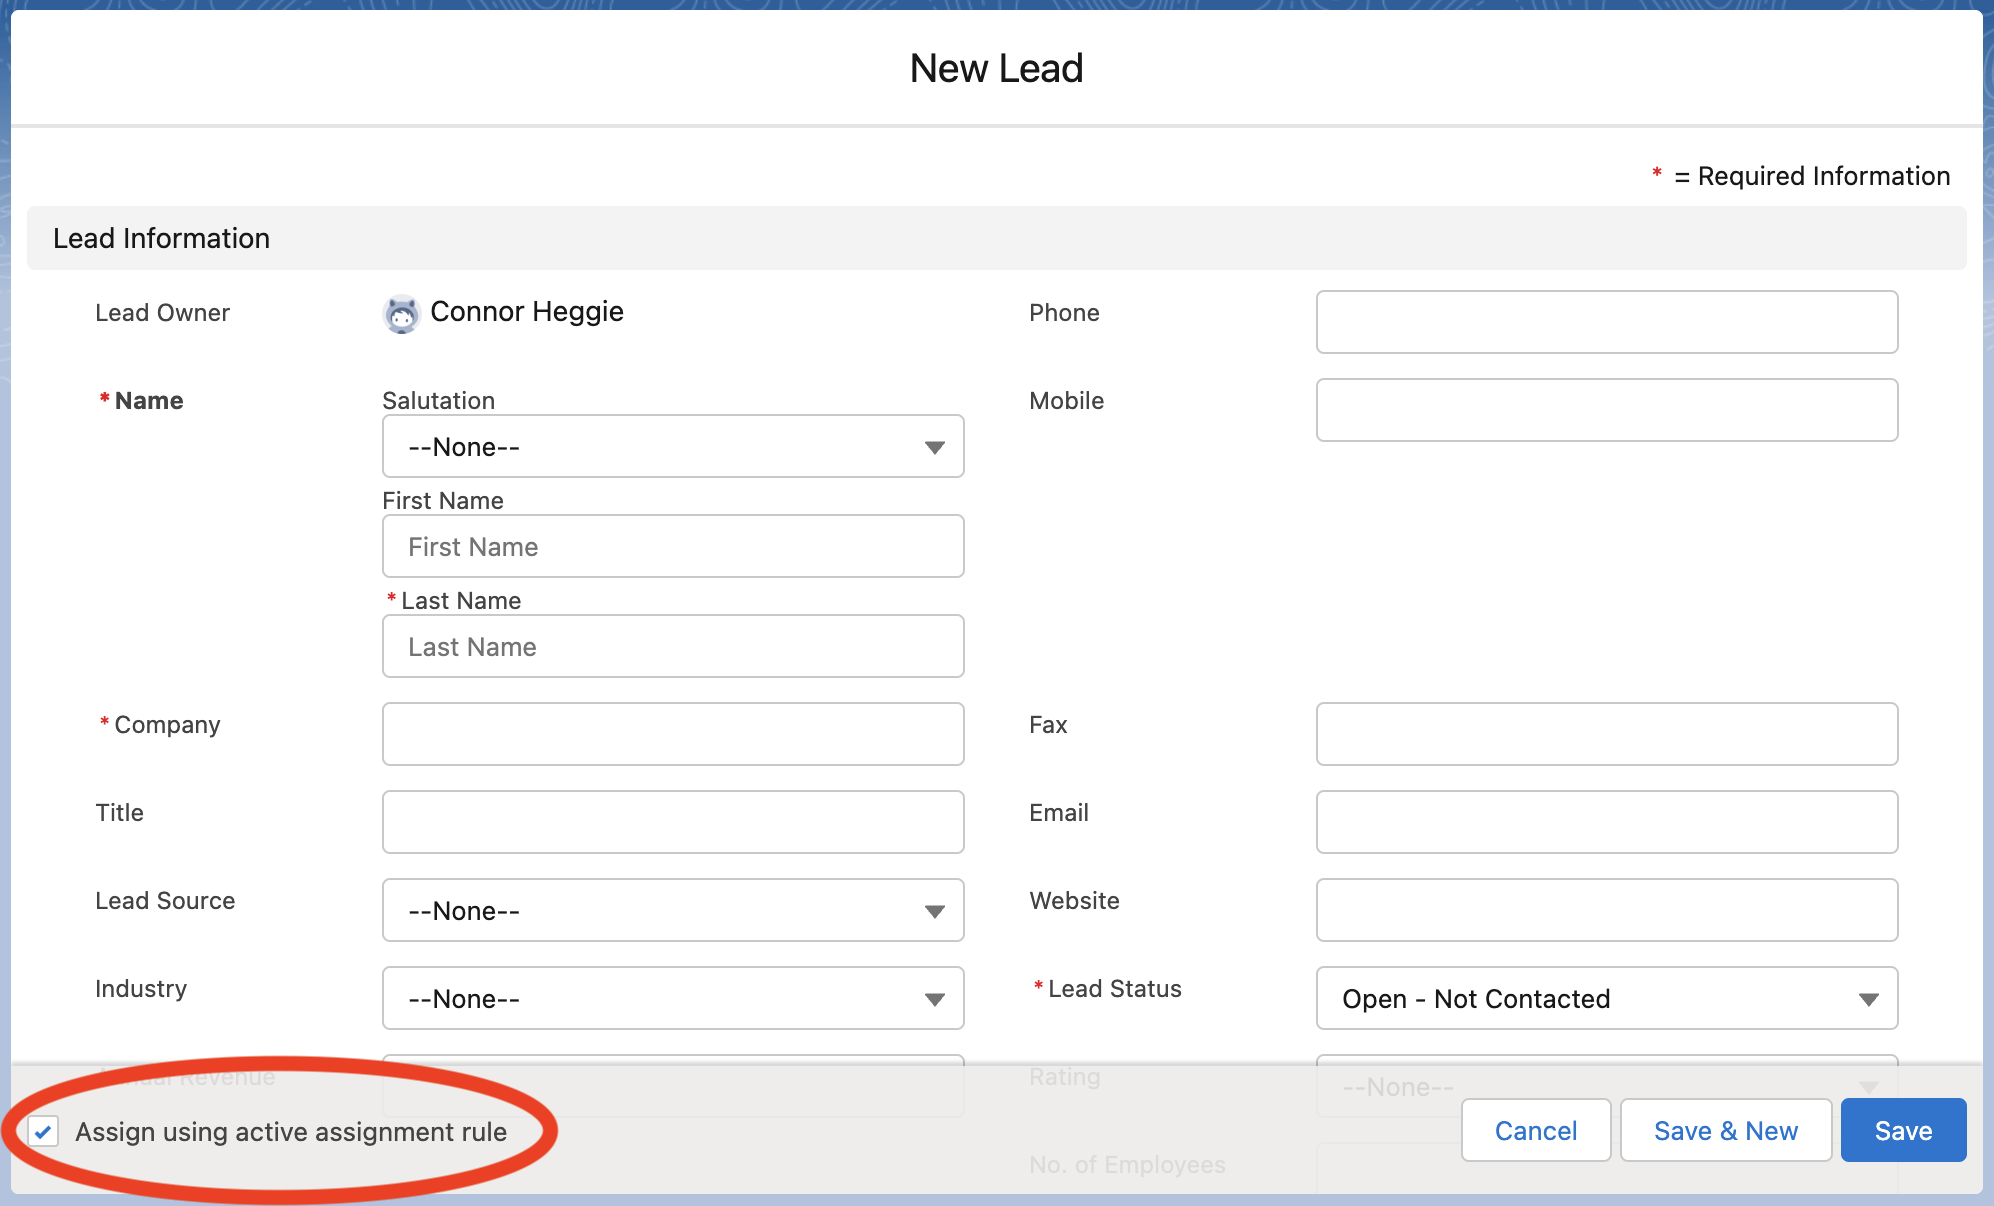 Fill out the required lead fields with values that should trigger the lead assignment rule you created and then click **Save** in the bottom-right corner.
Lastly, verify that the lead was assigned to the correct owner.
Fill out the required lead fields with values that should trigger the lead assignment rule you created and then click **Save** in the bottom-right corner.
Lastly, verify that the lead was assigned to the correct owner.