> ## Documentation Index
> Fetch the complete documentation index at: https://docs.unifygtm.com/llms.txt
> Use this file to discover all available pages before exploring further.
# Bulk update records
> Use Salesforce reports to quickly update many records in Salesforce.
## Explanation
If you need to update many records in Salesforce, you can use Salesforce reports to simplify the process. A common use case is updating the value of a field across all records created by a Play. However, these steps are generally applicable to any set of Salesforce records.
## Steps
### Export the records
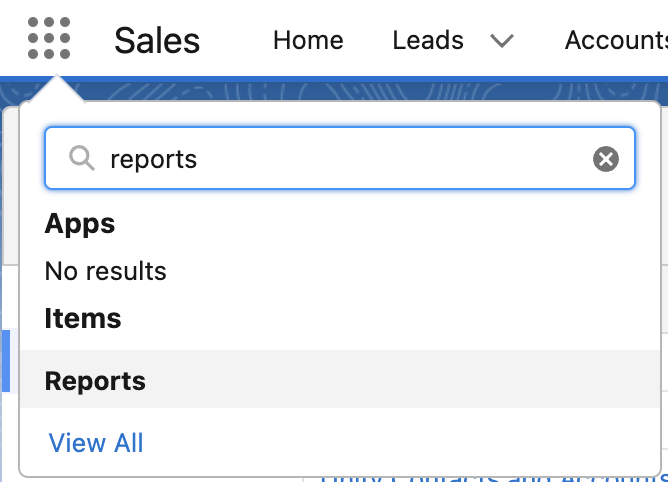
1. Navigate to the **Reports** page.
In the top-right corner of the screen, if you click the menu icon and search for “reports”, you should see a link to get there.
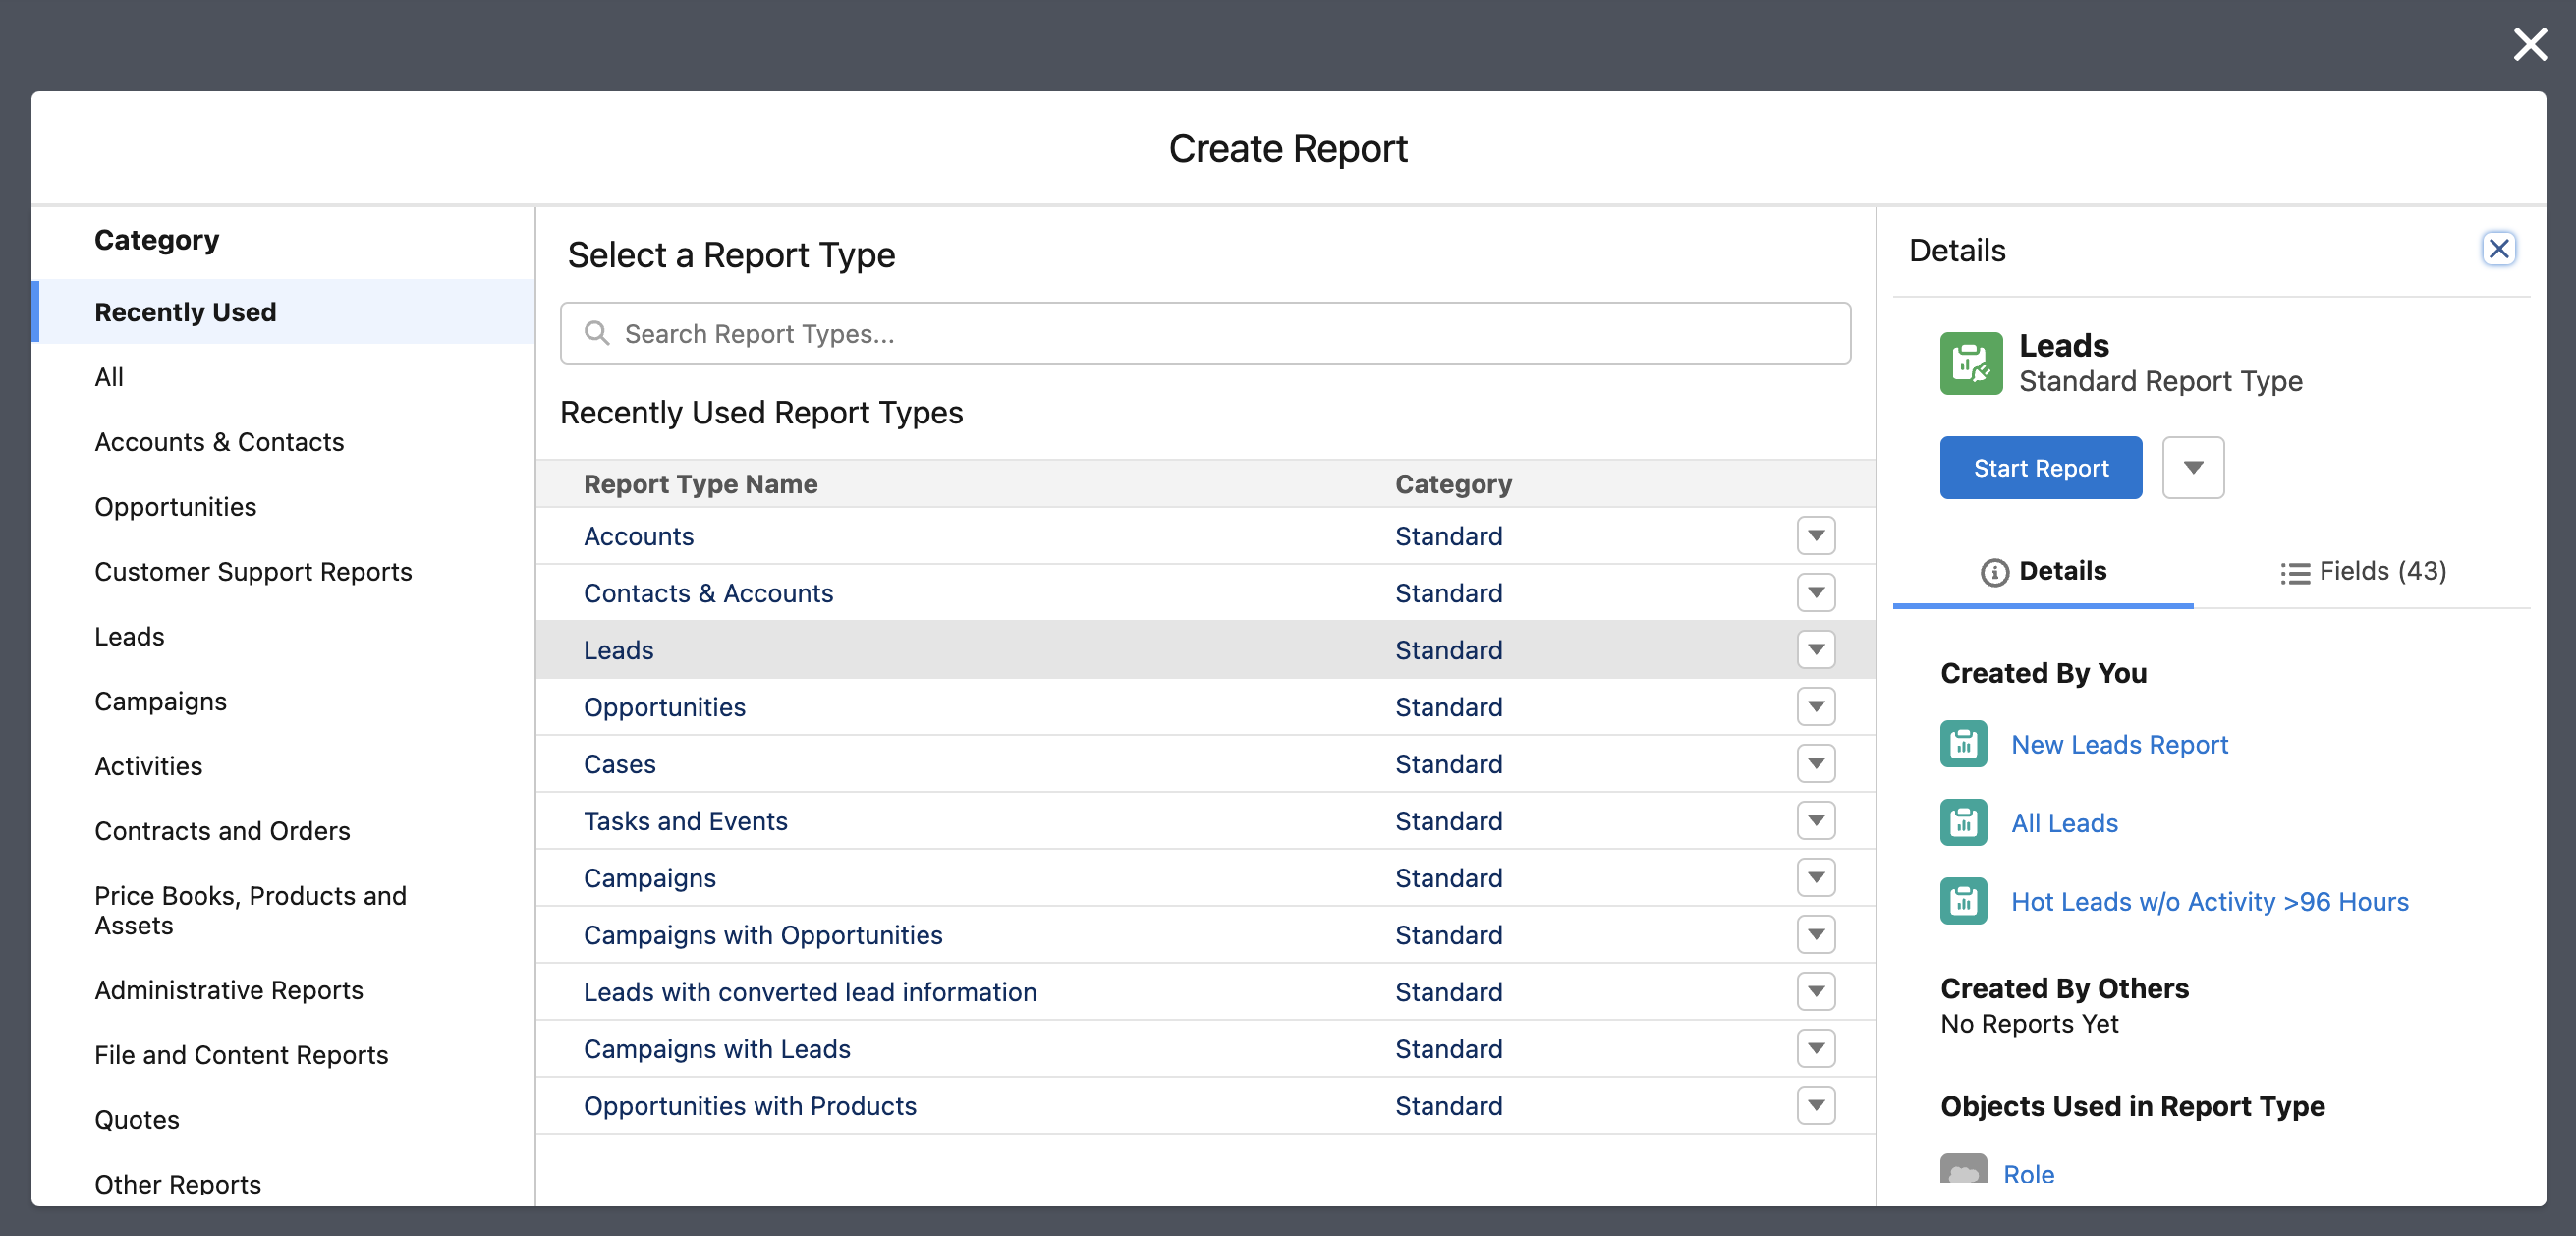
 2. In the top-right corner of the screen, select **New Report**
3. Choose a report type based on which type of records you need to update, and then click **Start Report** on the right
2. In the top-right corner of the screen, select **New Report**
3. Choose a report type based on which type of records you need to update, and then click **Start Report** on the right
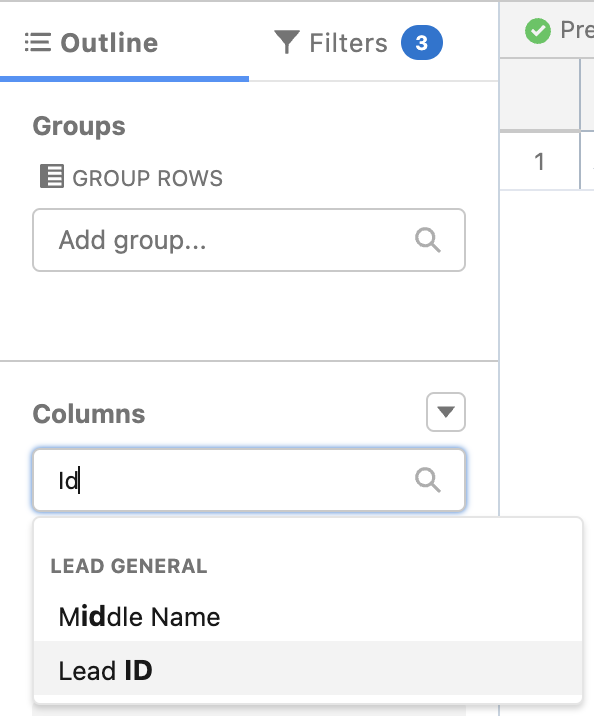
 4. Be sure to add the `Id` column to your report in the sidebar, which is typically named after the record type you are selecting (e.g., `Account ID`, `Contact ID`, etc.)
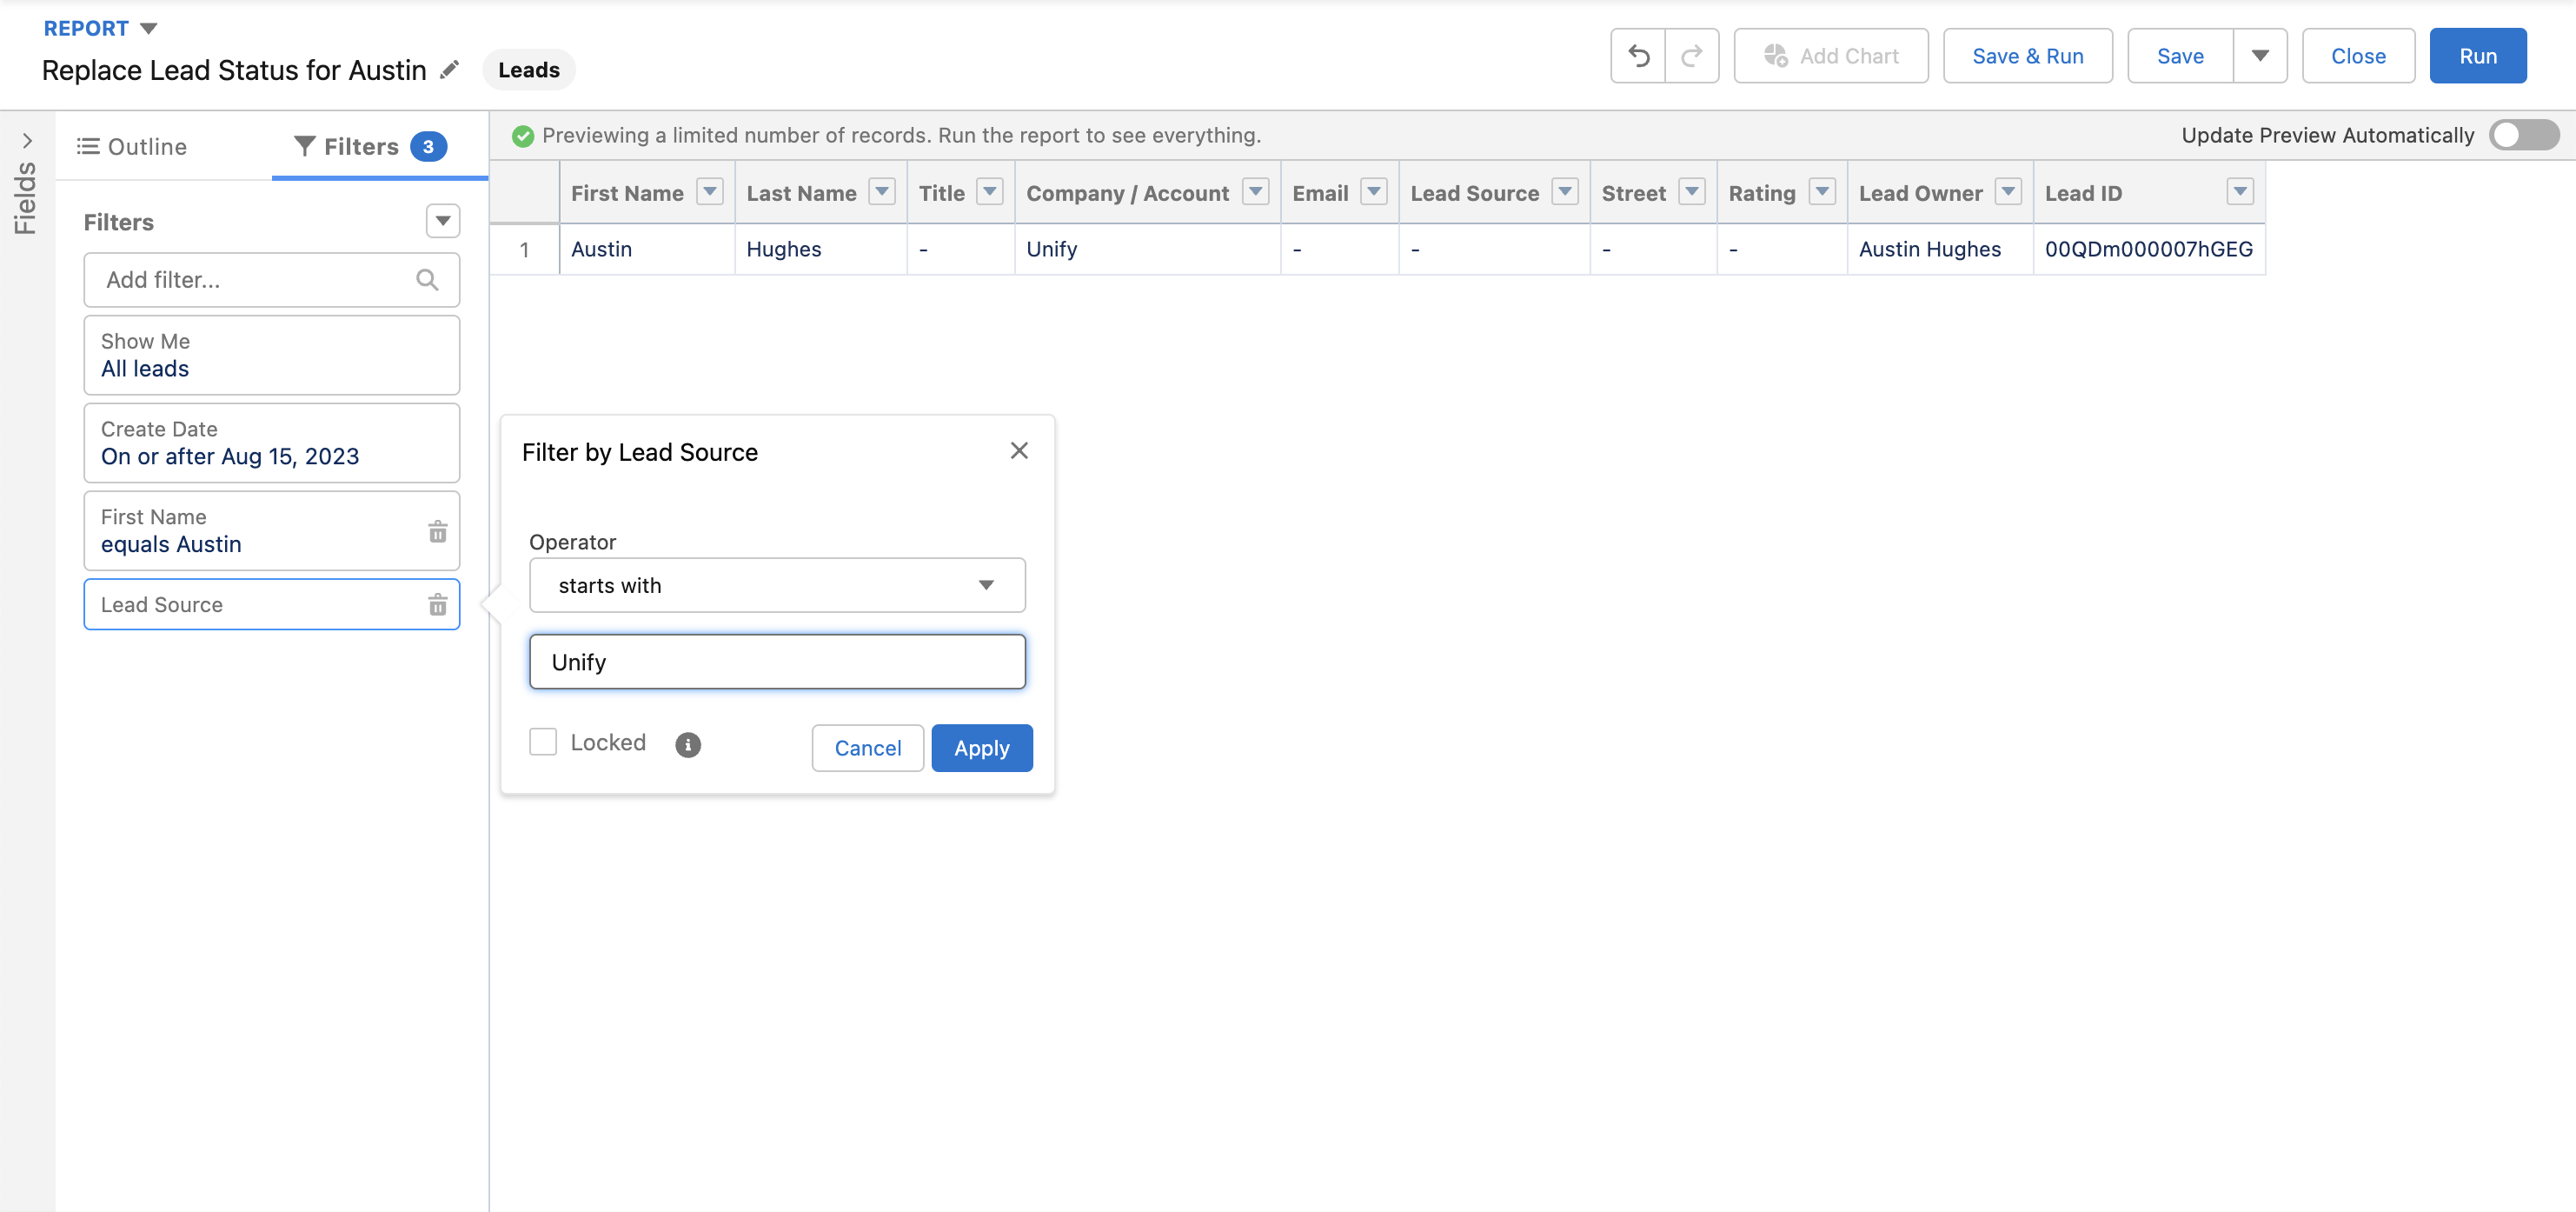
 5. Also add any additional columns that you wish to edit on the records
6. Add any filters or sorting options needed to narrow down the records you want to update
5. Also add any additional columns that you wish to edit on the records
6. Add any filters or sorting options needed to narrow down the records you want to update
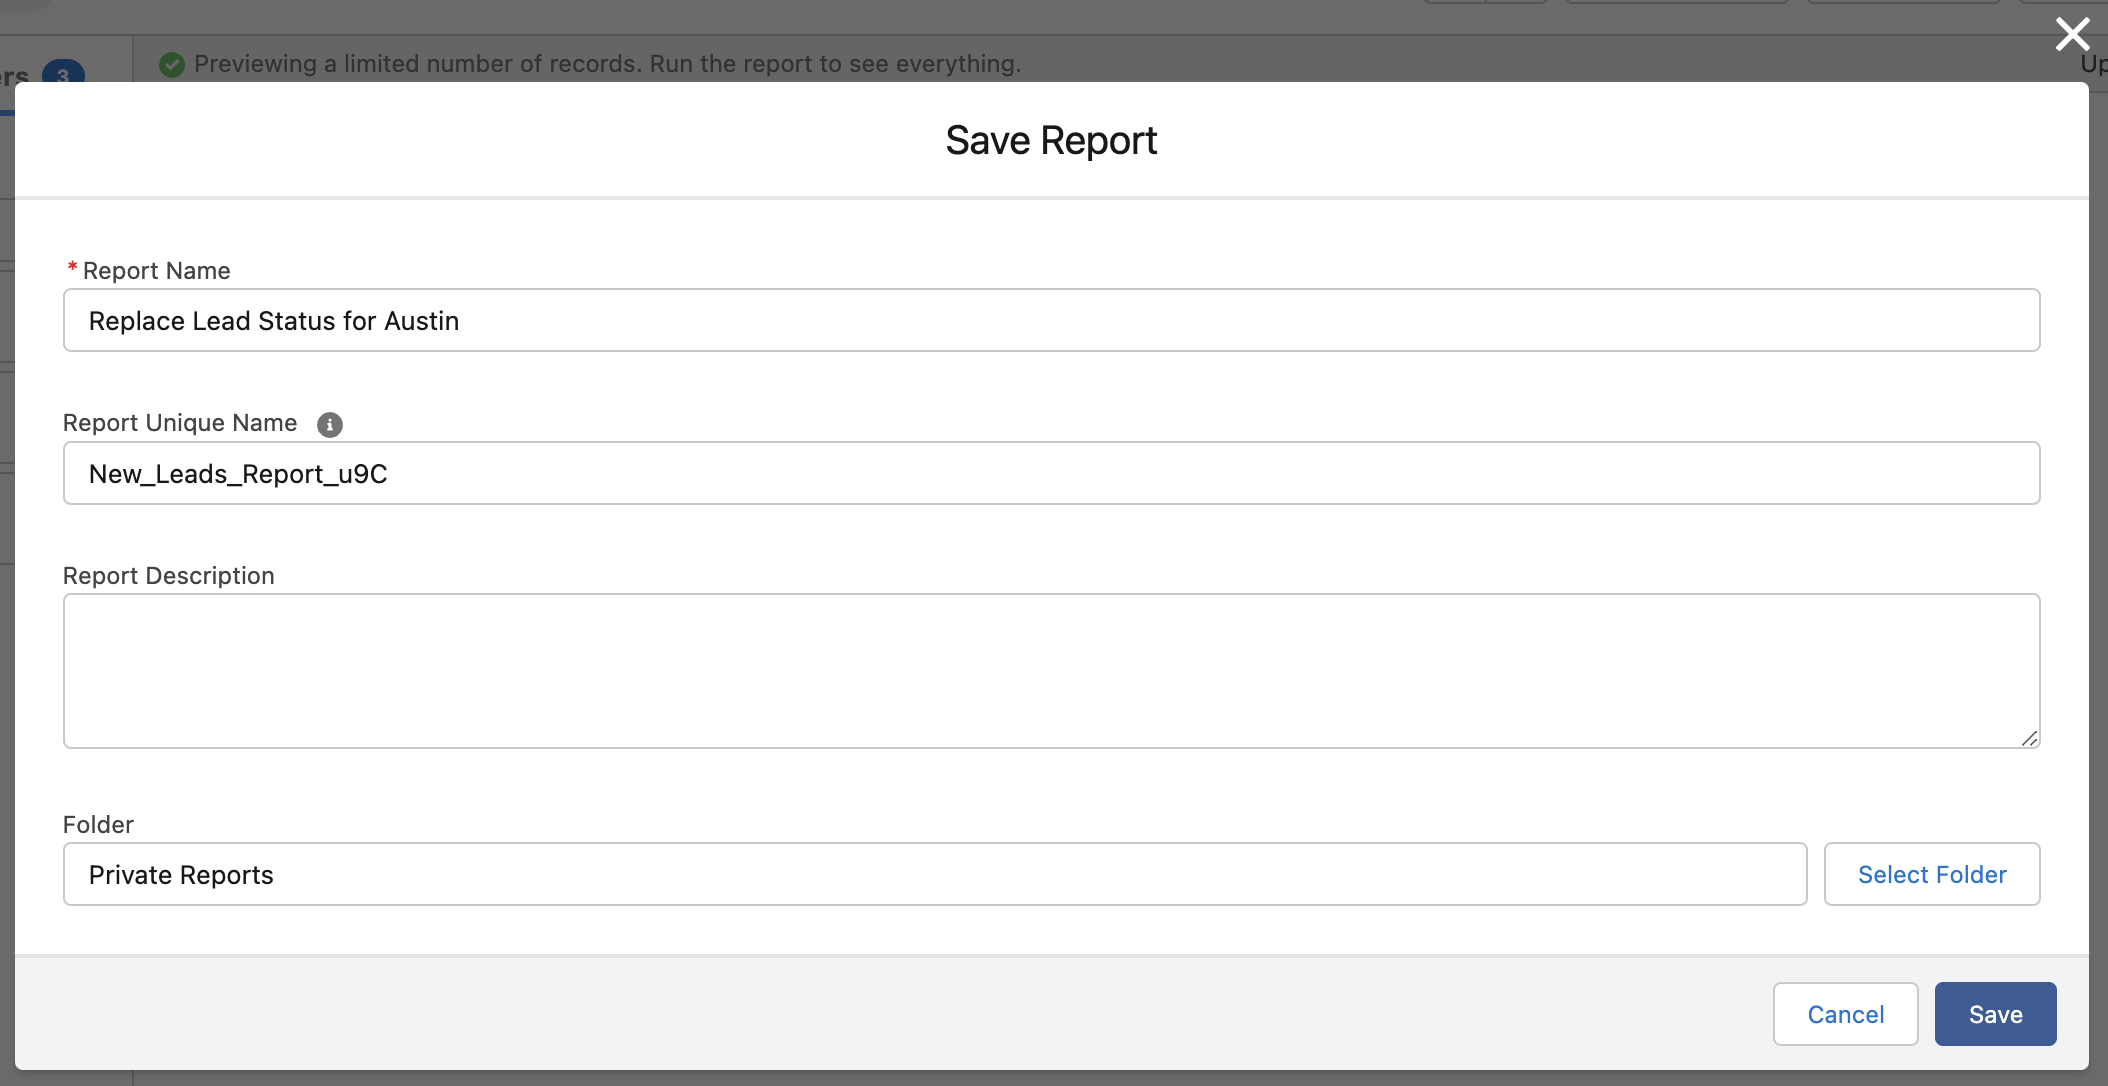
 7. When ready, click **Save** in the top-right corner, enter a name, and then click **Save** again
 8. Click **Run** in the top-right corner and verify these are the records you want to update
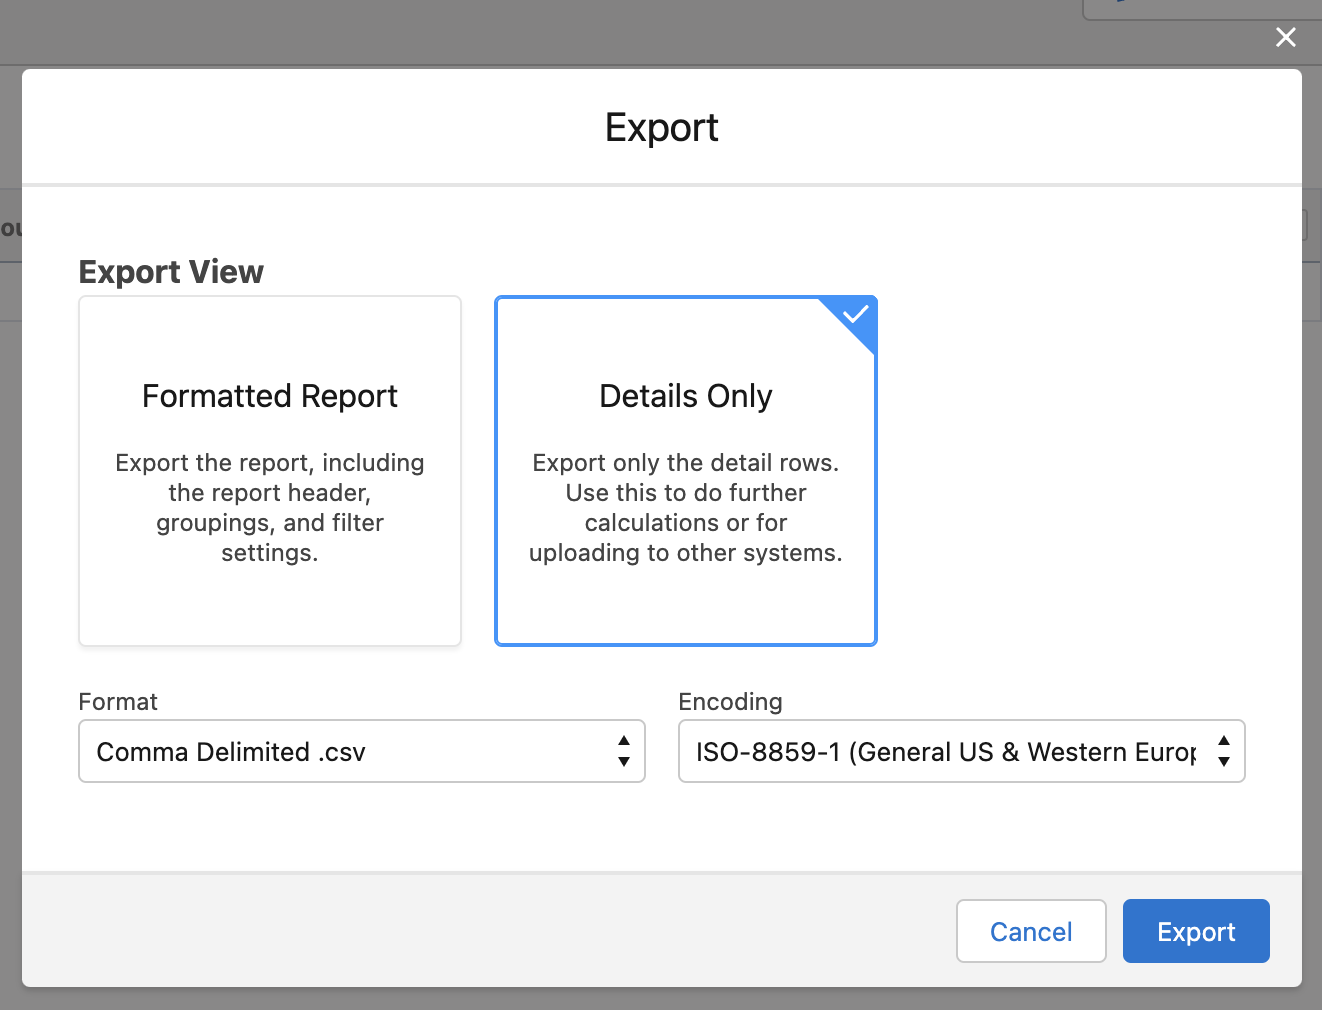
9. Click the dropdown arrow next to **Edit** in the top-right corner and select **Export**
10. Choose **Details Only** and **Comma Delimited .csv** as the format and then click **Export**
8. Click **Run** in the top-right corner and verify these are the records you want to update
9. Click the dropdown arrow next to **Edit** in the top-right corner and select **Export**
10. Choose **Details Only** and **Comma Delimited .csv** as the format and then click **Export**
 ### Make changes
1. Open the downloaded file and make any desired updates to the values
2. Save the changes as a new file so that the original is available as a backup
### Upload the changed records
1. Navigate to the **Setup** page in Salesforce
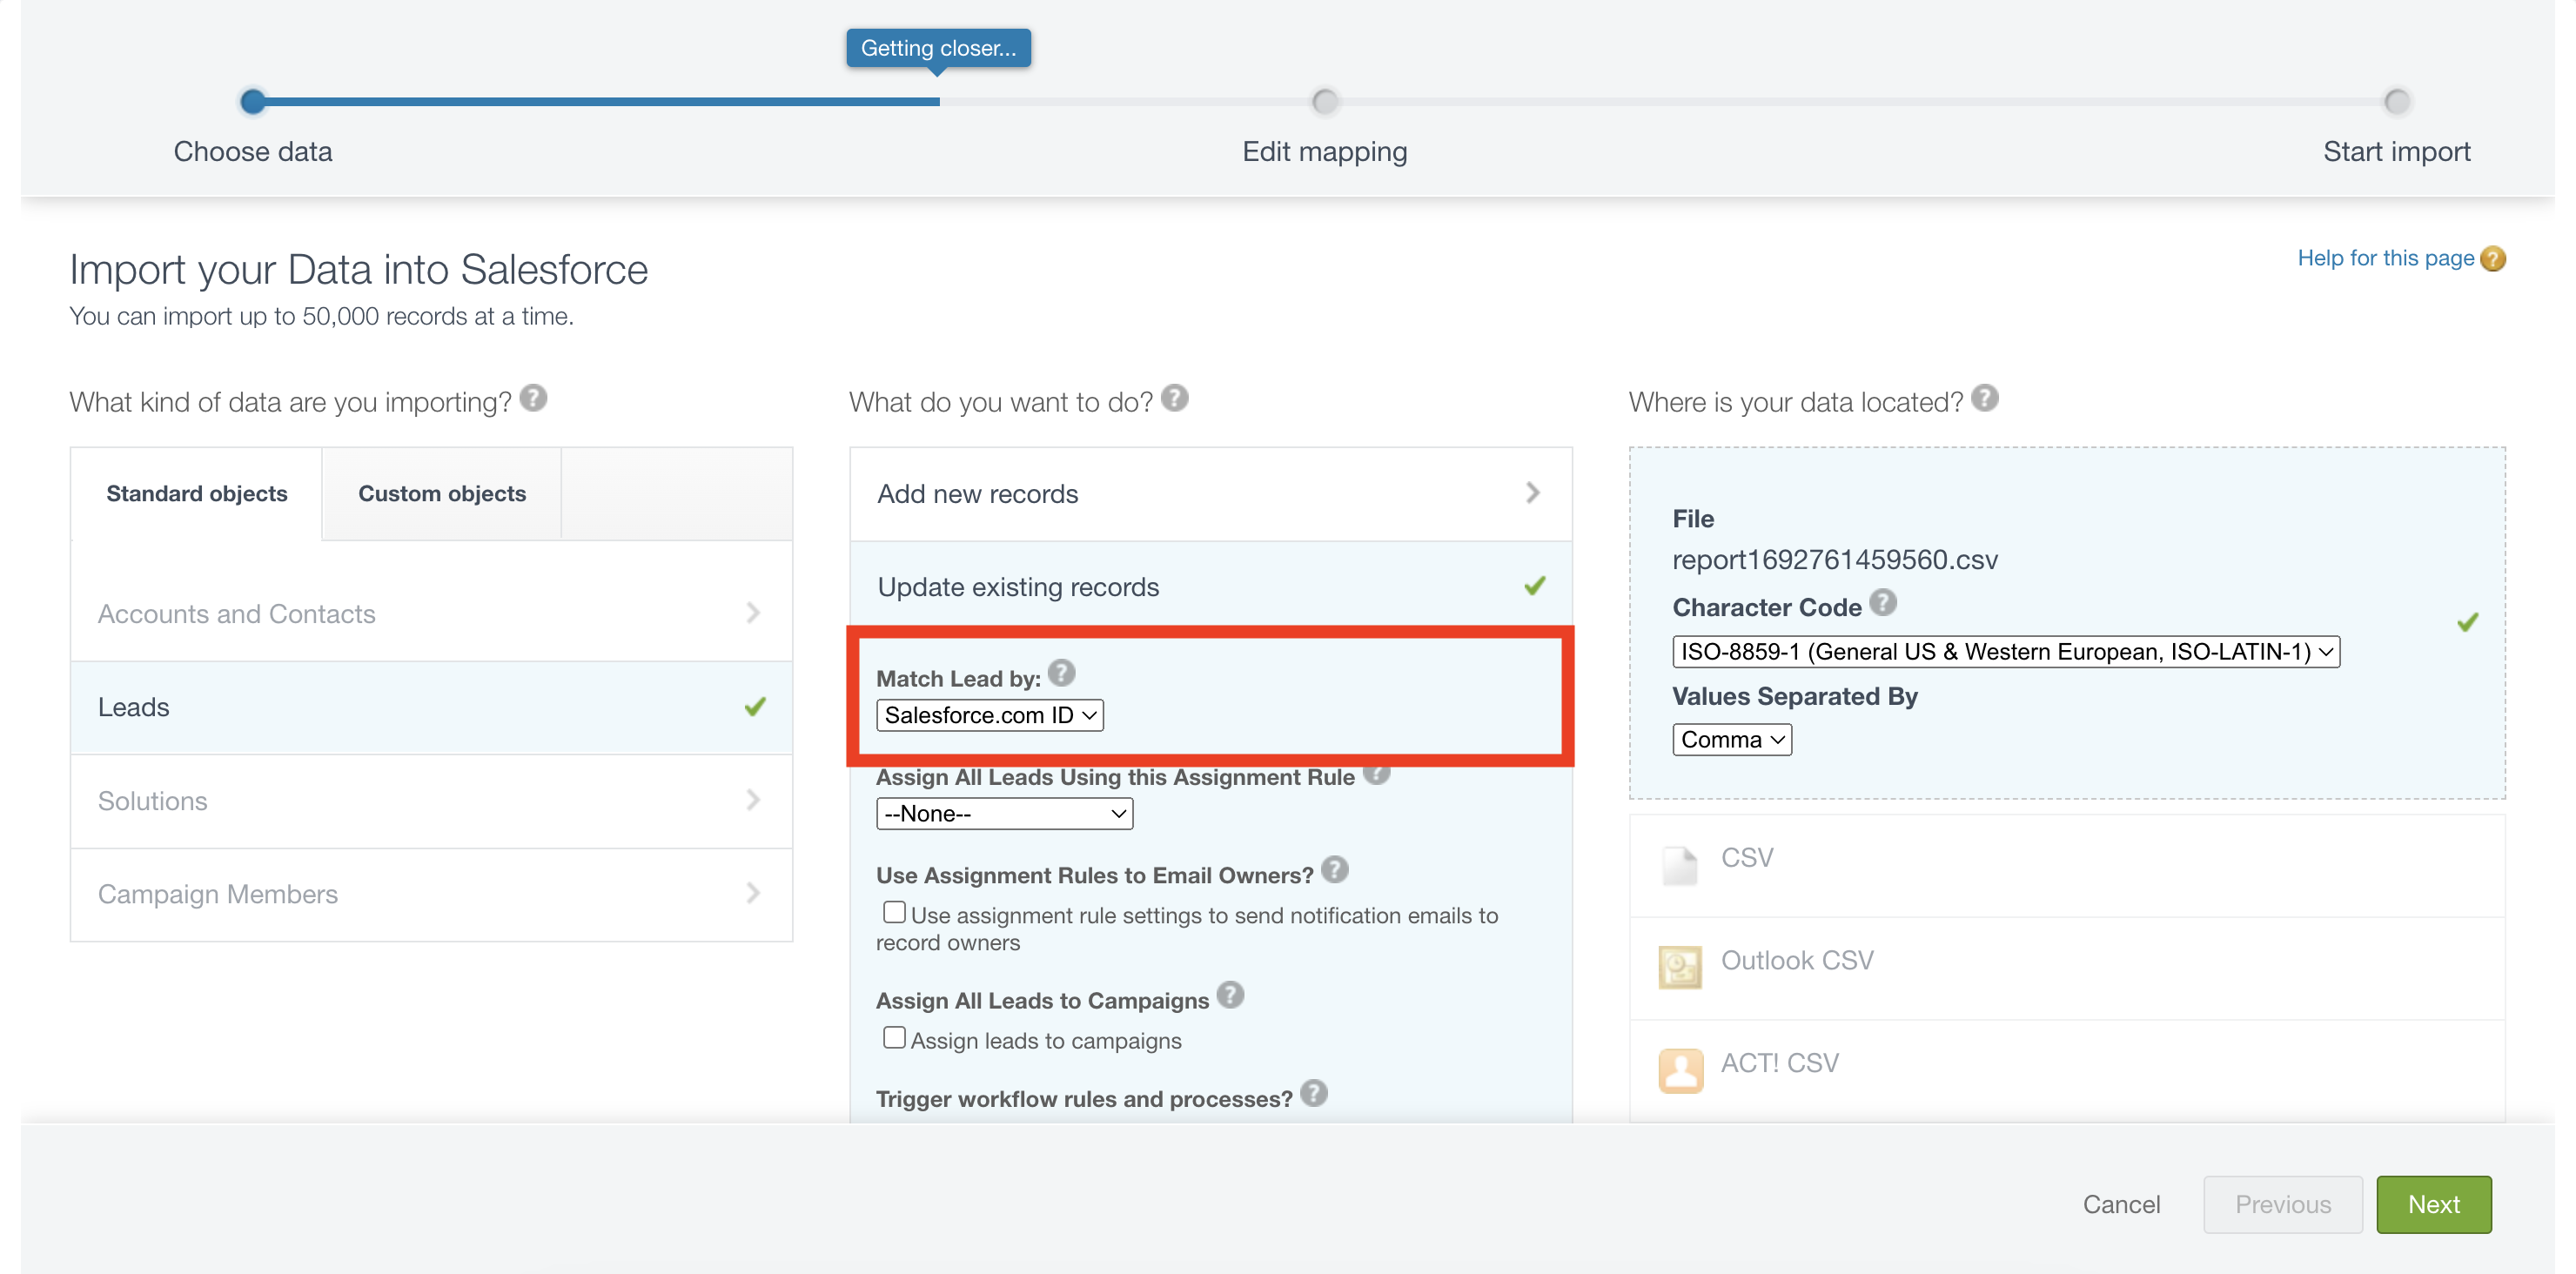
2. In the sidebar on the left, search for "data import wizard" and select the **Data Import Wizard** integration
3. Follow the on-screen instructions to update existing records and be sure to choose the option to match records by `Salesforce.com ID`
### Make changes
1. Open the downloaded file and make any desired updates to the values
2. Save the changes as a new file so that the original is available as a backup
### Upload the changed records
1. Navigate to the **Setup** page in Salesforce
2. In the sidebar on the left, search for "data import wizard" and select the **Data Import Wizard** integration
3. Follow the on-screen instructions to update existing records and be sure to choose the option to match records by `Salesforce.com ID`
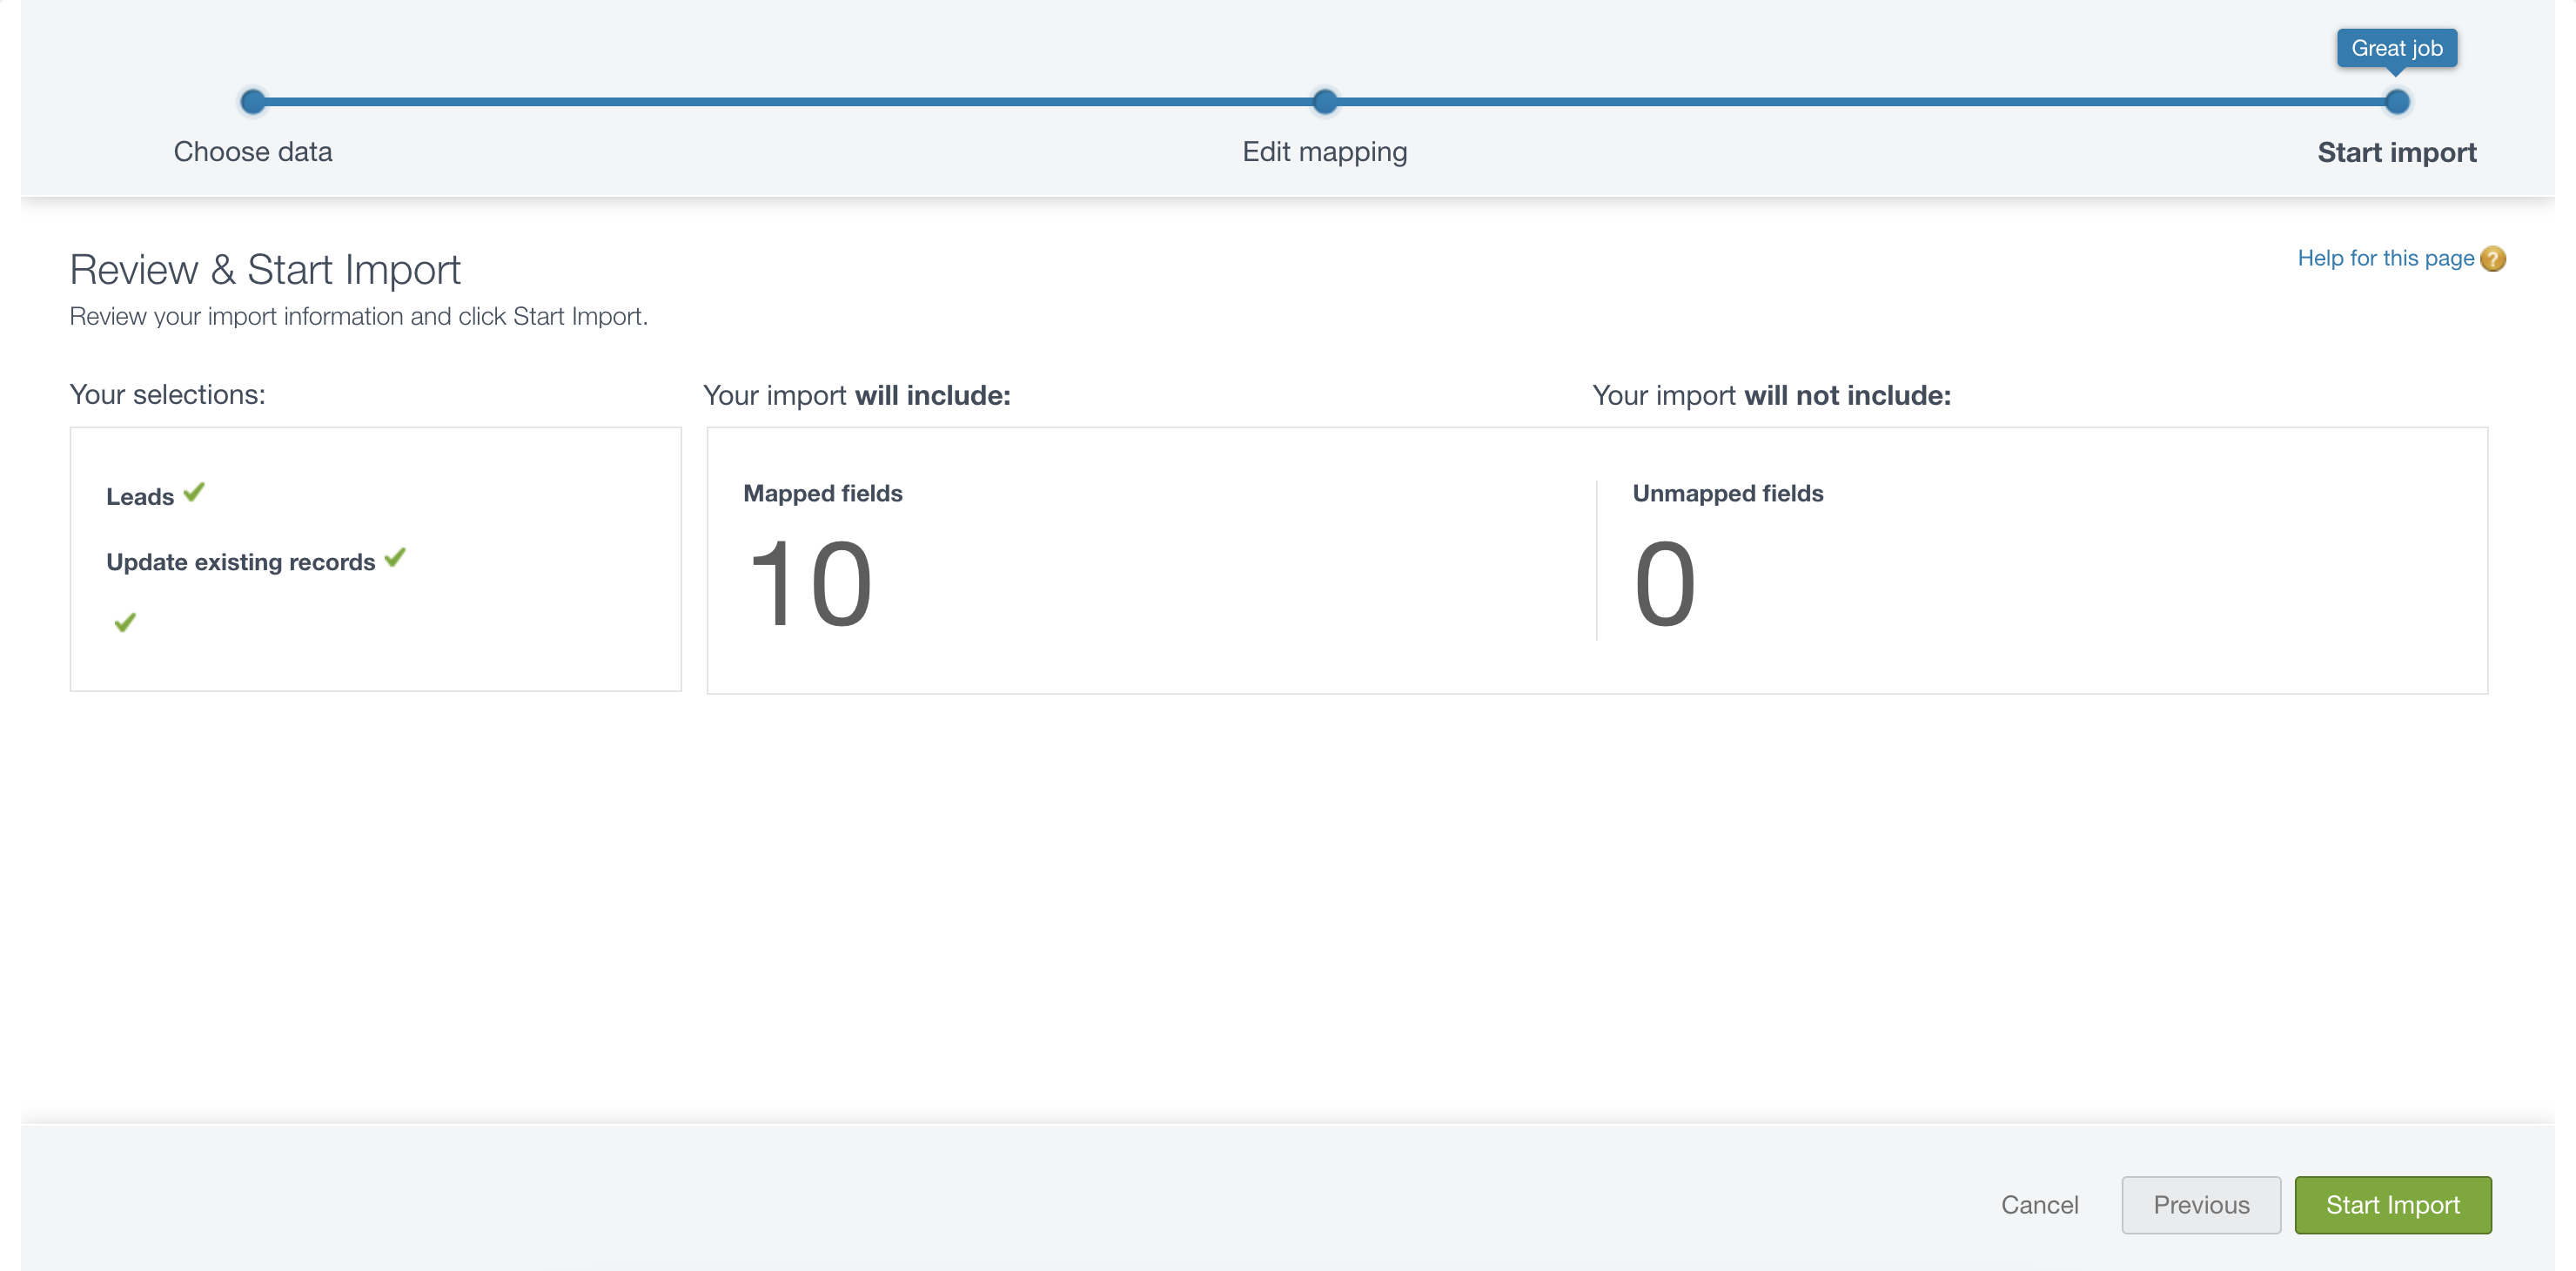
 4. Ensure the mapping looks correct and that the ID column is mapped to `Salesforce.com ID`
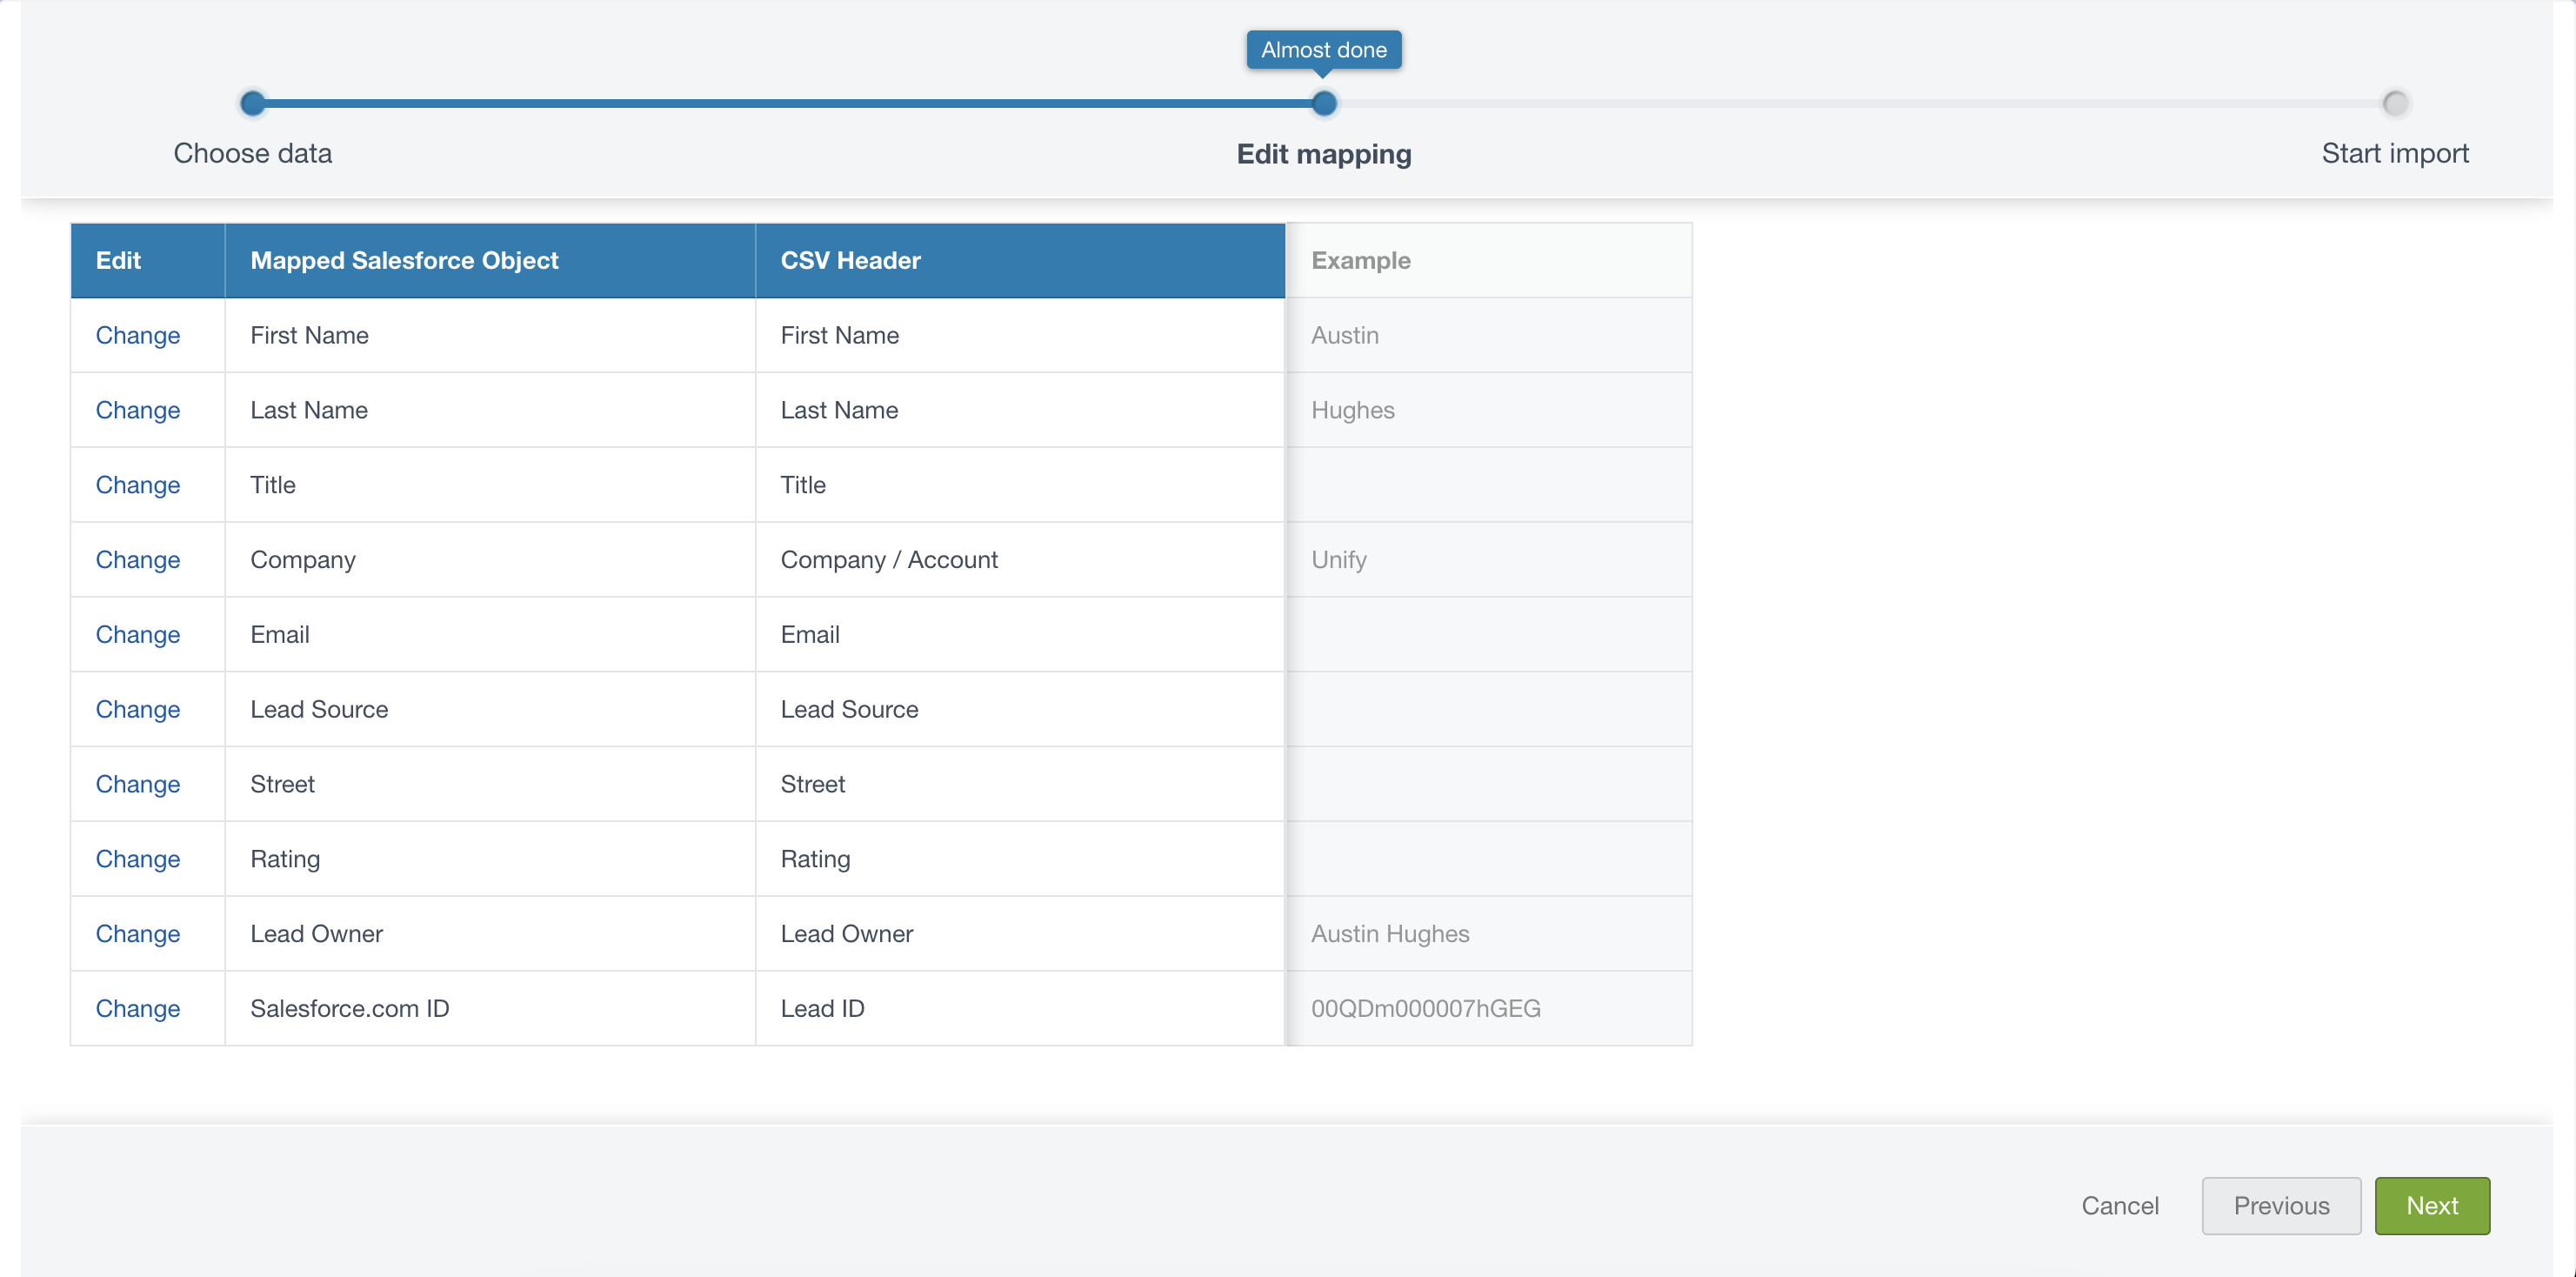 5. Verify the details on the last page and then click **Start Import**
 6. Once this bulk import is complete you’re all finished!